
Over 80 percent of visitors report feeling frustrated when they cannot quickly find their way inside a building. Clear and well-placed interior signage shapes first impressions and can mean the difference between confusion and comfort for your clients or employees. By understanding the process behind effective signage selection and installation, you can create a space that feels both inviting and navigable for everyone who enters.
Table of Contents
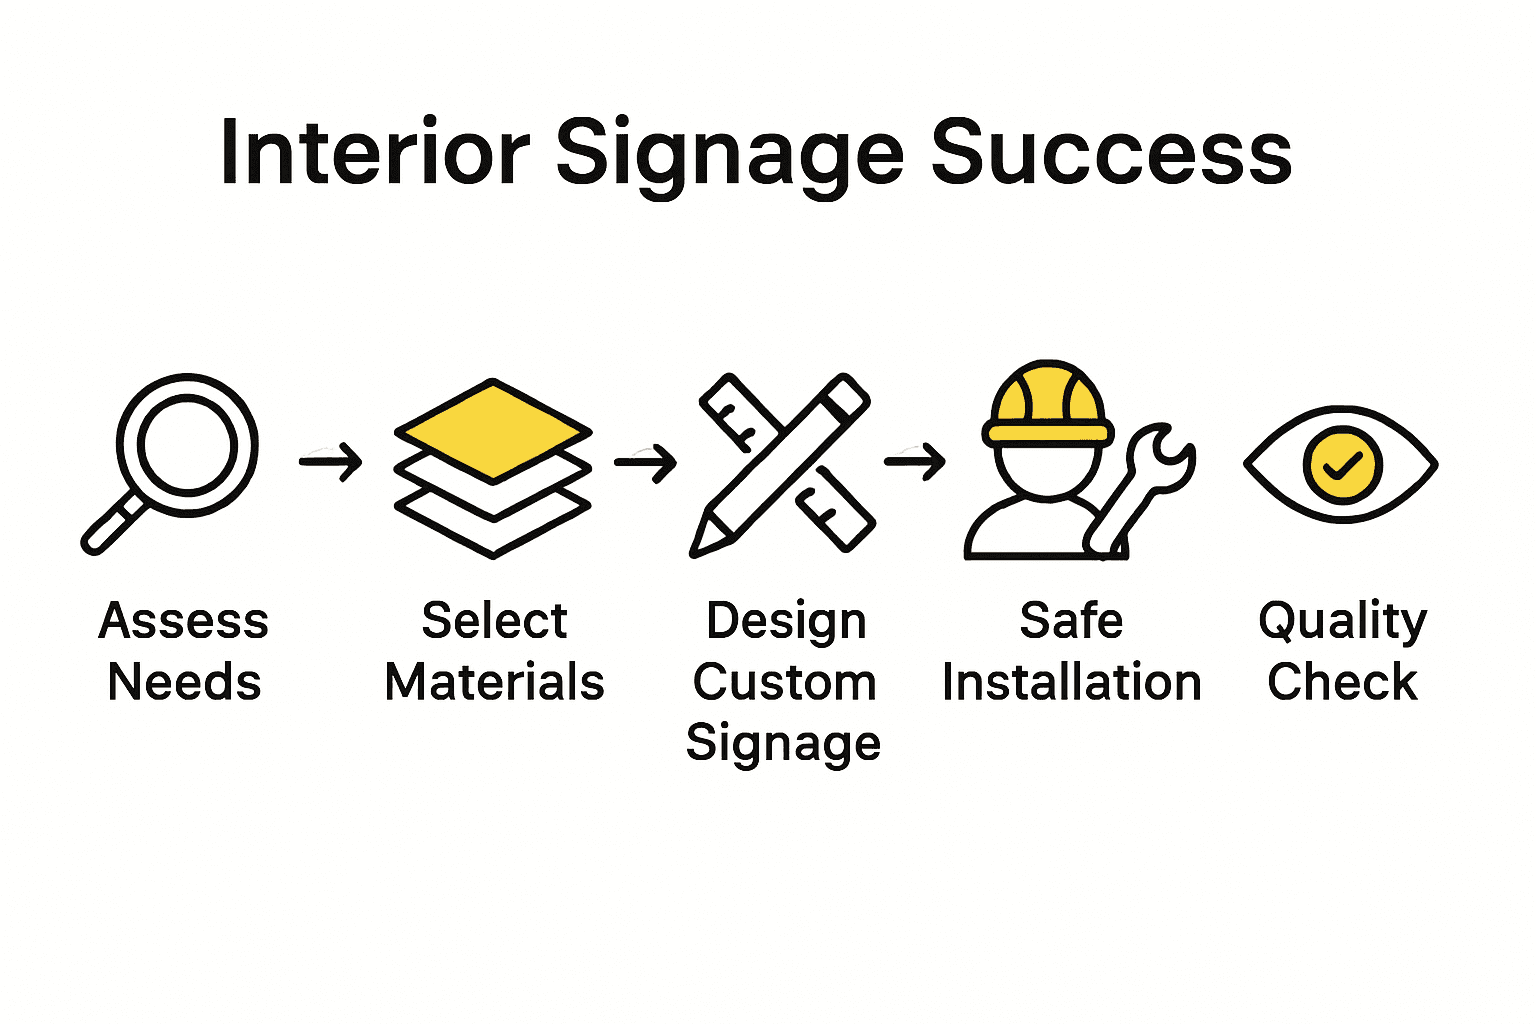
- Step 1: Assess Interior Signage Needs
- Step 2: Select Materials and Design Features
- Step 3: Create and Approve Custom Signage
- Step 4: Install Interior Signs Safely
- Step 5: Verify Placement and Quality
Quick Summary
| Key Point | Explanation |
|---|---|
| 1. Assess Signage Needs Thoroughly | Conduct a detailed walkthrough to identify effective signage locations and design requirements for navigation and branding. |
| 2. Choose Durable Materials | Select materials like aluminum or acrylic that withstand wear while ensuring readability and aesthetic appeal. |
| 3. Ensure Accessibility in Design | Incorporate features such as Braille and clear typography to meet accessibility standards and enhance user experience. |
| 4. Involve Multiple Teams in Installation | Collaborate with facilities and safety teams to ensure accurate sign placement and adherence to safety guidelines. |
| 5. Verify Quality Post-Installation | Check each sign for alignment and visibility from various angles to ensure design integrity and effective communication. |
 |
|
Step 1: Assess Interior Signage Needs
Assessing your interior signage needs is the crucial first step in creating a strategic visual communication plan for your business. In this phase, youll carefully evaluate your space and determine the most effective signage solutions that will enhance navigation, reinforce your brand, and improve overall customer experience.
Begin by conducting a comprehensive walkthrough of your interior space, paying close attention to how visitors move through different areas. According to walnutcreekca.gov, its essential to integrate signs with your architectural elements while ensuring maximum readability through appropriate spacing and visual contrast. Consider critical points of interaction such as reception areas, hallways, conference rooms, and transition zones where clear directional guidance becomes most important.
While evaluating your signage requirements, remember that each sign serves multiple purposes beyond mere wayfinding. kansascommerce.gov recommends selecting materials and designs that complement your existing architectural colors and maintain visual harmony. Take measurements of wall spaces, consider viewing distances, and think about the specific information each sign needs to communicate. Pro tip create a simple sketch or digital layout of your space to help visualize where signs will be most effective.
Your next step will involve translating these initial assessments into a detailed signage plan that addresses functionality navigation needs and aesthetic considerations.
 Get ready to transform your interior into a more intuitive and professional environment.
Step 2: Select Materials and Design Features
Selecting the right materials and design features for your interior signage is a critical step that will determine the long-term effectiveness and visual appeal of your communication strategy. In this phase, youll make strategic decisions that balance aesthetic requirements with practical functionality.
Ivytech.edu offers expert guidance on choosing signage materials. They recommend prioritizing durable materials such as aluminum, acrylic, and stainless steel that can withstand daily wear and tear. Focus on selecting matte finishes to minimize glare and enhance readability. Consider the specific environmental conditions of your space and choose materials that will maintain their quality over time.
When designing your signs, pay close attention to aesthetic and functional details. Ohsu.gov emphasizes the importance of smooth finishes without imperfections and designing signs with removable components for easy future maintenance. Think about color schemes that complement your existing interior design while ensuring maximum visibility. Pro tip select a consistent font style and size across all signs to create a unified and professional appearance.
With your materials and design features carefully selected, youre now ready to move forward to the next phase of your interior signage project planning and implementation.
Step 3: Create and Approve Custom Signage
Creating and approving custom signage is a pivotal moment in your interior communication strategy that transforms your initial planning into tangible visual elements. This step requires careful attention to design details, accessibility standards, and your brand aesthetic.
Uah.edu provides critical guidance for developing comprehensive signage. They recommend including detailed message lists, specific typestyles, graphic elements, and ensuring accessibility through tactile characters and Braille. When designing your signs, focus on creating high-quality materials like high-pressure engraved stock laminated to acrylic cores. Pay special attention to typography, ensuring that your font choices are clear, professional, and align with your brand identity.
Facilities.fsu.edu emphasizes the importance of technical precision in sign creation. Their specifications highlight the need for smooth sign panel surfaces with raised graphics that meet ADA standards. Consider using unframed panel signs with beveled edges and rounded corners to create a modern, clean look. Pro tip create multiple design drafts and seek input from team members or a focus group to validate your choices before final approval.
With your custom signage designs finalized and approved, you are now prepared to move forward with production and installation planning.
Step 4: Install Interior Signs Safely
Installing interior signs is a critical phase that demands precision planning and careful execution to ensure safety, functionality, and professional appearance. This step requires meticulous attention to detail and adherence to established safety standards.
Nationwidechildrens.org provides essential guidance for sign installation. Their specifications emphasize that all materials must conform to strict standards and require comprehensive design intent drawings that outline precise fabrication and installation guidelines. Before mounting, carefully measure and mark exact placements to ensure accuracy. Use appropriate mounting hardware that matches your sign material and wall surface type. This might include anchors for drywall, special brackets for glass surfaces, or industrial adhesives for lightweight signs.
Fdo.wwu.edu recommends involving multiple departments in the approval process to guarantee safety and compliance. Consult with facilities management, safety officers, and potentially your building maintenance team to verify installation methods. Pro tip always have two people work together during installation one to hold the sign and measure, another to confirm level alignment and provide guidance. Wear appropriate safety gear like work gloves and safety glasses, and use a level tool to ensure perfect horizontal or vertical positioning.
With your signs now professionally and safely installed, youre ready to finalize your interior signage project and enjoy the enhanced communication and aesthetic benefits.
Step 5: Verify Placement and Quality
Verifying the placement and quality of your interior signage is the final critical step that ensures your investment delivers the intended visual communication and professional appearance. This stage transforms your careful planning into a polished, functional result.
Facilitiesplanning.wvu.edu emphasizes the importance of visual continuity and consistent quality. While their guidelines focus on exterior signage, the principles apply equally to interior spaces. Systematically review each sign for precise alignment, ensuring that spacing between signs is uniform and that they create a cohesive visual narrative throughout your space. Check that mounting heights are consistent and that signs are perfectly level. Look for any imperfections in installation such as slight tilts, uneven surfaces, or gaps between the sign and the wall.
Brandguide.asu.edu recommends a comprehensive review process to maintain design integrity. Pro tip conduct your quality check from multiple perspectives walk up close to examine details, then step back to assess overall visual impact. Verify that each sign meets your original design specifications. Test readability by checking visibility from different angles and distances. Ensure that sign materials look crisp, colors are true to your brand, and no installation damage is visible. If you find any minor issues, address them immediately to prevent future complications.
With your signage thoroughly verified and any necessary adjustments made, you have successfully completed your interior signage project.
Elevate Your Business Space with Custom Interior Signage
Interior signage plays a vital role in guiding visitors smoothly, reinforcing your brand, and creating a professional atmosphere. If you’re facing challenges like unclear navigation, inconsistent signage materials, or outdated designs mentioned in the article, it is time to transform these obstacles into opportunities. Achieve clear communication through durable, eye-catching signs that blend perfectly with your interior environment.

Explore tailored solutions at Uncategorized where versatile options meet your unique business needs. Visit https://customsignstoday.us to discover how you can craft signage that balances style and functionality. Start your project today and ensure every visitor experiences seamless direction and a lasting impression.
Frequently Asked Questions
How do I assess my interior signage needs for my business?
Begin by conducting a thorough walkthrough of your space to see how visitors navigate different areas. Take note of critical interaction points, measure wall spaces, and consider what information each sign needs to communicate.
What materials should I prioritize when selecting interior signage?
Focus on durable materials such as aluminum, acrylic, or stainless steel, as they withstand wear and tear. Aim for matte finishes to minimize glare and enhance readability in your environment.
What should I include in my custom signage designs?
Ensure that your designs contain clear typography, specific message lists, and compliance with accessibility standards like Braille. Create multiple drafts and gather feedback to refine your designs before proceeding to production.
What steps should I take for safe installation of my interior signs?
Carefully measure and mark exact placements for each sign to ensure accuracy during installation. Always work in pairs: one person should hold the sign while the other confirms alignment and levels the installation.
How can I verify the quality and placement of my interior signage?
Systematically review each sign for alignment, consistent spacing, and level positioning. Conduct your quality check from different perspectives to ensure readability and design integrity, addressing any minor issues as soon as they arise.