Nearly 90 percent of American event coordinators say clear visual branding can make or break attendee engagement. From corporate conferences in New York City to community galas across California, creating the right custom banner is the foundation for attracting attention and building event identity. Discover proven steps to align banner design with your event goals, choose materials that withstand diverse American venues, and transform your message into a standout visual experience.
Table of Contents
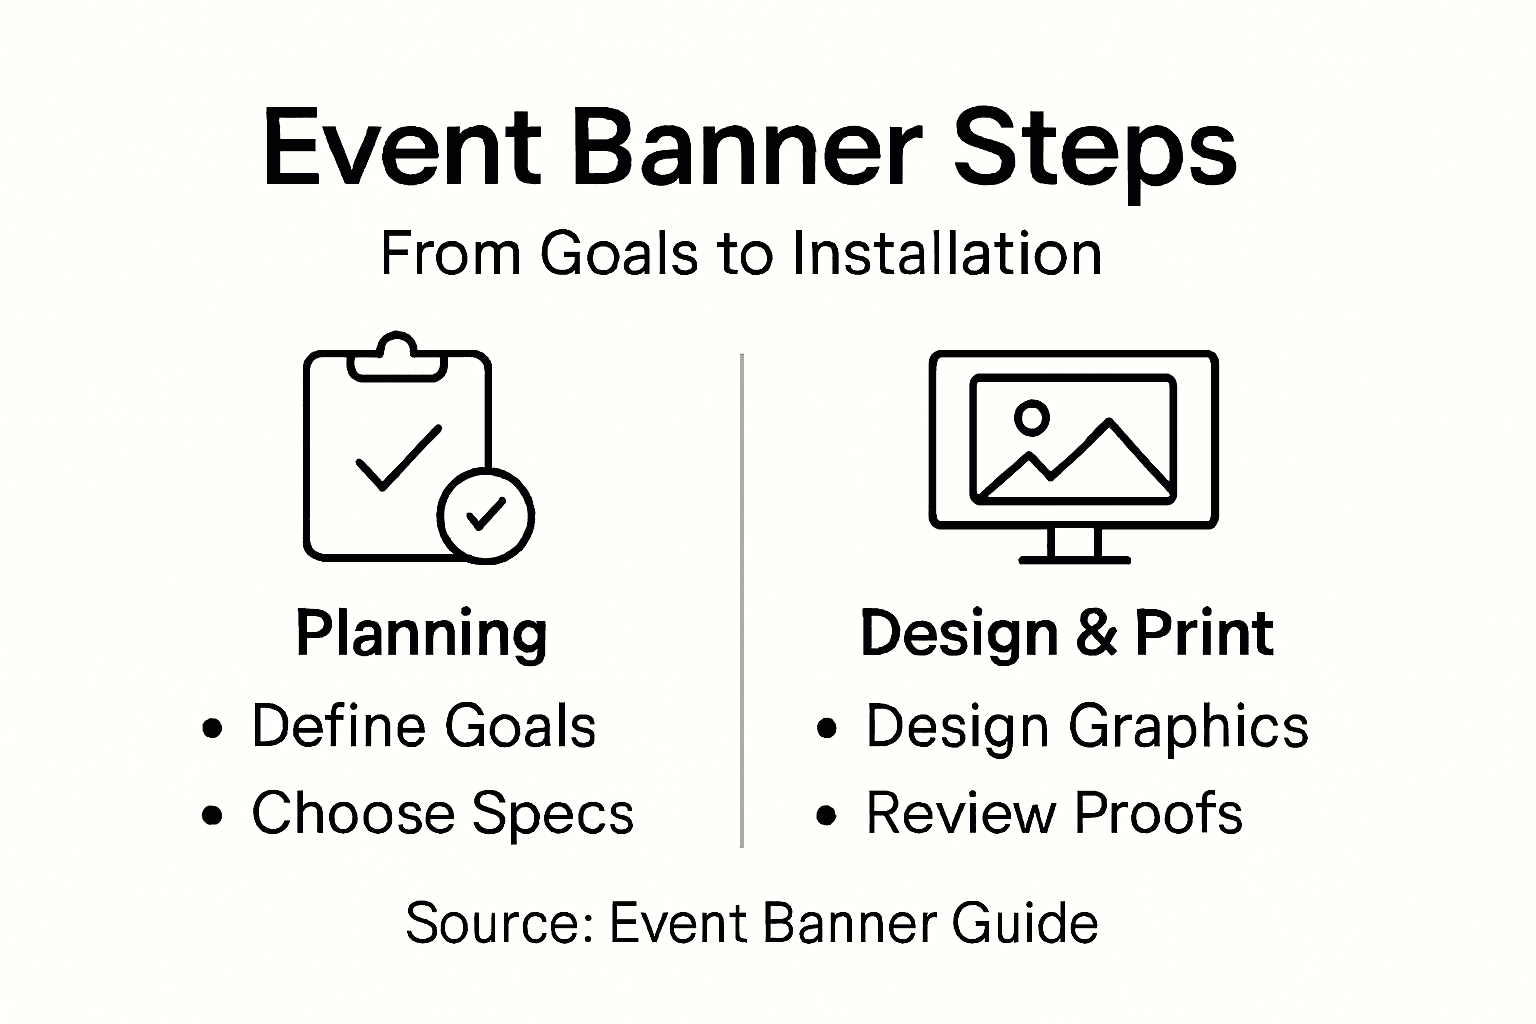
- Step 1: Define Event Goals And Banner Specifications
- Step 2: Select Banner Materials And Sizing
- Step 3: Design Compelling Event Banner Graphics
- Step 4: Choose Printing Options And Review Proofs
- Step 5: Install And Display Your Event Banners
Quick Summary
| Key Takeaway | Explanation |
|---|---|
| 1. Define Clear Event Goals | Establish specific objectives aligning with the banner design, considering event type and target audience needs. |
| 2. Choose Appropriate Materials | Select durable materials suited for the event setting to ensure longevity and visual appeal in various environments. |
| 3. Create Effective Graphics | Design with clear visual hierarchy and readability, using high-contrast colors and intentional imagery. |
| 4. Review Printing Options | Thoroughly check proofs for accuracy in color, text, and design before finalizing production to avoid mistakes. |
| 5. Optimize Banner Installation | Install banners strategically for maximum visibility, ensuring proper mounting and testing for optimal readability. |
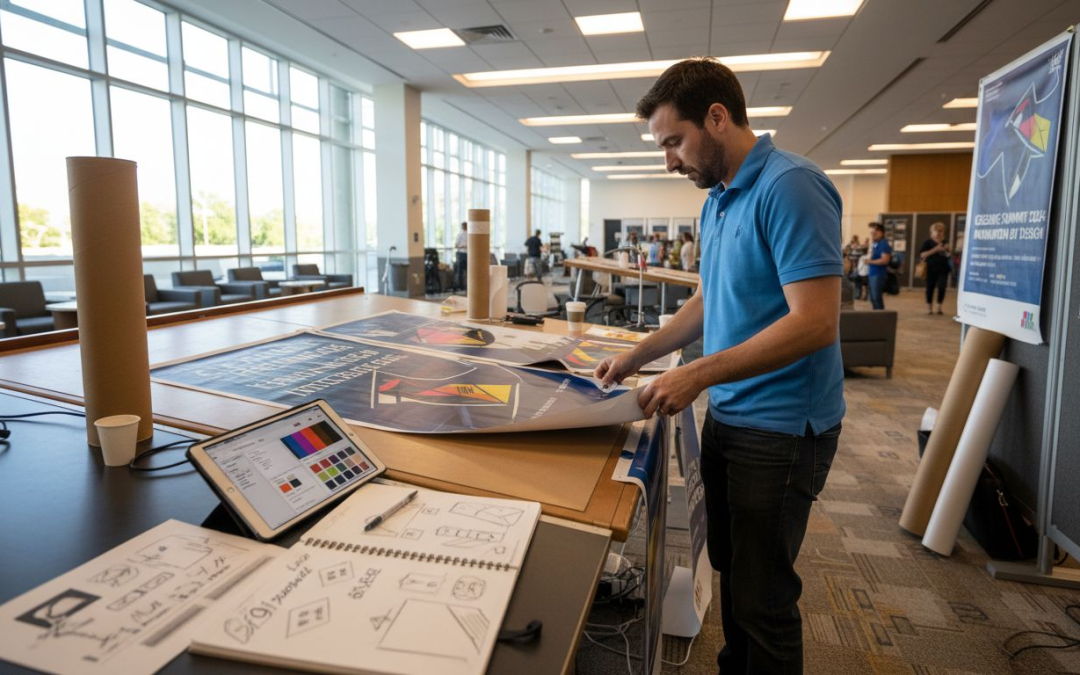
Step 1: Define event goals and banner specifications
Creating an impactful event banner starts with crystal clear goal definition. Your banner serves as a visual communication tool that must align precisely with your event’s core objectives. Successful event planning requires strategic goal alignment that transforms your visual messaging into a powerful promotional instrument.
Begin by determining your specific event goals. Are you hosting a corporate conference, fundraising gala, community celebration, or product launch? Each event type demands a unique banner approach. Marketing events might prioritize brand recognition, while nonprofit gatherings could emphasize emotional connection. Clarify whether your primary objectives include increasing attendance, generating awareness, driving registrations, or creating memorable visual experiences. Translate these goals into specific banner specifications such as size, color palette, messaging tone, and key visual elements that will resonate with your target audience.
When specifying banner details, consider practical elements like venue requirements, viewing distance, lighting conditions, and mounting surfaces. Your banner specifications should include precise dimensions, material recommendations, graphic resolution, and design elements that ensure maximum visibility and impact. Measure potential display areas and choose banner sizes that complement the space without overwhelming or underwhelming the environment.
Pro tip: Create a one-page event banner brief that outlines your goals, target audience, key messages, and technical specifications to guide your design process efficiently.
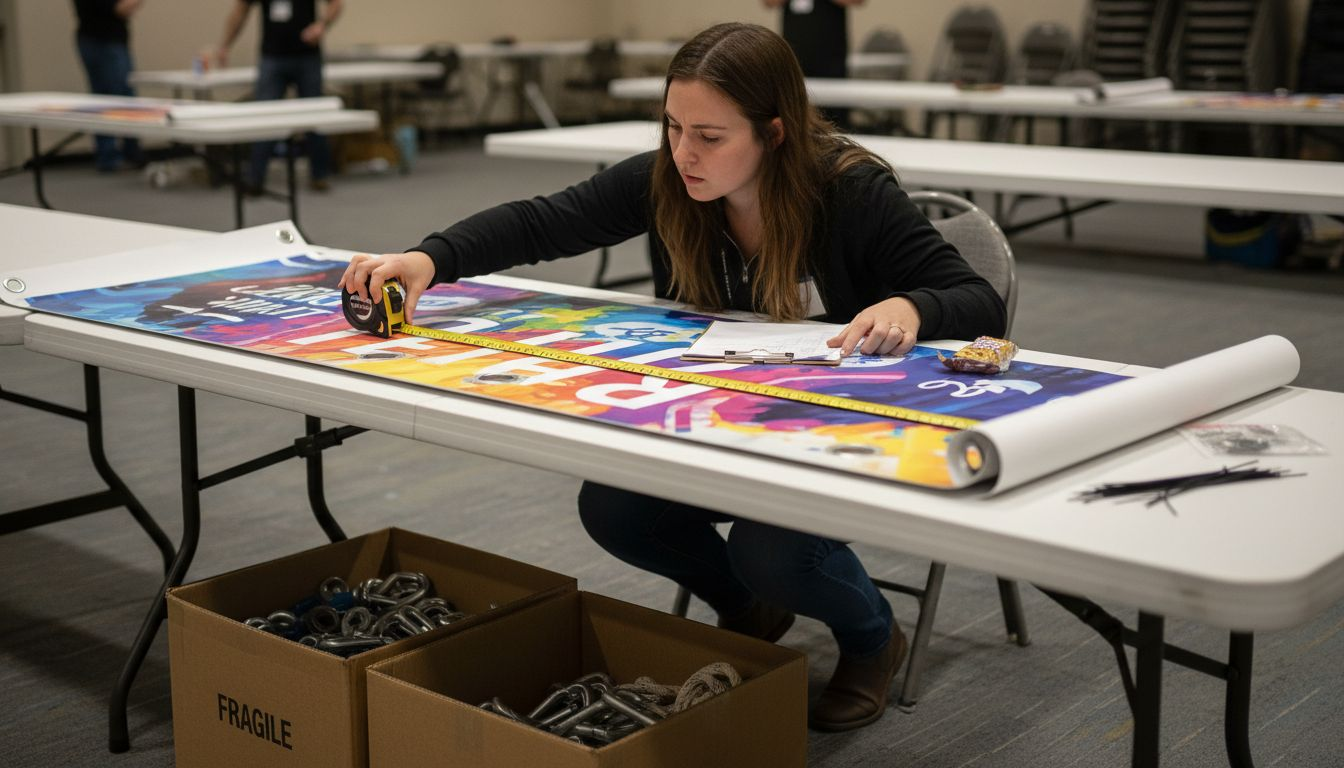
Step 2: Select banner materials and sizing
Choosing the right banner materials and dimensions is critical to creating a visually compelling event communication tool. Your selection must balance durability, aesthetic appeal, and practical functionality. Standard web banner dimensions offer strategic size recommendations that can guide your design approach and ensure maximum visual impact.
Vinyl remains the most popular material for event banners due to its weather resistance, affordability, and versatility. When selecting materials, consider your specific event environment outdoor events require heavy duty vinyl with UV protection, while indoor conferences might use lighter fabric materials like polyester or canvas. Size selection depends on multiple factors including venue space, viewing distance, and intended mounting location. Professional banners typically range from 2×4 feet for smaller indoor settings to 4×10 feet for large venue displays.
Your banner sizing strategy should account for visibility and readability. Larger banners work best in spacious areas with significant viewing distance, while more compact designs suit intimate spaces. Always consider the viewing angle and ensure text remains legible from expected audience perspectives. Measure your display area precisely and choose dimensions that create visual balance without overwhelming or underwhelming the space.
Pro tip: Always add an extra 2 to 3 inches to your banner dimensions for hemming and mounting hardware to prevent unexpected sizing complications.
Here’s a quick reference comparing common event banner materials and their ideal uses:
| Material | Durability | Best Use | Notable Advantages |
|---|---|---|---|
| Vinyl | High (weatherproof) | Outdoor events | UV resistant, affordable |
| Fabric | Medium | Indoor conferences | Lightweight, vivid colors |
| Mesh | High | Windy outdoor locations | Minimizes wind stress |
| Canvas | Low to Medium | Art-focused indoor use | Textured, premium look |
Step 3: Design compelling event banner graphics
Creating visually stunning event banner graphics requires a strategic approach that combines clear communication with aesthetic appeal. Effective poster design relies on concise readable content that immediately captures your audience’s attention and communicates your event’s core message.
Start by establishing a strong visual hierarchy that guides viewers’ eyes through your banner. Choose a dominant focal point typically your event name or key message and build supporting visual elements around it. Select a color palette that aligns with your event brand or theme while ensuring high contrast for readability. Typography plays a crucial role select no more than two complementary fonts one for headlines and another for supporting text. Professional designers recommend using a bold sans serif font for headlines and a clean readable font for details to maintain visual clarity.
Be intentional about imagery and graphic elements. Use high resolution photos or graphics that directly relate to your event purpose. Avoid cluttering the design with too many elements instead focus on creating a clean balanced composition that tells a story at a glance. Consider using vector graphics that scale seamlessly across different banner sizes and maintain crisp image quality. Ensure all text remains legible from expected viewing distances by testing your design at various scales and viewing angles.
Pro tip: Leave at least 20% white space in your banner design to prevent visual overwhelm and help key messages stand out effectively.
This table summarizes key design elements to focus on for maximum event banner impact:
| Element | Why It Matters | Pro Tip |
|---|---|---|
| Visual Hierarchy | Directs viewer attention | Make message stand out |
| Color Palette | Enhances brand recall | Use high contrast for clarity |
| Typography | Boosts readability | Limit to two easy fonts |
| White Space | Improves focus | Leave at least 20% empty |
Step 4: Choose printing options and review proofs
Selecting the right printing options and meticulously reviewing proofs are critical final steps in creating your event banner. Color proofs help verify content and accuracy before committing to final production, ensuring your banner meets all visual and quality expectations.
When choosing printing options, consider material quality, finish types, and print resolution. Discuss options like matte or glossy finishes, paper weight, and color calibration with your print provider. Request both digital soft proofs and physical contract proofs to thoroughly evaluate your banner design. Digital proofs allow quick initial review, while physical proofs provide an exact representation of the final printed product. Carefully examine every detail during proof review including color accuracy, text clarity, image sharpness, and overall design alignment.
Review each proof systematically by checking graphic elements, text content, and color consistency. Look for potential errors in typography, graphic placement, and color reproduction. Pay special attention to text readability and ensure all critical information like event dates, times, and contact details are perfectly accurate. If any discrepancies are found, communicate clearly and promptly with your print provider to request necessary corrections.
Pro tip: Always request a high resolution proof and view it under multiple lighting conditions to ensure your banner will look great in different environments.
Step 5: Install and display your event banners
The final step of creating impactful event banners involves strategic installation and display that maximizes visibility and effectiveness. Event banner placement requires careful site preparation to ensure your message reaches your intended audience with maximum visual impact.
Choose mounting locations that offer clear sightlines and minimize obstruction. Indoor venues might require floor stands or wall mounting, while outdoor events need sturdy hardware that can withstand potential wind and weather conditions. Use appropriate mounting hardware like banner frames, tension poles, or weighted stands depending on your specific venue. When installing outdoors, ensure banners are securely anchored to prevent potential safety hazards. Consider viewing angles carefully position banners where attendees will naturally look and ensure text remains readable from expected distances.
Test your banner installation before the event begins. Walk through the venue from multiple perspectives to confirm the banner is level, readable, and positioned for optimal visibility. Check lighting conditions to ensure your banner colors and graphics remain vibrant and clear. Adjust mounting height and angle to prevent shadows or glare that might compromise your banner design. For multiple banner displays, maintain consistent spacing and alignment to create a professional and cohesive visual presentation.
Pro tip: Bring extra mounting supplies and a small tool kit during installation to quickly address any unexpected setup challenges.
Elevate Your Event with Custom Banners Designed for Maximum Impact
Creating event banners that truly capture attention and communicate your core message can feel overwhelming without the right expertise and resources. This article shows how defining clear goals, selecting durable materials, crafting compelling graphics, and strategic installation all play critical roles in making your banner stand out and effectively engage your audience. The challenge is bringing all these elements together with precision and quality that guarantees your event’s success.
At Custom Signs Today, we understand the frustrations of ensuring your banner meets every specification from size and material to color accuracy and readability. Our custom banner solutions combine expert craftsmanship with premium materials designed for both indoor and outdoor environments. Whether you need vinyl banners resistant to weather or fabric displays with vivid colors, our team supports your unique event goals with personalized service and fast turnaround. Discover how our Uncategorized – category can guide you through versatile signage options that suit any occasion.
Ready to transform your event signage into a powerful visual statement that captures attention and maximizes impact? Visit Custom Signs Today now to explore your custom banner possibilities. Request a free quote today and take the first step toward banners that elevate your event with clarity and style.
Frequently Asked Questions
How can I define effective goals for my event banner?
To define effective goals for your event banner, clarify the primary objectives of your event, such as increasing attendance, driving registrations, or enhancing brand recognition. Document these goals to guide your banner’s design specifications, ensuring every visual element aligns with your overarching message.
What materials should I choose for my event banner?
Selecting materials for your event banner requires consideration of durability and intended use. Use heavy-duty vinyl for outdoor events that need weather resistance, while lighter fabrics like polyester are suitable for indoor settings. Aim for a material that enhances your banner’s visual impact while meeting your environmental needs.
How can I design eye-catching graphics for my event banner?
To design eye-catching graphics, establish a strong visual hierarchy that highlights your event name or key message. Choose a balanced color palette and limit your fonts to ensure readability; typically, one bold font for headlines and another clean font for details will work well. Keep your design uncluttered to convey your message clearly.
What printing options should I consider for my event banner?
When choosing printing options, evaluate material quality, print resolution, and finish types. Request both digital and physical proofs to ensure color accuracy and sharpness. Carefully review each proof for errors and ensure that all critical information is correctly displayed before final printing.
How do I properly install and display my event banners?
For optimal visibility, install your event banner in locations with clear sightlines and secure mounting. Use appropriate hardware, such as banner frames or weighted stands, to ensure stability, especially for outdoor settings. Test the installation from multiple perspectives to confirm legibility and make adjustments as needed before the event starts.