
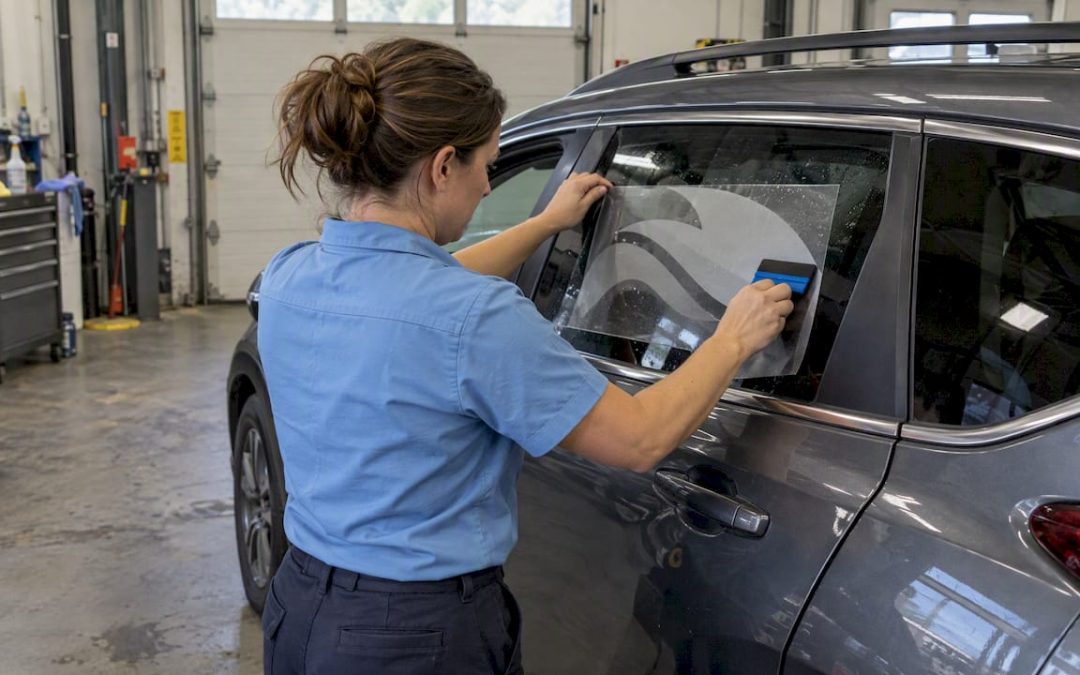
Use the dry hinge method for smaller stickers and inside clings, and a light wet application with a felt-edge squeegee for larger adhesive vinyl. Clean the glass with a non-ammonia cleaner or an isopropyl-alcohol mix first, then squeegee from the center outward. If you are not sure which method fits your decal, hinge it in place to check alignment, then pick wet or dry based on its size.
TL;DR:
- The dry hinge method is suitable for small decals and interior glass placements, allowing precise alignment before adhesion.
- For larger graphics or repositionable decals, the wet method with a water-based fluid facilitates easier sliding and accurate placement.
- Proper surface preparation, including cleaning with non-ammonia cleaners and maintaining temperatures between 60°F and 77°F, is critical for successful application.
- Interior decals that are visible from outside must be mirror-printed to prevent backward reading through the glass.
- Professional installation is recommended for large, complex, or high-durability projects to ensure adherence, panel alignment, and long-term performance.
Table of Contents
- What you need: tools, materials, and ideal conditions
- Dry (hinge) method: step-by-step for small decals and quick inside placement
- Wet method: step-by-step for large vinyl graphics and repositionable decals
- Inside-window placement techniques for rear and side glass
- Troubleshooting: bubbles, lifting edges, and cloudiness
- Safety and legality note on visibility and light transmittance
- Installer-grade tips from signage pros
- When to DIY and when to call in a pro
- Get a quote for custom decals and professional installation
- FAQ
- Sources
What you need: tools, materials, and ideal conditions
Before you peel any backing, gather the right supplies and check the weather. Working in the wrong temperature or with the wrong cleaner ruins more decals than bad technique does.
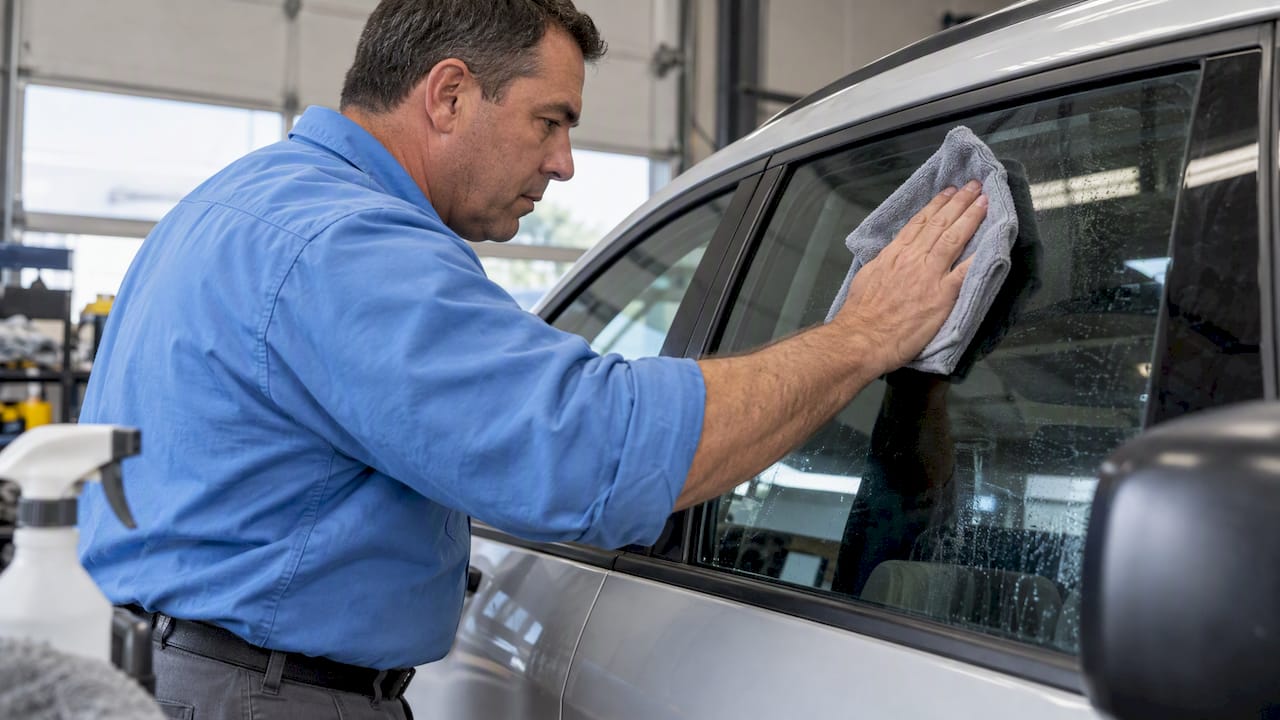
- Non-ammonia glass cleaner or a 75/25 water-to-isopropyl-alcohol solution in a spray bottle
- Felt-edge squeegee, microfiber cloths, and painter’s tape for hinging
- Measuring tape, a spirit or laser level, a utility knife, and application fluid for wet installs
Aim for an air and surface temperature between 60°F and 77°F (16°C to 25°C), which Avery Dennison lists as the ideal range for wet application. Printed films especially need this window because they acclimate to ambient conditions before they lie flat. Skip ammonia-based cleaners and heavy detergents: they leave residue that contaminates the adhesive and can cause cloudiness under the vinyl later.
Pro Tip: Keep a dry microfiber cloth dedicated to the final wipe-down so you never reintroduce cleaner residue right before applying the decal.
Dry (hinge) method: step-by-step for small decals and quick inside placement
The hinge method works best for relatively small stickers, static clings, and most inside-glass placements where you have time to align carefully.
- Clean the glass and let it dry completely, then measure and mark your placement with a level.
- Lay the decal in position, fold back half the backing, and tape a hinge of painter’s tape across the top so it can swing open without shifting.
- Peel a few inches of liner from the hinge, press the exposed adhesive to the center of the marked spot, and squeegee outward in short, overlapping strokes.
- Continue peeling and pressing in small sections, working from the hinge down, instead of pulling all the backing off at once.
- Once the full decal is down, remove any application or transfer tape slowly at a sharp, low angle while holding the vinyl flat with your free hand.
- Trim any overhang with a sharp utility knife, cutting away from the glass edge rather than across it.
This sequence mirrors the placement steps used for institutional parking decals, which call for cleaning, peeling, positioning, and smoothing out bubbles in that order. Permit decals and parking passes often specify an exact corner or visibility requirement, so check any posted instructions before you commit to a spot.
Wet method: step-by-step for large vinyl graphics and repositionable decals
Larger graphics, or any printed graphic that needs repositioning, goes on easier with the wet method. The water delays the adhesive’s grab just long enough to slide the graphic into place.
- Mix a light application fluid that is predominantly water, with no more than a couple of drops of mild liquid detergent or a diluted isopropyl solution, following Avery Dennison’s wet application bulletin.
- Mist both the glass and the exposed adhesive side lightly, enough to float the graphic without pooling.
- Slide or hinge the graphic into position on the wet surface, check alignment against your level marks, and adjust while the fluid still allows movement.
- Squeegee from the center outward with a felt-edge blade, using firm, overlapping strokes to push the fluid and any air out toward the edges.
- Let the graphic dry before removing the application tape, then re-squeegee the edges once the tape is off to firm up the bond.
- For graphics facing outdoor moisture, run a bead of edge sealant along the perimeter once everything has dried.
Too much detergent in that fluid is the most common cause of a hazy, whitened finish under large vinyl, according to Avery Dennison’s application guidance, which recommends limiting fluid to mostly water. The wet method’s entire advantage is that brief loss of adhesive grab, and overusing detergent can trade that benefit for a permanent adhesion problem.
Inside-window placement techniques for rear and side glass
Inside-facing decals come with a twist most people miss on their first try: anything meant to be read from outside has to be printed mirror-cut, so the image reads correctly through the glass instead of backward.
- Confirm your decal is mirror-printed before you start if it is meant for outside viewing, since a standard print will read reversed once stuck to the interior
- Hinge the decal from inside the vehicle the same way as a dry exterior install, but watch your reach and avoid letting the printed face brush against the headliner or dashboard
- Squeegee gently from the center out, keeping the seal clear of window trim so the decal does not overlap the felt channel
- Trim excess backing carefully, and if you need to press on the printed surface, wrap a card in a soft cloth rather than rubbing bare plastic directly on the ink
Troubleshooting: bubbles, lifting edges, and cloudiness
Most installation problems show up in the first few minutes, and almost all of them have a fast fix if you catch them early.
- Small bubbles: squeegee toward the nearest edge, or prick with a pin and press the air out through the hole
- Large trapped fluid: lift that section and reapply, or use gentle, controlled heat from a hair dryer if the vinyl allows it
- Lifting edges: clean underneath the lifted section, re-squeegee it flat, and add an edge sealant if the decal faces outdoor weather
- Cloudiness or whitening: usually trapped fluid or too much detergent, both fixed by re-squeegeeing and giving the install more time to dry rather than adding more cleaner
Pro Tip: Work bubbles out while the vinyl is still slightly damp from a wet install. Once it dries fully, trapped air gets much harder to move.
Safety and legality note on visibility and light transmittance
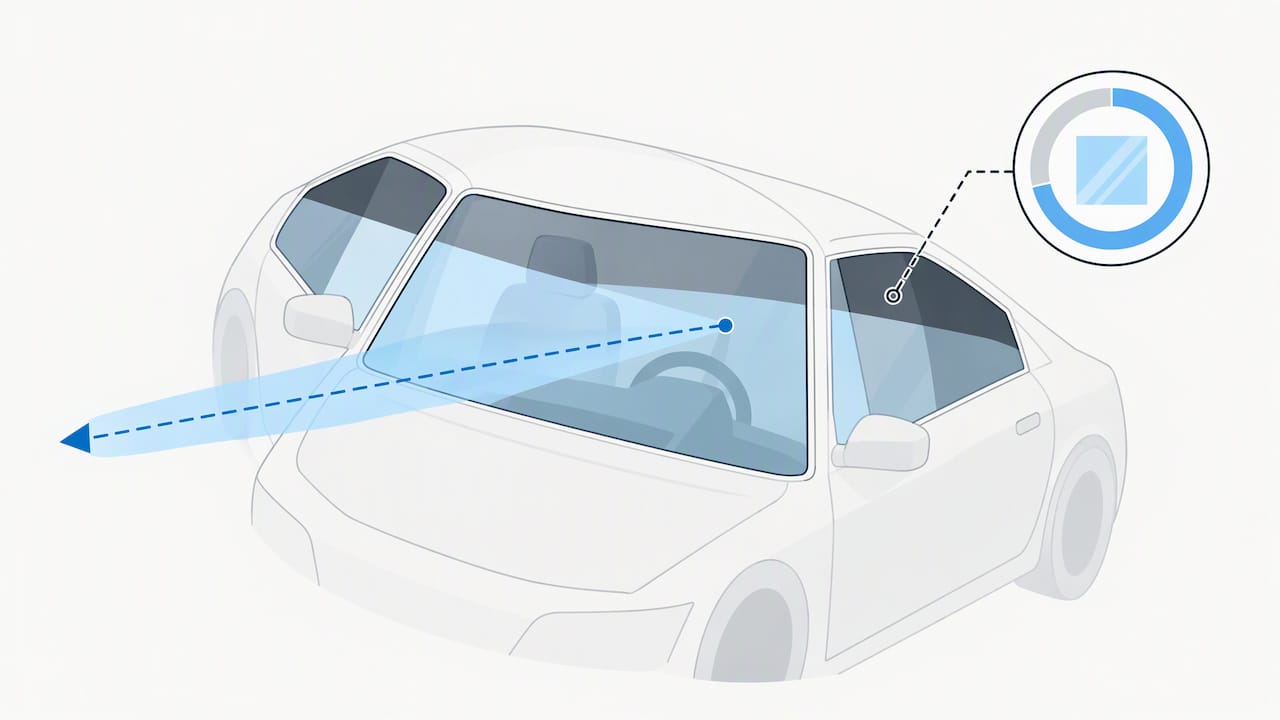
Federal guidance treats the glass areas drivers need for visibility as subject to light-transmittance rules, and NHTSA’s interpretation on glazing cites a 70% minimum light-transmittance standard for those areas. A sticker that blocks a meaningful portion of your sightline, especially on a windshield or front side windows, can run into that standard even if it feels like a small decal. State laws and local permit rules can add further limits, so check your state statute or local DMV if you are unsure. As a practical rule, keep dark or solid graphics out of your direct sightlines and leave a small gap between any decal and the rubber window seal.
Installer-grade tips from signage pros
Shops that install vinyl for a living follow a few habits that consumers often skip.
- Let printed graphics acclimate for 24 to 48 hours before installing them, since Drytac’s application guide notes this outgassing period prevents bubbles that otherwise appear days after a clean-looking install
- Keep detergent to a minimum in any application fluid, leaning on water or a diluted isopropyl mix instead
- Use a felt-edge squeegee with overlapping strokes rather than a plastic card, which can scratch film or force fluid under the leading edge
- Avoid placing large dark solids across glass that heats unevenly in direct sun, since uneven heat can stress the adhesive bond over time
Pro Tip: If a graphic sat in a cold car or warehouse, give it extra acclimation time before you unroll it. Cold vinyl is stiffer and more prone to cracking at the fold.
For readers comparing notes on surface prep before any of this, our guide to getting window stickers to stick covers the installer tests shops use to check a surface is ready.
When to DIY and when to call in a pro
Small decals, temporary clings, and a single inside-window sticker are well within reach for most people with an afternoon and the right cleaner. Multi-panel vehicle wraps, large printed graphics, mirror-cut inside decals, or anything needing edge sealing get harder to pull off cleanly on your own. When durability, a warranty, or exact panel-to-panel alignment matters, the cost of a professional install usually pays for itself in the years the graphic lasts.
— Yossi
Get a quote for custom decals and professional installation
When a project outgrows a kitchen-table install, custom vinyl decals, vehicle lettering, and mirror-cut inside graphics can be designed and fabricated, with installation guidance or handling available.

Reach out for a quote when you are looking at:
- A large exterior graphic or full vehicle wrap that needs multiple panels aligned
- A mirror-cut inside decal for storefront or vehicle glass
- Edge sealing or warranty-backed work where a DIY fix is not worth the risk
A quote starts with a quick look at your vehicle or window size, the graphic you have in mind, and whether installation will be handled. From there, a price and timeline are provided before any work begins.
If you manage installs across multiple sites or vehicles, project tools built for installers, like BRCKS, can help keep large jobs organized once the work moves past a single sticker.
FAQ
How do I get stickers to stick to windows properly?
Clean the glass first with a non-ammonia cleaner or a diluted isopropyl-alcohol mix, since residue from regular household cleaners can keep adhesive from bonding. Then press the decal on using either the dry hinge method for small stickers or a light wet application for larger vinyl, squeegeeing from the center out to remove air and fluid.
Can I put stickers on the outside of my car window?
Yes, exterior placement works for most adhesive decals as long as you avoid areas that block the driver’s view. Federal guidance treats the glass drivers need for visibility as subject to a light-transmittance standard, so keep large or dark graphics off the windshield and front side windows.
How long should a window decal dry before I wash the car or drive in rain?
Printed graphics installed with the wet method need time to dry and outgas before you expose them to water, and manufacturer guidance points to an acclimation and drying window of 24 to 48 hours for best results. Waiting that long before a wash or a rainstorm gives the adhesive a chance to fully set.
Why does my decal look cloudy or have white spots after I applied it?
Cloudiness usually comes from trapped application fluid or too much detergent in the wet-application mix. Re-squeegee the area to push the fluid out toward the edges and give it more drying time instead of adding more cleaner.
Do I need a mirror-cut decal for inside window placement?
Yes, if the graphic is meant to be read from outside the glass while mounted on the inside, it needs to be printed mirror-cut or it will read backward. Decals meant only for interior viewers, such as parking permits, do not need this treatment.
Sources
- Windows and Glass — Drytac application guide (2025)
- IB4.20 Wet application method — Avery Dennison
- 11385-1.PJA — NHTSA interpretation on glazing and markings
- Parking decal placement instructions — University of Southern Indiana

