
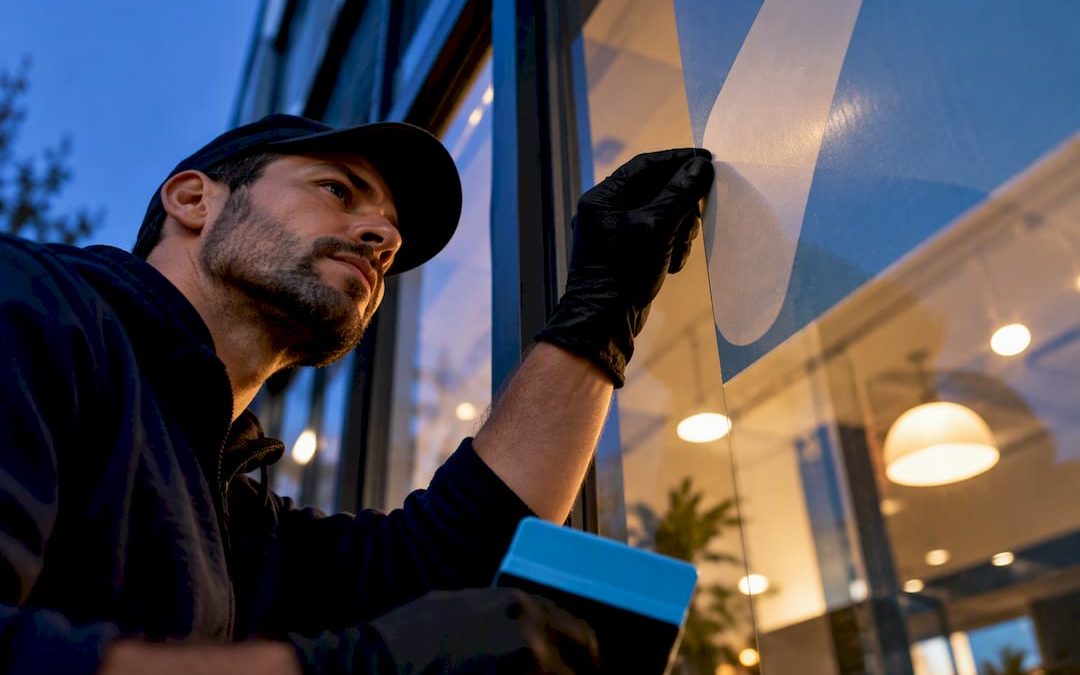
Getting professional vinyl window decals to stick for the long term comes down to five things: a fully cleaned and scraped surface, an adhesion test on the actual glass, application inside the manufacturer’s temperature range, the correct wet or dry method with proper squeegee technique, and edge trimming that respects seals before you let the adhesive cure. Skip any one of these and you risk peeling, bubbling, or a graphic that fails within weeks instead of years.
TL;DR:
- A proper adhesion test on the actual window is critical to confirm compatibility, especially on coated or low surface energy glass.
- Cleaning with a solvent and minimal soap ensures a contaminant-free surface, which is essential for long-term decal durability.
- Wet application requires a water-based fluid with limited detergent to prevent weakening the adhesive bond and should follow manufacturer guidelines.
- Applying at temperatures between 61°F and 104°F (preferably 60°F to 77°F) ensures optimal adhesion, with full strength developing over 24 to 72 hours.
- Professional installation that includes testing, proper edge sealing, and careful technique significantly reduces early failure risks and rework costs.
Table of Contents
- Choosing the right film and testing it on your window
- Cleaning and preparing the glass before you apply anything
- Wet versus dry application: which method fits your job
- Squeegee technique, trimming, and edge sealing that hold up
- Temperature window and how long adhesion takes to build
- What to do when a decal won’t stay stuck
- Why professional installation lowers risk for business owners
- Let Custom Signs Today handle the install and the adhesion
- Manufacturer bulletins worth keeping on file
- Sources
- FAQ
Choosing the right film and testing it on your window
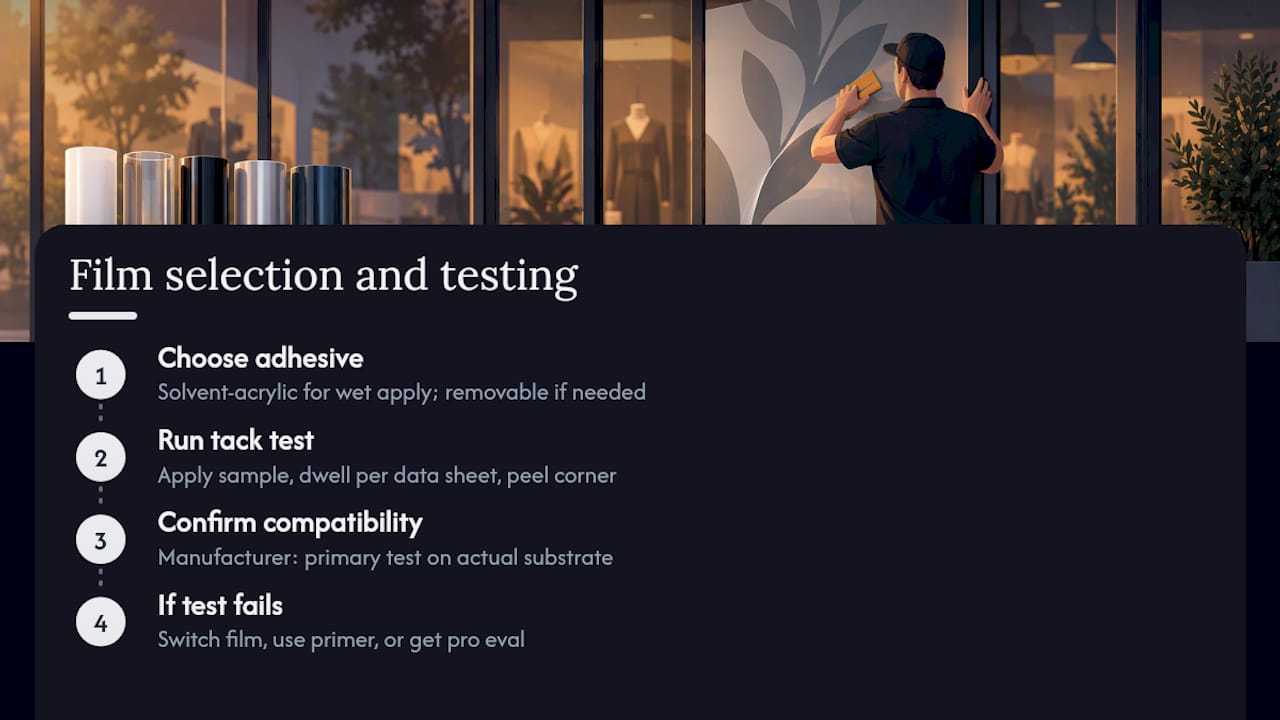
Solvent-acrylic adhesives generally outperform emulsion adhesives for storefront work, especially when a wet application method is planned, because they tolerate application fluid without losing bond strength. If the decal will ever need removal without damaging tint or glass coatings, a removable adhesive line is the safer choice from the start.
Before committing to a full order, run a tack test: apply a small sample to the actual window, let it dwell for the time noted on the product sheet, then peel a corner and judge resistance. Manufacturer guidance treats this test as the primary way to confirm compatibility, since adhesion testing on the actual substrate catches invisible coatings that a visual check would miss.
Coated glass, window tint, and other low surface energy surfaces need extra scrutiny. If the sample test shows weak tack or the water sheeting check described below fails, escalate to a different film, a primer, or a professional substrate evaluation rather than proceeding on hope.
Cleaning and preparing the glass before you apply anything
A contaminated surface is the single most common reason decals fail early, and the fix is procedural rather than complicated.
- Scrape off old adhesive residue and paint overspray with a fresh single-edge blade, replacing blades often to avoid scratching the glass.
- Wipe the surface with a solvent cleaner such as isopropyl alcohol or Prepsol to break down oils and residue.
- Wash with a slip solution that is almost entirely water. Manufacturer guidelines call for minimal detergent, roughly a few drops per liter, because excessive soap weakens the eventual bond.
- Rinse thoroughly and squeegee the water off. If it sheets evenly, the glass is clean; if it beads, the surface still has residue and needs another pass.
- Dry the edges completely and check the frame: repair or tape over cracked putty or worn seals before the film goes on.
Professional detailers who work on glass every day use the same beading test to judge readiness, a technique also common in automotive glass cleaning where residue-free surfaces are just as critical to a clean finish.
Wet versus dry application: which method fits your job
Dry application is faster and works for most films on flat, unobstructed glass, which makes it the default for straightforward storefront jobs. Wet application trades some speed for repositioning room and a smoother finish, but it only works with adhesives designed for it.
- Dry method: apply directly, squeegee immediately, and expect a shorter installation window with less room for error correction.
- Wet method: mist the glass with application fluid first, position the film while it slides, then squeegee out the fluid in stages.
- Dilution: application fluid should be predominantly water, with manufacturers commonly recommending no more than one or two drops of mild detergent per liter, or a mix of about 25% isopropyl alcohol to 75% water when faster evaporation is needed in cold weather.
- Risk: too much detergent or the wrong additive can cause the adhesive to whiten, delay adhesion, or weaken the bond permanently.
Match the method to the film. Perforated and specialty vinyls often specify dry application only, so check the product’s own instruction bulletin before defaulting to wet.
Squeegee technique, trimming, and edge sealing that hold up
The first squeegee pass matters more than any pass after it. Start at the top center and pull outward and down in overlapping strokes, using roughly 50% overlap so no strip of trapped fluid or air survives underneath.
- Use a 6-inch heavy-duty squeegee for standard film, switching to a felt or microfiber edge for perforated or textured vinyl to avoid scratching.
- Keep blades fresh when trimming; a dull blade drags fibers into the cut edge and invites lifting.
- Trim to leave 2 to 3 millimeters of clearance from rubber or silicone seals and never let the film overlap window moldings or existing sealant.
- On exterior installations, plan for edge sealing with a narrow overlaminate strip or neutral silicone once the film has fully dried, not immediately after application.
Pro Tip: Re-squeegee the edges a second time after the application fluid has evaporated. That second pass catches the fluid that surface tension held back the first time around.
Temperature window and how long adhesion takes to build
Apply film when the ambient and surface temperature falls within 61°F to 104°F (16°C to 40°C), with many films performing best in the narrower band of 60°F to 77°F (16°C to 25°C). Installing outside that range risks weak initial tack and shorter service life.
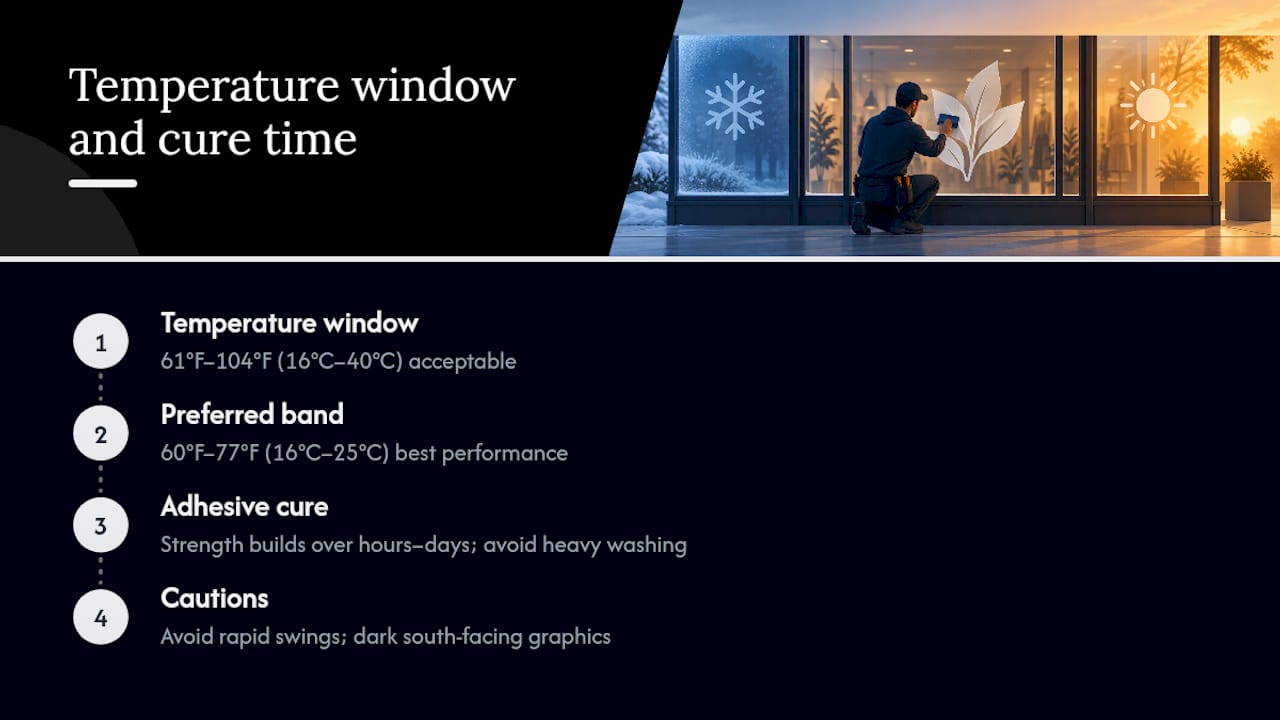
Adhesive strength builds over time rather than instantly. Manufacturer instructions commonly call for a period of hours to days before the bond reaches useful strength, and some products specify avoiding heavy washing for an extended curing period while the adhesive fully develops. Avoid installing during rapid temperature swings, and be cautious with large dark graphics on south-facing glass, since heat buildup can stress the glass itself.
What to do when a decal won’t stay stuck
Most adhesion failures trace back to one of a small set of causes, and each has a specific fix rather than a generic reapplication.
- Water beads on the glass or the film lifts within days: re-clean with solvent, confirm sheeting, and rerun the tack test before reinstalling.
- Edge lift near a seal or molding: trim the film back further and, for exterior jobs, add an overlaminate strip or neutral silicone edge sealant.
- Bubbles that won’t flatten: re-squeegee right away and again once the fluid evaporates; if a bubble persists, remove that section and reapply on properly cleaned glass.
- Adhesive won’t grip on coated or tinted glass: try an alternative film formulated for low surface energy surfaces, consider a primer, or bring in a professional to evaluate the substrate.
Why professional installation lowers risk for business owners
A storefront graphic that fails after a few months costs more in downtime and reprinting than most owners expect. Custom Signs Today specializes in custom signage, including vehicle wraps and lettering, banners, and window decals, built from durable materials meant for both indoor and outdoor use. The company also publishes guidance on care and safe removal, including a controlled heat method, applying gentle heat for roughly 30 to 60 seconds, to lift old vinyl without damaging window tint underneath.
For complex glass, warranty-backed installs, or large exterior runs, hiring a professional installer reduces rework and keeps a storefront open instead of taped over for a redo.
— Yossi
Let Custom Signs Today handle the install and the adhesion
Getting a decal to stick for years takes the right film, a tested surface, and correct technique, and that is exactly what professional installation from signage companies covers: material selection suited to your glass, adhesion testing before full production, and edge sealing on exterior jobs so seams do not fail early.

| What you get | Detail |
|---|---|
| Custom window decals | Material and adhesive matched to your glass, from the custom vinyl decals line |
| Professional installation | Cleaning, adhesion testing, and squeegee application handled on site |
| Edge sealing | Overlaminate or sealant applied on exterior installs where needed |
Request a quote through the custom signs page to get your storefront graphics measured, tested, and installed correctly the first time.
Manufacturer bulletins worth keeping on file
Before any large run, check the source bulletins directly: 3M’s substrate preparation guide and Avery Dennison’s perforated film instructions cover prep, wet application, and flat glass details specific to each product line.
Sources
- 3M substrate selection and preparation instruction bulletin
- Avery Dennison wet application instructional bulletin
FAQ
What temperature is best for applying window decals?
Aim for 61°F to 104°F (16°C to 40°C), with the tighter range of 60°F to 77°F (16°C to 25°C) giving the best results for many films. Outside that window, initial tack and long-term durability both suffer.
How long does it take for a window decal to fully adhere?
Adhesive strength typically builds over 24 to 72 hours after installation, and some manufacturers recommend avoiding heavy washing for up to 30 days while the bond fully cures. Follow the specific product’s data sheet since cure times vary by adhesive type.
Should I use wet or dry application for my window graphics?
Dry application works for most films on flat glass and is faster to complete. Wet application allows repositioning but requires a compatible solvent-acrylic adhesive and a mostly water-based application fluid to avoid weakening the bond.
Why does my window sticker keep bubbling or lifting at the edges?
Bubbles usually mean trapped air or fluid that needs an immediate re-squeegee, and again once the fluid evaporates. Edge lift often traces back to overlapping a seal or molding, which trimming back and, on exterior jobs, sealing with overlaminate or neutral silicone can resolve.
Can Custom Signs Today test adhesion before a full installation?
Yes, professional installation from Custom Signs Today includes testing film compatibility on the actual glass before committing to a full run. You can request details through the custom signs page.

