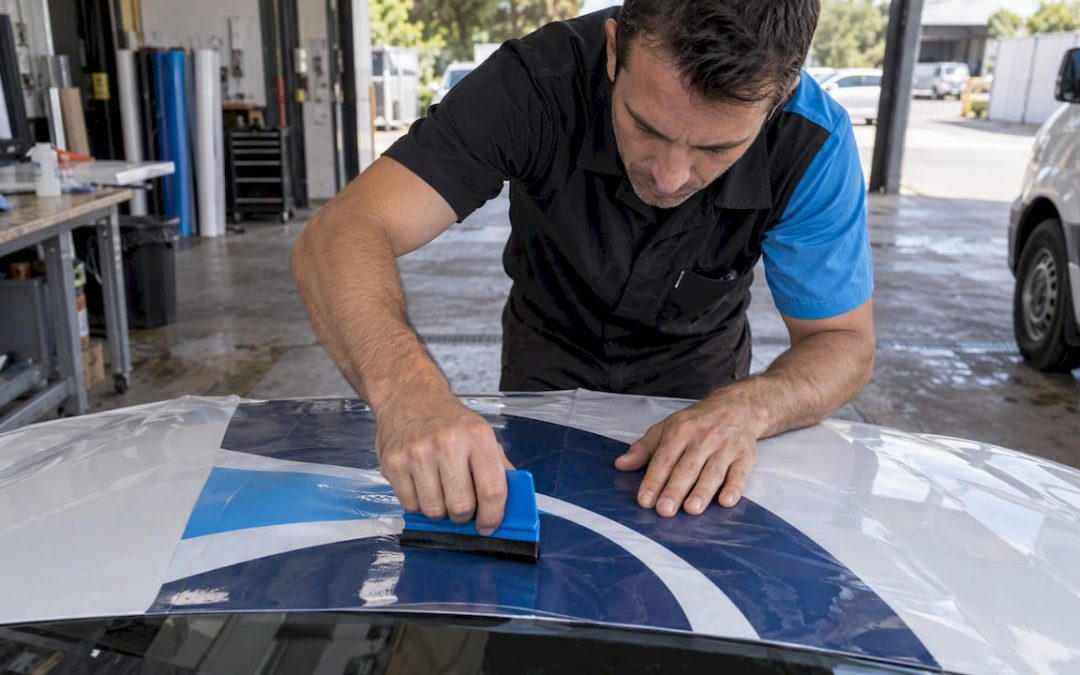
Clean the area, position the sticker with hinge tape, squeegee from the center out, re-squeegee the edges, and let the adhesive set for 24–48 hours. Keep every sticker out of the driver’s sightlines.
TL;DR:
- Wash and dry the panel, then wipe it with 70% isopropyl alcohol; apply between 70°F and 80°F when possible for better adhesion.
- Hinge the decal with masking tape, squeegee from the center outward, peel transfer tape back at a low angle, and press every edge again.
- Let the adhesive bond for at least 24 hours before handling the area, and avoid washing for 48 hours; Avery Dennison recommends that full wait.
- Choose a flat spot such as a bumper or door, avoid seams and sharp curves, and keep every decal clear of windows’ sightlines.
Table of Contents
- Where on your car should you put a sticker?
- What tools and materials do you need?
- How do you prepare the surface before applying?
- How do you apply the sticker step by step?
- How do you fix bubbles, lifting edges, and crooked stickers?
- How long should you wait before washing the car?
- What does an installer’s checklist look like?
- Want a pro to handle your car graphics?
- FAQ
- Sources
Where on your car should you put a sticker?
Pick a spot that is flat, visible, and safe. These are the places car owners choose most often:
- Bumper: a broad, mostly flat area that is easy to reach and highly visible to following traffic.
- Rear windshield corners: a small decal in a lower corner stays clear of the driver’s view.
- Side doors: large flat panels that suit bigger graphics and business lettering.
- Quarter windows: the small rear side glass, good for compact decals.
- Hood: a wide surface, though heat and wind exposure are harder on adhesive.
Flat surfaces are the easiest to work on. Avoid seams, door handles, trim edges, and anything that moves or curves sharply, because the vinyl has to stretch and will tend to lift there. Do not cover the driver’s view through any window or a mirror, and check your local rules before you place anything large on glass. Small corner decals are less likely to obstruct the driver’s view, but check your local rules. If windows are your plan, our guide on applying car window stickers inside and outside covers the specifics.
What tools and materials do you need?
Gather everything before you peel a single backing. Fumbling for a tool mid-application is how crooked stickers happen.
- Felt-edged squeegee
- Masking tape
- Transfer tape or premask (many decals ship with it)
- Microfiber or lint-free towels
- Spray bottle
- 70% isopropyl alcohol
- Air-release tool or a fine pin
- Heat gun or hair dryer
- Sharp blade for trimming
Premask matters most on larger decals, and using a cloud-based solution for truck and machinery operations can help track installation project logistics efficiently. It holds separate letters and shapes in their correct spacing so you place the whole design in one move instead of piece by piece. Avery Dennison’s vehicle wrap guidelines list a similar kit of tape measure, air release tool, masking tape, squeegee, knife, and heat gun.
Use a fresh blade, lint-free towels, and clean hands. Oil from your skin or lint on the adhesive can cause a weak spot you will not notice until the edge lifts.
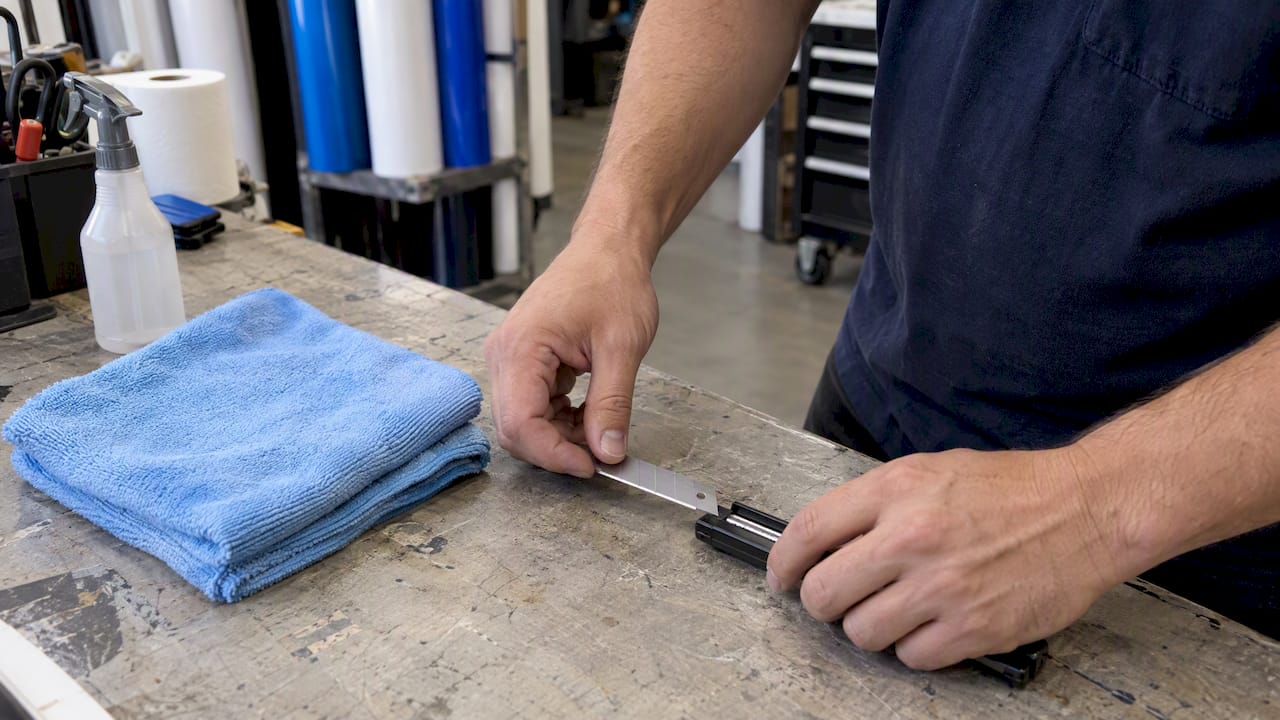
Pro Tip: Put a few strips of masking tape on the squeegee’s felt edge’s worst scuffs if it has picked up grit; a gritty squeegee scratches vinyl.
How do you prepare the surface before applying?
Good prep helps a sticker last. Follow this routine:
- Wash the area with soap and water, then dry it completely.
- Wipe with 70% isopropyl alcohol (a mix of 70% IPA and 30% water) to lift wax, polish, and grease, as 3M’s substrate preparation bulletin recommends.
- Run the fingernail test. Per Avery Dennison’s substrate cleaning bulletin, if your nail slides easily across the paint, wax or oil is probably still there and you should clean again. If it grips, you are ready.
- Dry seams and crevices with compressed air or gentle heat. Moisture trapped under a graphic leads to bubbles and peeling.
- Check the temperature. Avery Dennison’s application instructions put the optimal range at 70°F–80°F (21°C–27°C), with an absolute minimum as low as 50°F (10°C) that raises the risk of failed adhesion.
When you can, work indoors or in shade. 3M’s installer guidance recommends a clean, dry, enclosed space to keep dust and moisture off the adhesive.
How do you apply the sticker step by step?
Most stickers and small vinyl decals follow the same sequence:
- Position and hinge. Measure, then tape the sticker along one edge with masking tape so it swings like a hinge. Mark the spot with tape or a pencil.
- Expose a small area. Peel back part of the backing, cut it away, and tack the exposed adhesive down.
- Squeegee center-out. Work from the middle toward the edges with firm, overlapping strokes, holding the squeegee at roughly 50–70°. This is the stroke pattern in Avery Dennison’s vehicle wrap bulletin.
- Remove the transfer tape. Peel it back at a low angle, close to the surface. If any vinyl lifts, press it down and try again.
- Re-squeegee everything. Go over the entire decal and every edge after the transfer tape is gone.
Dry or wet? Dry application is the standard for professional films, and Avery Dennison notes that some Easy Apply films should never be applied with water. A lightly soapy slip solution can help with a small sticker you need to slide into place, but trapped moisture weakens adhesion, so use it sparingly and only if the sticker’s maker allows it.
Pro Tip: Wait 15–20 minutes, then re-squeegee the edges one more time. Edges are where almost every failure starts.
How do you fix bubbles, lifting edges, and crooked stickers?
You can rescue most problems without peeling the whole sticker off.
- Small bubbles: prick the bubble with a pin, push the air toward the hole, and re-squeegee.
- Edge lift: clean under the edge if you can reach it, press down, and re-squeegee. Light post-heating helps if the film’s maker allows it.
- Wrinkles: gentle heat and careful smoothing often relax them. Do not over-stretch the vinyl, since stretched film can shrink back later, a point 3M’s inkjet film bulletin raises.
- Crooked placement: on a small sticker, lift gently from one edge and reposition. On a big premasked panel, stop and get help rather than risk tearing it.
Our walkthrough on putting on vinyl stickers without bubbles or wrinkles goes deeper on each fix.
How long should you wait before washing the car?
Patience pays off here. Let the adhesive form a functional bond for at least 24 hours before handling the area, and avoid washing for up to 48 hours where possible.
- First wash: keep the pressure washer nozzle at least 12 inches (about 30 cm) away and spray perpendicular to the surface so water is not forced under an edge.
- Waxes: skip wax and hot-wax products on fresh decals.
- Routine care: use mild detergent and a microfiber towel, and apply sealants only when the sticker’s manufacturer advises it.
Avery Dennison advises avoiding washing for at least 48 hours after a successful application. That window is when the bond is still forming, so a rushed wash is the quickest way to undo careful work.
What does an installer’s checklist look like?
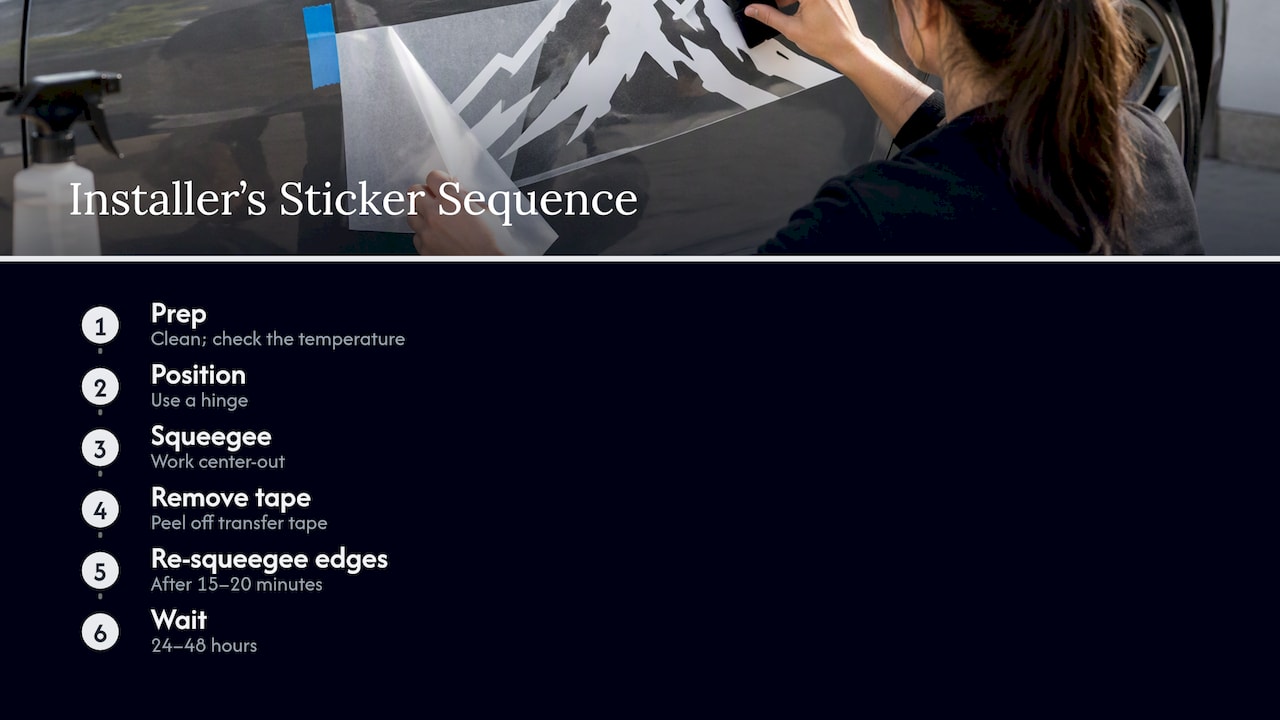
Here is the short version, in the order we work through it: clean, check the temperature, position with a hinge, squeegee center-out, remove the transfer tape, re-squeegee the edges, then wait 24–48 hours. Skip a step and you will feel it later. The edges deserve a second pass about 15–20 minutes after application, because that is when stubborn corners show themselves. If you ever need to take a sticker off again, our heat method for removing vinyl stickers keeps paint safe.
Most advice treats a sticker job as one big press-and-hope moment. The real work happens in the two quiet stages on either side: prep before and patience after. Whoever rushes those loses the sticker.
— Yossi
Want a pro to handle your car graphics?

Some jobs are worth handing off. We produce vehicle lettering, vinyl printing, and decals, and we install them.
- Large or multi-panel graphics that need exact alignment
- Complex curves where a flat-surface method will not hold
- Business lettering you want installed cleanly and consistently
Tell us what you have in mind and we will quote it. Request a quote for vehicle lettering and installation today.
FAQ
How do you get stickers to stick to your car?
Squeegee firmly from the center out and re-squeegee the edges. Then let the adhesive set before washing.
How do you apply stickers perfectly?
Hinge the sticker with masking tape so it cannot slide, then work from the center outward with overlapping strokes. Remove the transfer tape slowly and go over every edge again. A slow, deliberate pass beats a fast one.
Can I apply a sticker in cold weather?
It is risky. Cold makes vinyl stiff and the adhesive less receptive, so lift and failure become more likely. Aim for 70°F–80°F, work indoors if possible, and allow longer cure time if you must apply it cooler.
Sources
- IB4.08 Application Instructions for Supreme Wrap Films Rev 2 01-16-17
- Multimedia
- Printing, Processing and Application Instructions for Vehicle Wrap Graphics
- Multimedia