
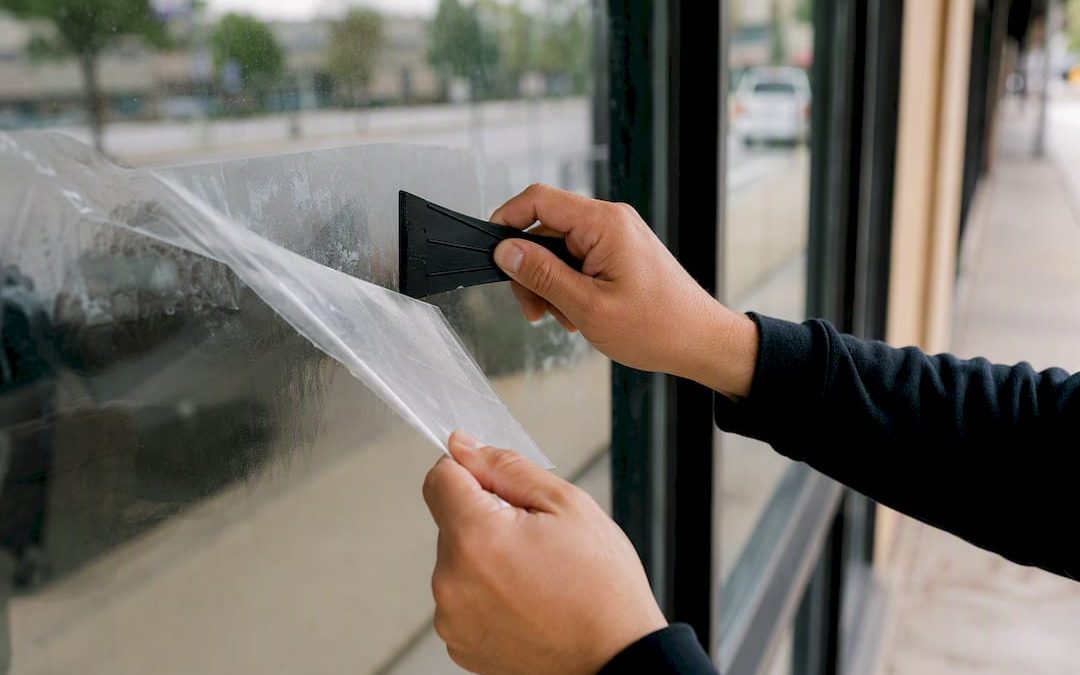
For business fleet and signage use, remove adhesive vinyl by testing a small area first, using a cold peel where possible, and adding controlled heat plus a manufacturer-recommended remover for stubborn film. If the vinyl is older or covers high-value paint, schedule a professional instead of improvising.
- Do: Test a hidden spot, use a plastic scraper, wear gloves and eye protection.
- Don’t: Use acetone or metal blades directly on clearcoat.
- Follow Avery Dennison’s removal guidance, and flag any film older than several years for closer inspection before you start.
Table of Contents
- What Should Be On Your Pre-Removal Checklist?
- How Do You Remove Decals From Different Surfaces?
- Which Adhesive Removers and Tools Actually Work?
- When Should You Call In a Professional?
- How Do You Prep the Surface for New Graphics?
- How Customsignstoday Supports Removal and Reinstall Projects
- How Do You Remove a Decal From a Shirt?
- How Do You Keep Shirt Fabric From Getting Damaged?
- What’s Different About Vinyl, Screen-Printed, and Embroidered Designs?
- How Do You Care for a Shirt After Removing a Decal?
- How Do You Avoid Damaging Shirt Color or Fibers?
- Are There Chemical-Free Ways to Remove a Decal?
- What Actually Matters Most in Decal Removal Projects
- Sources
What Should Be On Your Pre-Removal Checklist?
Before anyone touches a heat gun, walk the vehicle or surface and map what you’re dealing with. Rushing this step is how a five-minute decal job turns into a paint-correction bill.
- Identify every substrate involved. Note trim, rubber seals, window tint, and any plastic panels near the graphic, since these components are more sensitive to heat and solvents than painted metal.
- Gather your tools up front. A heat gun, plastic scraper or razor, an adhesive remover, microfiber towels, and personal protective equipment (gloves, eye protection, a respirator if you’re working with solvents indoors).
- Run a test pull. Peel a small, inconspicuous corner and record how the film releases. Avery Dennison notes that removability depends on the specific combination of film, adhesive, substrate, and how long it’s been exposed to sun and weather, so no two jobs behave identically.
- Decide on scheduling. If you’re rebranding a vehicle or replacing a storefront decal, book removal and reinstall in the same appointment window so the asset never sits bare or half-branded.
Pro Tip: Photograph the test-pull area before and after. If adhesive residue looks stubborn or the paint underneath shows discoloration, you’ve just saved yourself from finding out mid-job on the whole vehicle.
How Do You Remove Decals From Different Surfaces?
The right method changes with the substrate. Vehicle clearcoat, storefront glass, painted drywall, and vinyl banners all respond differently to heat, solvent, and mechanical pressure, and using the wrong combination is how you end up paying for touch-up paint you didn’t budget for.
Vehicle clearcoat
Wash the panel first. Dirt and grit trapped under a scraper will scratch clearcoat faster than almost anything else you’ll do that day. Once it’s clean and dry, apply heat from a heat gun at a moderate, steady distance, warming a small section at a time rather than blasting the whole panel. Avery Dennison’s removal bulletin outlines specific heat distances and dwell times by film type, which is worth checking against the graphic’s original spec sheet if you still have it.
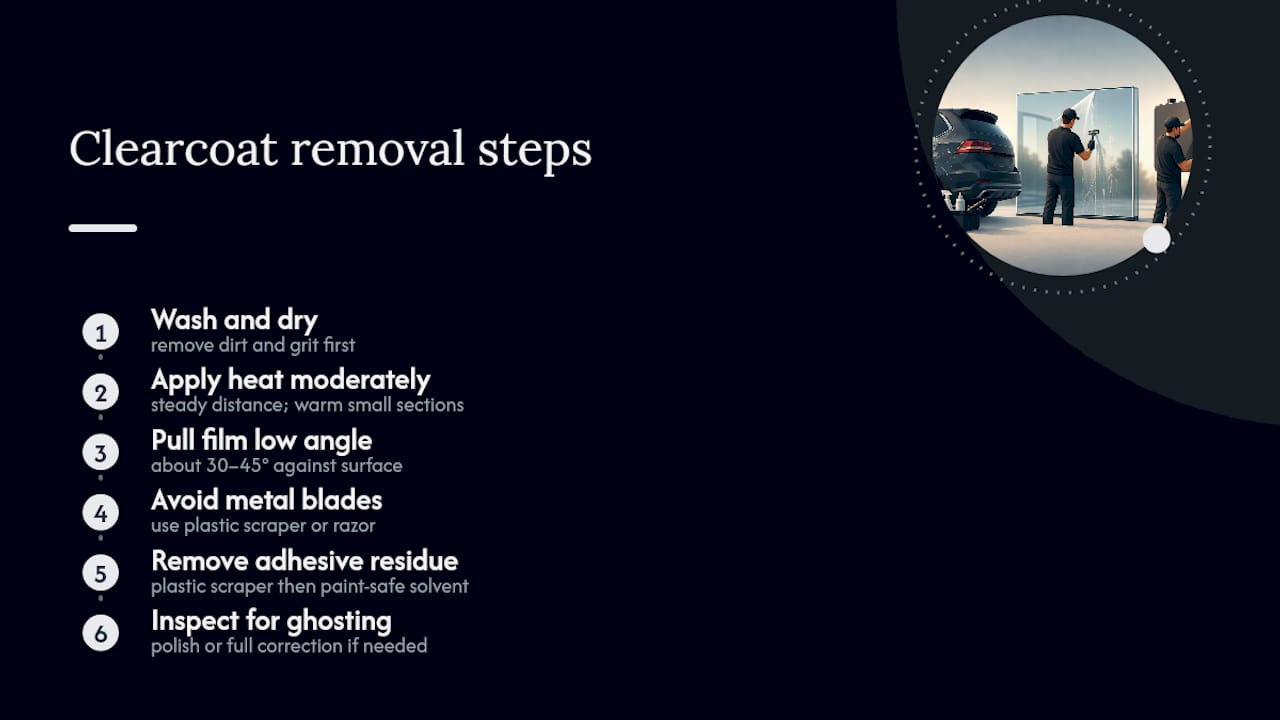
Pull the film at a low angle, generally somewhere in the 30 to 45 degree range against the surface. Avery Dennison’s technical documentation explains that a lower, more acute angle tends to pull more adhesive off with the film instead of leaving it behind, though this varies by film and surface, which is exactly why the test pull matters. Never use a metal blade on paint. A plastic scraper or plastic razor removes leftover film without the scratch risk.
Once the vinyl is off, clean remaining adhesive with a paint-safe solvent. If the surrounding paint looks noticeably lighter or darker than where the decal sat, you’re looking at ghosting, and polishing or a full paint correction may be the only fix.
Glass and storefronts
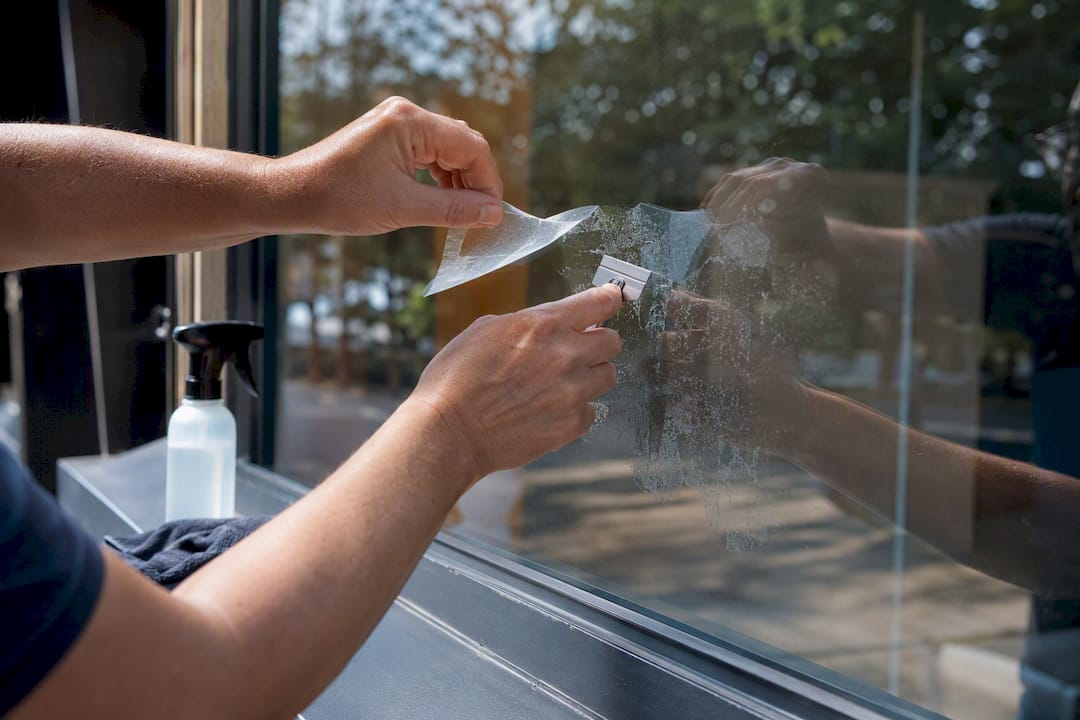
Glass tolerates more aggressive tools than paint does. A metal razor blade at a low, flat angle works fine on bare glass, and moderate heat helps loosen old adhesive without damaging the surface. Solvents that would strip a clearcoat are generally safe here. Finish with a standard glass cleaner to clear any haze. The one place to slow down is window tint and frit bands (the ceramic dot pattern near the edge of some storefront glass), where heat and scraping can lift or scorch the surface if you’re not careful.
Painted walls and porous surfaces
Drywall, stucco, and similar surfaces don’t forgive aggressive solvents the way glass does. Skip the chemical removers entirely and use slow, mechanical peeling with a plastic scraper instead. Budget time for touch-up paint, because porous surfaces almost always show some texture change or discoloration once the decal comes off.
Soft signage and banners
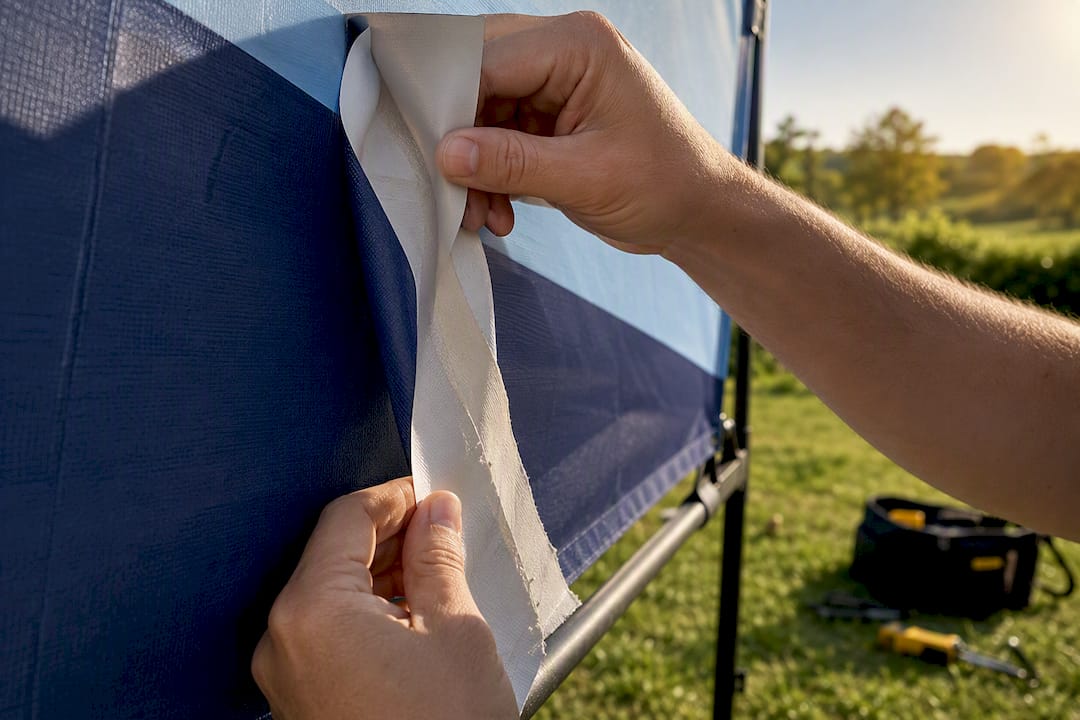
Peel banner vinyl gently rather than yanking it, and never soak the fabric backing in solvent. Test a corner for dye migration or staining first. Some banner substrates hold onto solvent longer than they show visually, and a stain that seems gone can reappear once the material dries.
Which Adhesive Removers and Tools Actually Work?
Not every remover marketed for “sticker removal” belongs anywhere near a vehicle or a storefront window. The right choice depends on what’s underneath the adhesive, not just what’s advertised on the bottle.
- Manufacturer-recommended removers, including Avery Dennison’s XXL1000 and Vinyl Off, are formulated specifically for pressure-sensitive adhesive and tested against automotive clearcoat.
- Isopropyl alcohol and citrus-based removers work well as everyday alternatives for light residue and are gentler on paint than industrial solvents.
- Avoid acetone, lacquer thinner, and xylene on clearcoat. These strip the protective finish and can leave permanent dulling or discoloration, even after a single application.
- Plastic scrapers and plastic razor blades are the safe default for anything painted. Save metal blades for flat glass only.
- A 3M stripe-off wheel clears heavy, aged adhesive fast, but it’s a power tool with real risk. It should never touch plastic bumpers or unpainted trim, and it needs the right RPM for the substrate.
For heavy residue on a substrate that can tolerate it, a pressure washer set to roughly 2,500 psi at around 165°F (74°C) can help separate stubborn vinyl, a parameter Avery Dennison specifies directly for its removal films. Mask off rubber seals, weather stripping, and plastic trim before any solvent or heat step. These components swell or discolor faster than most people expect.
When Should You Call In a Professional?
Some jobs are worth doing in-house. Others cost more in botched paint than a professional invoice ever would. A few red flags mean it’s time to make that call.
- The film is older than about five years. Aged vinyl bonds harder to the substrate, and fleet industry data shows this can extend removal time by 30 to 50%, which adds up fast across a full fleet.
- The graphic uses multiple layers or laminated reflective film. These are more prone to tearing and leaving adhesive behind than a simple single-layer decal.
- The paint underneath is high-value or shows visible sun-fade contrast around the decal edges. That’s a sign ghosting is already present, and DIY heat or solvent work can make the blend worse, not better.
Run a pilot removal on one vehicle before committing the whole fleet. It’s the fastest way to find out real labor time and actual paint condition, and that single data point often reshapes the cost estimate for every vehicle behind it. Professional removal typically runs a few hundred dollars per vehicle depending on coverage and film age, and booking removal and reinstall with the same vendor usually shortens total downtime.
How Do You Prep the Surface for New Graphics?
A surface that looks clean to the eye can still fail a new decal’s adhesive if oils, wax, or leftover solvent are sitting in the clearcoat.
- Clean off all adhesive residue, then wash the full panel to remove any remover chemical trace.
- Clay bar the surface if any tackiness or embedded contamination remains after washing.
- Inspect for ghosting or uneven gloss where the old graphic sat, and polish or correct the paint if the difference is visible.
- Apply wax, sealant, or a ceramic coating once the surface is fully restored, and confirm it’s completely dry and solvent-free before new adhesive goes down.
- Sign off on readiness with whoever is installing the replacement graphic, documenting any correction work completed.
Skipping the inspection step is the single most common reason a brand-new decal shows the ghost outline of the old one within a few weeks.
How Customsignstoday Supports Removal and Reinstall Projects
Removal is only half the job. The other half is making sure the new graphic goes on a surface that’s actually ready for it, and that the whole project happens on one schedule instead of two.
- Customsignstoday designs and fabricates vehicle lettering, wraps, and decals for fleets, storefronts, and property signage.
- We can walk a pilot vehicle through inspection before quoting the rest of the fleet, so you’re pricing real conditions, not guesswork.
- Removal and reinstall get scheduled together whenever possible, which keeps vehicles and storefronts from sitting half-branded.
If your film is aged, laminated, or sitting on paint you don’t want to risk, request a quote and we’ll assess it before anyone touches a heat gun.
How Do You Remove a Decal From a Shirt?
Textile decals need a completely different approach than the vinyl on a vehicle or window. Fabric fibers and dye are far more sensitive to heat and solvent than clearcoat or glass, so what works on a truck panel can ruin a shirt in seconds.
Start with heat, applied indirectly. Lay the shirt inside-out or place a thin cloth over the decal, then run a hair dryer or iron on a low to medium setting, never the highest heat the appliance offers. Warm the decal for 20 to 30 seconds, then test a corner with a plastic scraper or old credit card to see if it’s lifting. If it resists, warm it again rather than forcing it, since pulling too hard on a half-softened decal tends to tear the design and leave more adhesive behind.
For solvent-based removal, stick to products actually labeled safe for textiles, such as a fabric-safe adhesive remover or plain rubbing alcohol applied sparingly with a cotton swab, as explained in our guide to heat transfer on work shirts. Avoid acetone, nail polish remover, and any solvent marketed for automotive or glass use. These are formulated for hard, nonporous surfaces and will bleed dye or degrade cotton and polyester blends fast. Always test on an inside seam first, since fabric reacts unpredictably depending on dye type and fiber content.
How Do You Keep Shirt Fabric From Getting Damaged?
Protecting the fabric matters as much as removing the decal cleanly. A rushed job can leave scorch marks, bleached spots, or thin, weakened fibers that tear the next time the shirt goes through a wash.
Place a pressing cloth, a thin cotton towel, or even a sheet of parchment paper between any heat source and the fabric. This buffers direct contact and spreads the heat more evenly, which lowers the risk of a scorch mark or shiny, melted patch where the iron sat too long.
Work in short bursts rather than holding heat in one spot. Fifteen to twenty seconds, then check progress, beats thirty seconds of uninterrupted heat that can singe synthetic blends or set a permanent shine into cotton.
When using any liquid remover, apply it to a cloth or swab first rather than pouring it directly onto the shirt. Direct application soaks through to the layer behind the decal and can spread solvent well beyond the area you actually need to treat, which is how a small decal removal turns into a large faded patch.
Keep the shirt flat on a hard, stable surface while you work instead of holding it against your body or letting it bunch up. A flat surface gives you even pressure and reduces the chance of stretching the fabric out of shape as you scrape or pull at the decal edge.
What’s Different About Vinyl, Screen-Printed, and Embroidered Designs?
Not every mark on a shirt is a heat-transfer decal, and treating them all the same way is the fastest route to a ruined garment. Vinyl transfers sit on top of the fabric as a distinct layer and usually respond well to the heat-then-peel method described above, since the adhesive layer softens and releases from the fibers underneath.
Screen-printed designs are a different animal entirely. The ink is worked directly into the fabric weave rather than sitting on top of it, so heat and scraping won’t lift it cleanly. Screen print typically requires a dedicated ink-release solvent or professional stripping service, and attempting a mechanical peel usually just damages the fabric without removing much ink.
Embroidered designs involve actual stitching, not adhesive or ink. Removing embroidery means carefully clipping and pulling threads from the back of the fabric with small, sharp scissors or a seam ripper, working slowly to avoid poking through to the front. Any leftover holes from the stitching will need mending or a patch, since embroidery removal almost always leaves visible needle marks behind.
Identify which category you’re dealing with before starting. Running a heat gun over screen print or trying to peel embroidery wastes time and risks damage the shirt won’t recover from.
How Do You Care for a Shirt After Removing a Decal?
Once the decal and adhesive are gone, the fabric usually needs a little rehabilitation. Heat and solvent both strip natural oils and softness from fibers, and skipping aftercare is how a shirt ends up feeling stiff or scratchy in exactly the spot you just worked on.
Wash the shirt promptly in cold water with a mild detergent to clear any remaining solvent residue or adhesive film that didn’t fully lift. Cold water protects color and prevents any leftover adhesive from setting further into the weave under hot water.
Skip the dryer for the first wash. Air-drying flat gives you a chance to inspect the treated area before heat locks in any remaining discoloration or stiffness. If the fabric feels rough where the decal sat, a second gentle wash with a fabric softener or a vinegar rinse usually restores some of the original hand-feel.
Check the area under good light once dry. A faint outline or slight texture change is common and usually fades further after another wash or two. Persistent staining is a sign some adhesive or dye transfer remains, and a second light treatment with rubbing alcohol on just that spot, followed by another cold wash, typically finishes the job.
How Do You Avoid Damaging Shirt Color or Fibers?
Color loss and fiber damage almost always trace back to one of two mistakes: too much heat, or the wrong solvent. Both are avoidable with a little patience.
Test any product before you commit. Dab rubbing alcohol, a fabric-safe remover, or even plain water on an inside seam or hidden hem first, and wait a few minutes to see if the color shifts or the fabric feels different. Dark and brightly dyed shirts are particularly prone to color bleed when solvents are applied directly and left too long.
Keep heat moderate and always indirect. A pressing cloth between the iron and the fabric prevents the shiny, slightly melted look that shows up on synthetic blends exposed to direct high heat, and it protects cotton from scorch marks that no amount of washing will undo.
Work with the fabric’s natural grain rather than against it when scraping or peeling. Pulling at an angle that stretches the weave can leave a permanently warped or thinned patch, even if the decal itself comes off clean. Patience beats force here. A decal that’s fighting you usually needs another round of gentle heat, not more pressure.
Are There Chemical-Free Ways to Remove a Decal?
Heat and scraping aren’t the only path. A few treatments work through chemistry rather than force, and they’re worth trying on delicate fabrics or shirts you don’t want to risk with an iron.
A freezer treatment is the gentlest option available. Placing the shirt in a plastic bag in the freezer for a few hours makes many vinyl adhesives brittle, so they crack and lift with light scraping instead of needing heat at all. This works especially well on thinner cotton blends that scorch easily.
White vinegar diluted with water, applied and left to sit for several minutes before scraping, breaks down some adhesive formulations without the fume risk of stronger solvents. It’s a slower method, but it’s low-risk for colored fabrics that might bleed under harsher chemicals.
Commercial fabric-safe adhesive removers, sold specifically for textile use rather than automotive or household surfaces, offer a middle ground between plain rubbing alcohol and stronger industrial solvents. Always check the label specifies fabric or textile use, since general “adhesive remover” branding often means a product formulated for hard surfaces that will damage dye and fibers on contact.
Removing adhesive vinyl cleanly comes down to testing first, matching the method to the substrate, and never rushing the heat or solvent step on a surface you can’t easily replace.
| Point | Details |
|---|---|
| Test before you commit | Peel or treat a small hidden area first since film age, substrate, and exposure all change how removal behaves. |
| Match method to substrate | Clearcoat needs low-angle pulls and plastic tools; glass tolerates more; fabric needs indirect heat and textile-safe solvents. |
| Watch the five-year mark | Vinyl older than about five years bonds harder and can extend removal time by 30 to 50%. |
| Schedule removal and reinstall together | Booking both in one window avoids bare vehicles or storefronts and reduces total handling cost. |
| Inspect before replacing | Check for ghosting, clean all residue, and confirm the surface is dry before new adhesive goes down. |
What Actually Matters Most in Decal Removal Projects
Most advice on this subject treats removal as a single event: pull the vinyl, clean the residue, done. That framing misses the part that actually costs fleet managers money, which is the gap between removal and reinstall. A vehicle sitting half-stripped for two weeks while a new wrap gets designed is a bigger brand problem than a slightly imperfect peel job.
The conventional advice also underrates how much film age changes the math. A one-year-old decal and a seven-year-old decal are not the same job, even if they look identical from ten feet away. Treating them the same is how a quick in-house task turns into a paint-correction bill nobody budgeted for.
If you manage more than a couple of vehicles, run the pilot first. One test vehicle tells you more about real labor time and paint condition than any bulletin or checklist, and that number should drive your decision on whether the rest of the fleet gets DIY treatment or a professional crew.
— Yossi
Sources
- IB 1.07 Removal Instructions for Avery Dennison Cast
- Fleet vinyl graphics removal (Pacific Service Center)

