
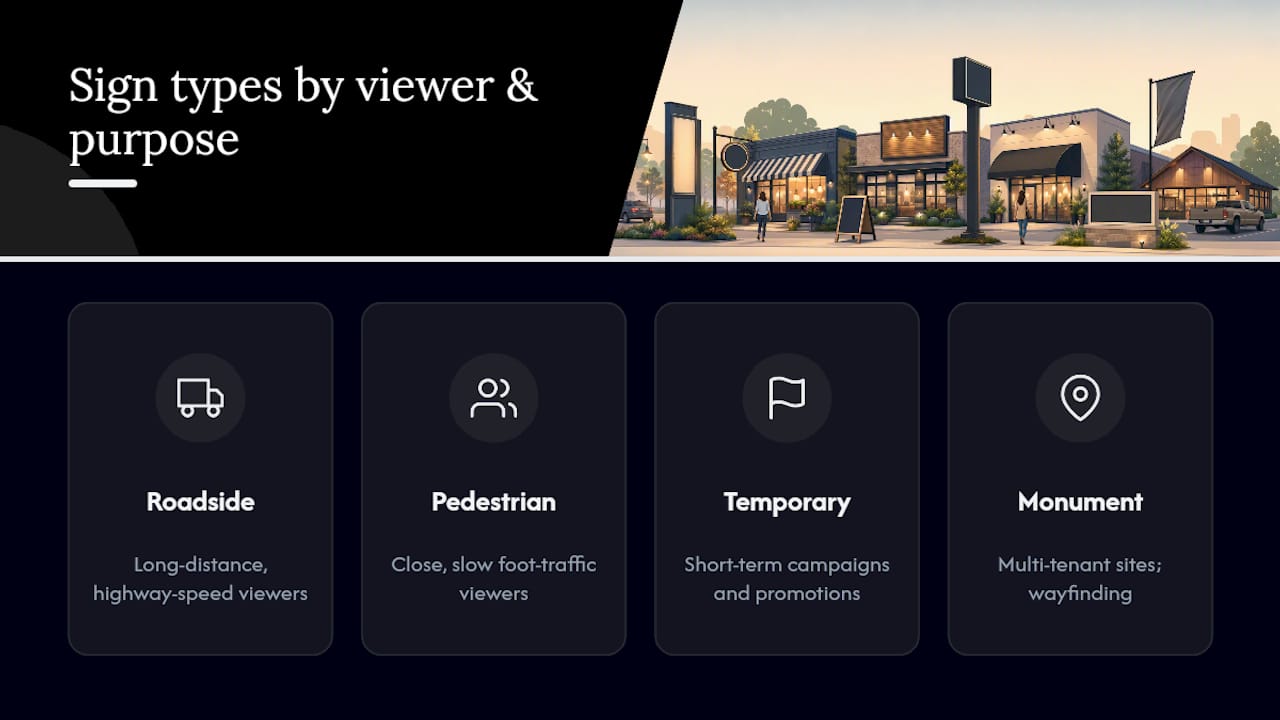
For motorists driving 40 miles an hour, you need a pylon sign, pole sign, or digital LED display with big letters and a short message. For pedestrians walking past your storefront, channel letters, blade signs, awnings, and window graphics do the job. Add monument signs and wayfinding for complex properties, and banners, A-frames, or feather flags for short-term promotions.
The right pick depends on one thing above all else: how fast the person looking at your sign is moving, and how long they have to read it.
- Roadside/highway: pylon or pole signs, large lighted panels, digital LED displays
- Storefront/pedestrian: channel letters, blade or hanging signs, awnings, window graphics
- Property identity: monument signs, wayfinding and directory signs
- Short-term/event: banners, A-frame signs, feather flags, yard signs
- Mobile branding: vehicle wraps and graphics
Before you order anything, confirm your local permit requirements and pick materials rated for your climate. Skip either step and you risk a rework, a fine, or a sign that fades within a year.
Key Takeaways
The best outdoor sign for any business is the one matched to how fast its audience is moving and how long they have to read it.
| Point | Details |
|---|---|
| Match sign to viewer speed | Pylon, pole, and digital LED signs suit motorists; channel letters and blade signs suit pedestrians. |
| Confirm permits before fabrication | Illuminated and freestanding signs commonly trigger electrical or structural permits beyond the base sign permit. |
| Pick materials for your climate | Aluminum and ACM handle sun and coastal exposure longest; UV-rated vinyl protects banners and graphics. |
| Design for the actual read time | A three-second highway glance needs bold, minimal copy; a storefront sign can carry more detail. |
| Get a written quote before ordering | Customsignstoday provides site evaluation, permit consultation, and installation with warranty terms in one process. |
Table of Contents
- Types of Outdoor Signs for Business: What Drives the Choice
- Roadside and High-Visibility Signs: Pylon, Pole, and Digital LED
- Storefront and Pedestrian Signs: Channel Letters, Blade Signs, and Awnings
- Temporary and Event Signage: Banners, Flags, and A-Frames
- Monument Signs, Wayfinding, and Vehicle Graphics
- Materials, Durability, and How Long Outdoor Signs Actually Last
- Permits and Structural Requirements: What to Check First
- How to Choose the Right Outdoor Sign: A Step-by-Step Checklist
- Custom Signs Today: A Direct Path From Idea to Installed Sign
- Why Most Sign Regrets Trace Back to One Decision
- Sources
Types of Outdoor Signs for Business: What Drives the Choice
Two numbers matter more than any design preference: visibility distance and dwell time. Visibility distance is how far away someone can read your sign; dwell time is how long they have before they pass it. A driver on a 45 mph arterial road might get three seconds. A pedestrian window shopping might linger fifteen. Those numbers alone rule out entire categories of business sign types before you even think about color or logo placement.
Run through this before you talk to a fabricator:
- Who sees the sign first, drivers or foot traffic?
- How far back does the sign need to be readable?
- Is the message branding, directional, or a limited-time promotion?
- What’s the realistic budget band, including installation?
- Does the property or municipality restrict sign size, height, or illumination?
Pro Tip: Call your local building or zoning office before you finalize a design. A sign built to the wrong size or brightness spec often means a costly redo, not a simple fix.
Roadside and High-Visibility Signs: Pylon, Pole, and Digital LED
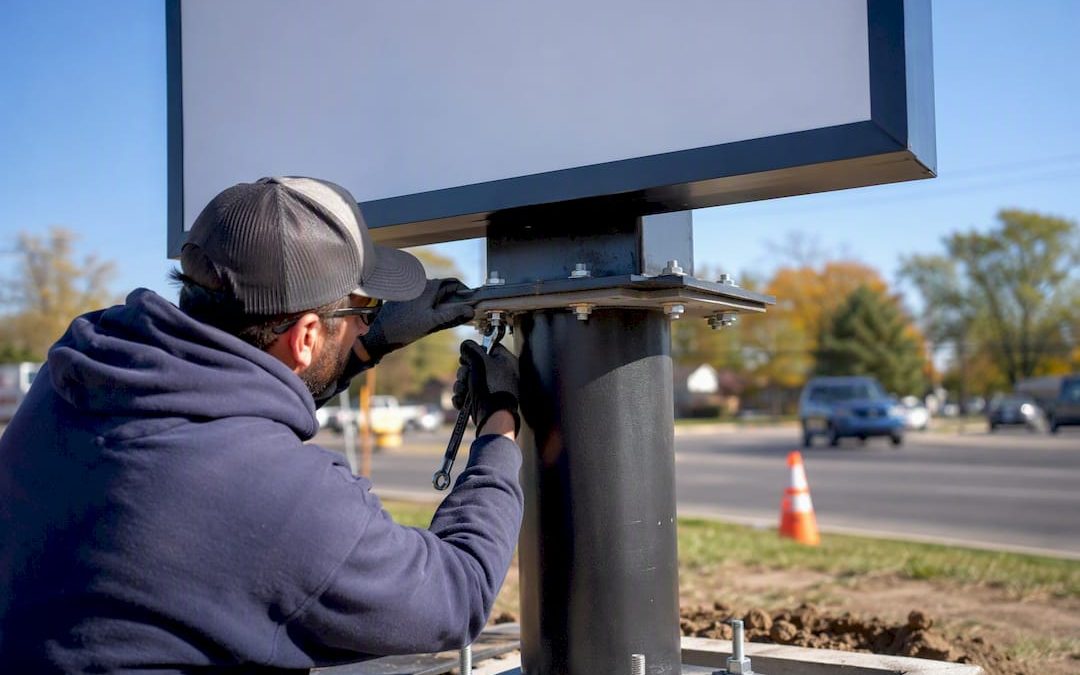
Pylon and pole signs exist for one purpose: getting noticed from a moving vehicle at a distance. A pylon sign sits on its own structural pole and typically identifies a business or shopping center visible from a highway or major road. Pole signs work similarly but usually stand lower and serve single storefronts along commercial corridors. Industry guides list pylon signs alongside monument signs and illuminated cabinets as the core categories of commercial outdoor signage, each built for a specific viewing scenario.
Digital LED displays add flexibility pylon and pole signs can’t match on their own. You can change pricing, hours, or promotions in seconds instead of paying for a new sign face. That flexibility comes at a cost: LED cabinets run higher upfront prices, need ongoing electrical service, and often require a separate electrical permit on top of the standard sign permit.
Design priorities for anything meant to be read at speed:
- Oversized, high-contrast lettering (dark text on light background or vice versa)
- Five words or fewer per screen or panel
- Simple logo placement, no fine print
- Structural inspection on a regular schedule, since wind load on a tall pole sign is a real engineering concern
One sign, unlimited exposure: a pylon sign installed at a busy intersection can generate more daily impressions than months of local print advertising, simply because traffic never stops flowing past it.
Storefront and Pedestrian Signs: Channel Letters, Blade Signs, and Awnings
Once someone is on foot, close to your building, the sign job changes from “get noticed” to “confirm this is the right place and make me want to walk in.” Channel letters, the individually lit letters you see on most retail storefronts, come in two common illumination styles: internally lit with LED modules inside each letter, or halo lit, where light glows around the letter’s edge against the wall. Lightbox cabinets serve a similar function but hold a printed or backlit panel instead of individual letters, and both usually mount flush to a building facade with electrical runs handled during installation.
Blade signs (also called hanging signs) project perpendicular to the building, which matters most on sidewalks where a flat facade sign is invisible until you’re standing right under it. Historic districts frequently limit blade sign size and materials, so check local design guidelines before you commit to a look. Awnings do double duty as branding and weather protection, and they read well from across the street.
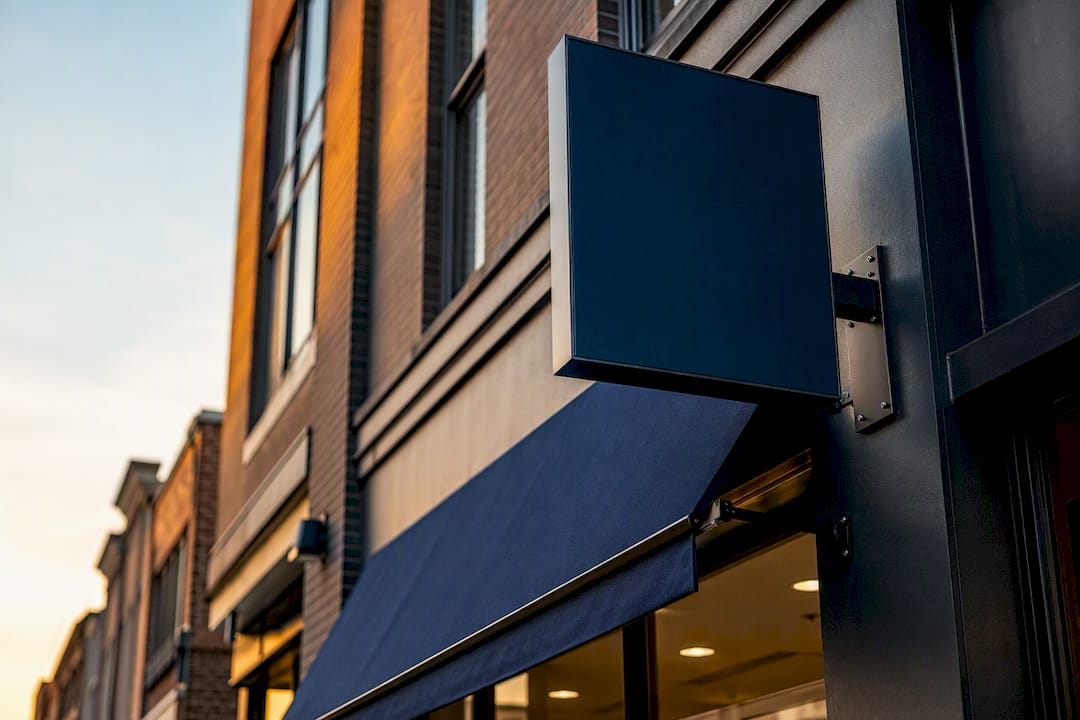
Window graphics round out the storefront lineup. Perforated vinyl lets you cover a window with a promotion while staff inside still see out during daylight hours, a detail a lot of first-time sign buyers overlook.
For legibility at ten to twenty feet, keep lettering clean and avoid more than one accent font. Retail placement decisions like these are worth mapping against your specific sightlines and foot traffic patterns.
Temporary and Event Signage: Banners, Flags, and A-Frames
Temporary signage earns its place when the message has an expiration date: a grand opening, a seasonal sale, a real estate open house, a trade show booth. Permanent signs make sense for identity that doesn’t change; temporary signs make sense for anything time-bound, and a practical selection process should treat that distinction as the starting point rather than an afterthought.
Vinyl banners remain the workhorse of this category. Feather flags and A-frame sandwich boards work well for sidewalk visibility and event entrances, while yard signs handle short-run directional or promotional messaging on a budget.
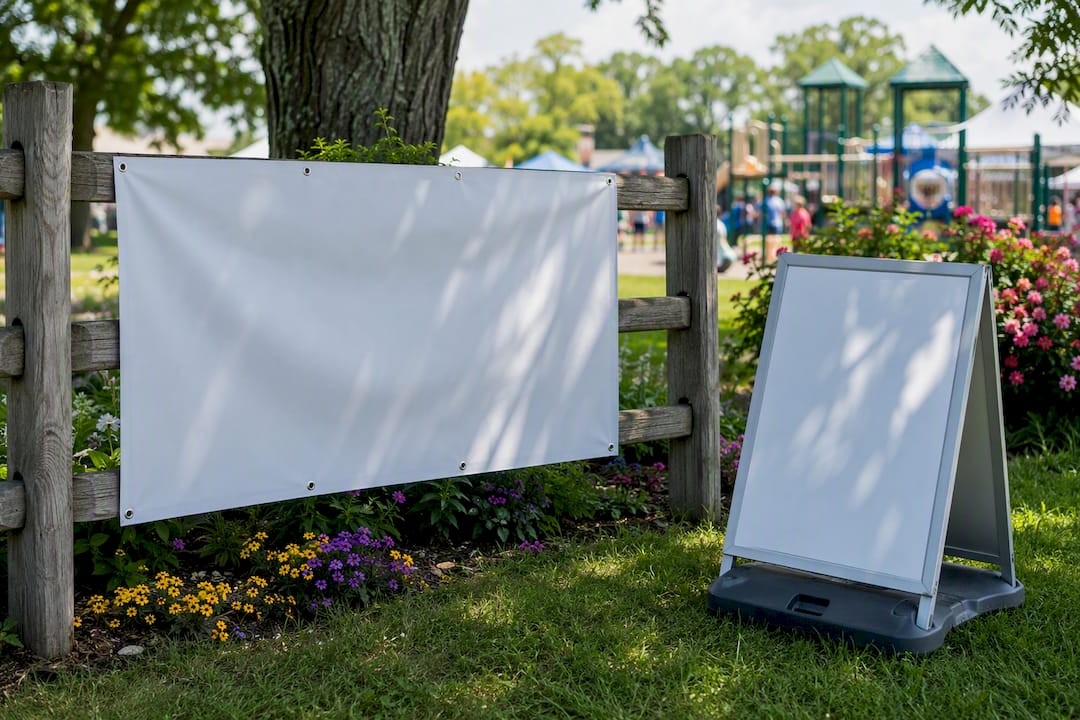
Wind is the enemy of every temporary sign. Grommeted banners need real anchor points, not just tape or zip ties, and A-frames need enough base weight to survive a gusty afternoon without becoming a hazard. Keep the message to one headline and a call to action; nobody stops walking to read a paragraph on a flag. A vinyl banner built with proper hems and grommets holds up through multiple events instead of tearing after one windy weekend.
Pro Tip: Some cities cap how many days a temporary sign can stay up or require a separate temporary-sign permit. Check before you install, not after a code officer flags it.
Monument Signs, Wayfinding, and Vehicle Graphics
Monument signs sit low to the ground, usually built from brick, stone, or aluminum composite panels to match a building’s architecture, and they work best at entrances to office parks, medical campuses, apartment communities, and retail centers where a tall pole sign would look out of place or violate a height ordinance.
Wayfinding and directory signage matter once a property has more than one destination inside it. A shopping plaza with a dozen tenants or a medical campus with several buildings needs a consistent system: matching fonts, colors, and a clear hierarchy from the entrance monument down to individual suite numbers. Inconsistent wayfinding confuses visitors and makes a professional property look disorganized, which undercuts the investment in the monument sign at the front.
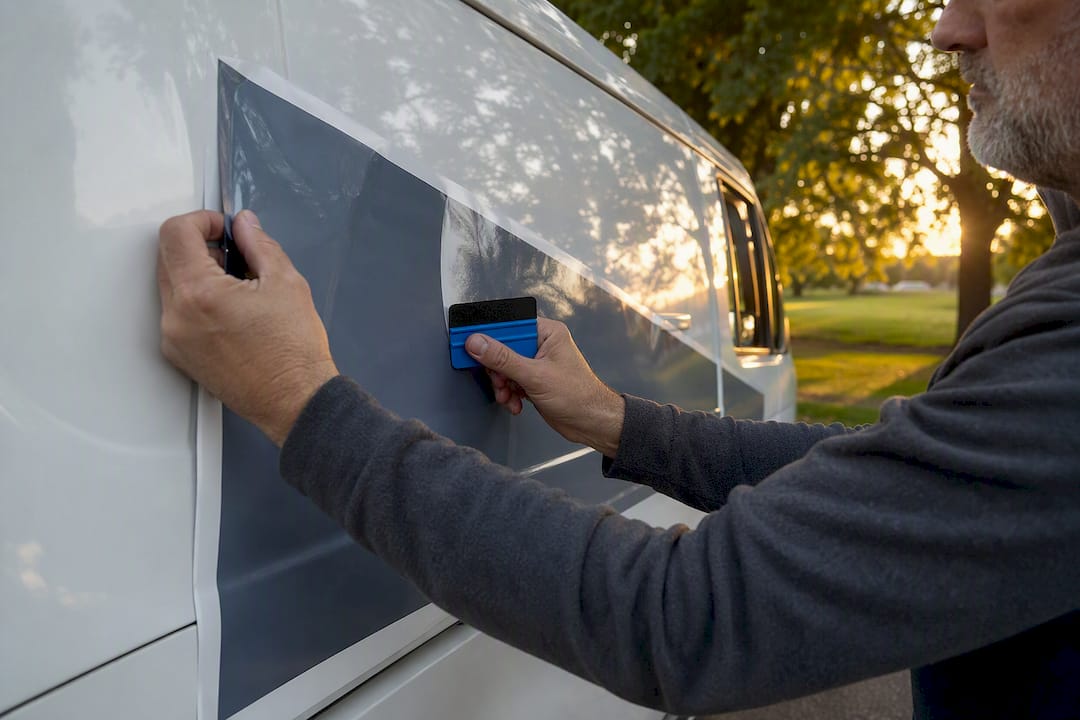
Vehicle wraps and graphics turn a company truck or fleet into a moving billboard. A wrapped vehicle covers wherever it drives and parks, all day, without a monthly ad spend. Durability runs three to seven years depending on material and how much time the vehicle spends outdoors, and periodic washing keeps the graphics from fading prematurely.
Materials, Durability, and How Long Outdoor Signs Actually Last
Material choice determines whether a sign looks sharp in year five or needs replacing in year two. Aluminum and aluminum composite material (ACM) top the list for structural signs like monuments and channel letter backs because they resist corrosion and hold paint finishes well over years of sun and rain exposure. Aluminum and ACM rank among the most durable options for outdoor use, which is why so many fabricators default to them for anything permanent.
- Aluminum and ACM: best for monument faces, channel letter cans, and panel signs; corrosion resistant, holds up 7 to 10+ years with basic care.
- Acrylic: used for illuminated lightbox faces and letters; good clarity, moderate UV resistance, typically 5 to 8 years before yellowing.
- Polycarbonate: tougher and more impact resistant than acrylic, often chosen for high-traffic or vandalism-prone locations.
- Vinyl: the standard for banners, window graphics, and wraps; UV-rated vinyl and laminate hold color for 3 to 5 years outdoors.
- Coroplast: the cheapest option for yard signs and short-run temporary use; expect one season, maybe two, before it warps.
The gap that costs businesses money: a banner printed with standard ink instead of UV-resistant ink can fade noticeably within a few months in direct sun, while the UV-rated version holds its color for several seasons. That’s the difference between reordering every quarter and reordering once a year.
Weatherproof coatings and laminates extend all of these lifespans, and choosing the right treatment upfront costs less than replacing a sign that failed early. A basic maintenance routine, rinsing panels, checking mounting hardware, resealing edges every couple of years, keeps most sign types performing near the top of their expected range. For a side-by-side look at how these materials compare on cost and application, a detailed materials comparison is worth reviewing before you finalize a spec.
Permits and Structural Requirements: What to Check First
Skipping the permit step is the single most common reason a new sign gets fined or ordered removed. Most cities require a sign permit for anything beyond a small non-illuminated placard, and illuminated or freestanding signs almost always add electrical or structural review on top of that.
- Size and height thresholds vary by zoning district, not just by sign type
- Illuminated signs typically require a separate electrical permit
- Freestanding structures like pylon and monument signs often need structural review for wind load and footing depth
- Off-premise advertising signs face stricter rules than on-premise identification signs in most jurisdictions
New York City requires a sign permit for most business signs, with an exception for non-illuminated signs under 6 square feet, though electrical and structural work still needs its own permits regardless of the sign’s size. Chicago requires permits for most on-premise signs and always requires them for off-premise signs, with specific thresholds for size, height, and weight written into the sign code.
Building departments across major cities converge on the same core rule: illuminated and freestanding signs trigger extra permits beyond the basic sign permit, and off-premise advertising gets the strictest review of all.
Call your local building or permit office before fabrication starts, and involve a licensed electrician or a certified sign hanger whenever the job touches wiring or structural mounting. Municipal guides that walk through the permit sequence step by step are worth ten minutes of reading before you sign a contract.
How to Choose the Right Outdoor Sign: A Step-by-Step Checklist
Start with the viewer, not the sign. Every good outdoor sign decision works backward from who’s looking at it and how much time they have.
Step 1: Define viewing distance and primary viewer. Is this sign meant to be read by someone driving 40 mph on a highway, or by someone walking a sidewalk at three miles an hour? That single answer eliminates half the sign families on the market before you look at a single catalog. A pylon sign built for highway speed looks completely different from a blade sign built for a shopping district, and mixing up the two wastes budget either way.
Step 2: Set message priority and budget band. Decide whether the sign’s job is pure branding (your name and logo, nothing else), directional (pointing people to an entrance or department), or promotional (a sale, an event, a limited-time offer). Promotional messages usually belong on temporary signage; branding belongs on something permanent.
Step 3: Select the sign family that matches location and message. Roadside visibility points toward pylon, pole, or digital LED. Foot traffic points toward channel letters, blade signs, or window graphics. Complex properties need monument and wayfinding signage working together. Short-term campaigns call for banners, A-frames, or feather flags.
Step 4: Confirm materials, finish, and permits. Match the material to your climate exposure, aluminum or ACM for anything permanent and coastal or high-UV, vinyl with UV-rated ink for banners and graphics, and confirm whether your sign type triggers an electrical or structural permit in your municipality.
Step 5: Get written quotes and an installation plan. A serious fabricator gives you a written quote covering materials, fabrication, permitting assistance, installation, and warranty terms in one document, not a verbal estimate that changes later. Understanding what should actually be in that quote before you compare bids saves you from a lowball number that balloons once installation and permitting get added on.
Pro Tip: Get at least two written quotes before you commit. The spread between bids often comes down to whether permitting and installation are included or billed separately later.
Custom Signs Today: A Direct Path From Idea to Installed Sign
Reading through five sign categories, a dozen materials, and two cities’ permit codes is exactly the kind of research that eats an afternoon you don’t have. Customsignstoday handles that legwork directly: site evaluation, material selection matched to your climate, permit consultation, and installation with warranty coverage, all under one contract instead of three separate vendors.
The process follows the same checklist outlined above. A project starts with a site evaluation to confirm viewing distance and mounting conditions, moves through a permit check with the local building department, and lands on a material recommendation suited to sun, salt air, or heavy wind depending on where the sign will live. Whether the job is a monument sign for a property entrance, a channel letter storefront package, or a vehicle wrap for a company fleet, the same design and permitting discipline applies.
If you have a location in mind and a rough sense of budget, request a free quote and get a site consultation scheduled. That single step turns a research afternoon into an actual installed sign.
Why Most Sign Regrets Trace Back to One Decision
The mistakes I see repeat themselves across every industry: a business orders fabrication before checking permits, then eats the cost of a redo when the city flags the height or the illumination. Or the copy tries to say four things on a sign that only allows time to read one. Or someone picks acrylic for a sign facing direct coastal sun and watches it yellow within two years instead of picking a material built for that exposure.
Almost every one of those mistakes traces back to skipping the same step: designing for the actual viewing time, not the design mockup on a screen. A driver gets three seconds. Design for three seconds, and the rest of the decisions, size, contrast, word count, get a lot easier.
Sources
- Sign Permits – City of Chicago Department of Buildings
- Outdoor Business Signs for Commercial Projects | Grandview
- Outdoor Business Signs: Types, Materials & Costs (2026) – George and Willy
Always confirm current rules with your local building department, and use a licensed electrician or installer for any wiring or structural work.

