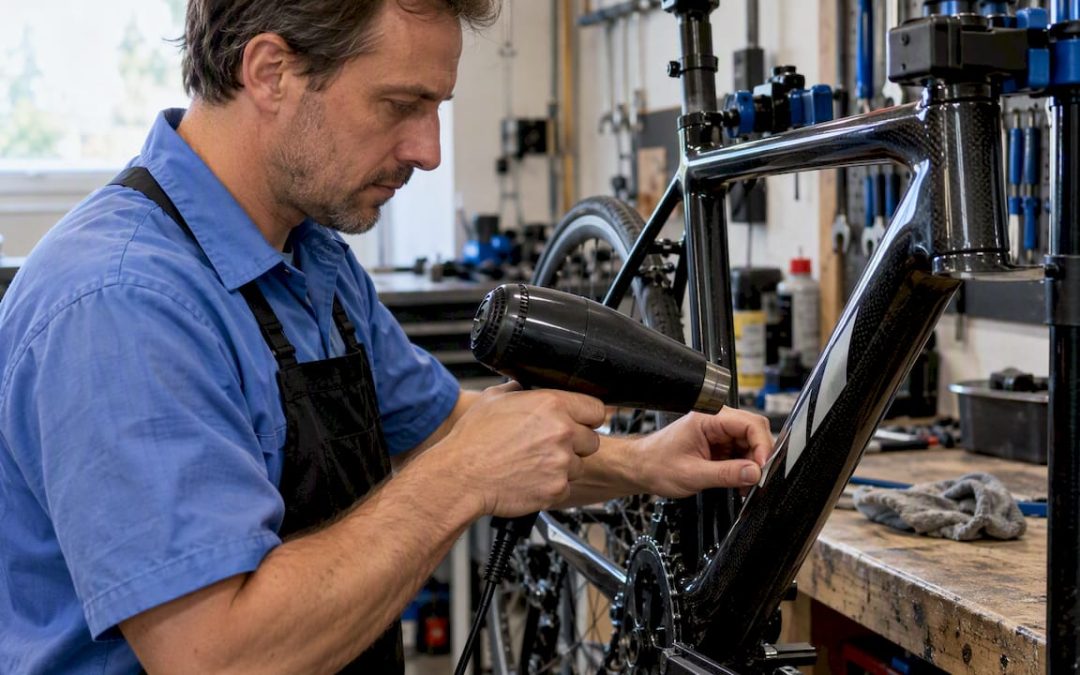
The safest way to remove decals from a bike is to warm the decal with a hair dryer, peel it slowly at a low angle, then dissolve leftover glue with isopropyl alcohol or a manufacturer-approved adhesive remover. Spot-test every product on a hidden patch first. If the paint softens, lifts or turns tacky, stop and ask a frame builder or body shop before you go further.
TL;DR:
- Use 90% or stronger isopropyl alcohol for fresh glue; citrus cleaners tackle stubborn residue but may strip wax or damage delicate finishes.
- For aged glue on cured paint, use a professional remover on a towel, follow its label dwell time, then wash away residue.
- Treat scraping as a last step: keep a plastic tool nearly flat, use short strokes, and wipe it often so grit cannot score the finish.
- Carbon frames and bonded joints need especially low, moving heat; avoid concentrated warmth near glued joints, where it can damage the structure.
Table of Contents
- What do you need to remove bike decals safely?
- How do you heat and peel a bike decal step by step?
- Which solvent should you use for sticky residue?
- How do you scrape residue without scratching the paint?
- How do you check the finish and protect it afterward?
- What if the adhesive is stubborn or the finish is delicate?
- What does the manufacturer-backed checklist look like?
- My quick pro checklist, and when paid help is worth it
- Want a pro to handle bike decals and rebranding?
- FAQ
- Sources
What do you need to remove bike decals safely?
A finish-safe kit keeps you from improvising with a razor blade or a harsh solvent halfway through the job. Gather everything before you touch the frame, because a half-peeled decal with glue exposed picks up dust fast. Here is the kit we recommend:
- Heat source: a hair dryer is the preferred choice. A heat gun works only if you have used one before, held at a generous distance and kept moving. Avoid concentrating heat on bonded or composite areas.
- Plastic scrapers: a plastic razor blade, an old credit card or a small squeegee. Wipe them clean often so they never grind old residue into the paint.
- Isopropyl alcohol, 90% or higher: the first solvent to reach for on fresh or light residue.
- Citrus or d-limonene cleaner: a step up for stubborn acrylic adhesive, with a caveat about waxes and sealants covered below.
- Professional adhesive remover: 3M Adhesive Remover is a wipe-on, wipe-off product made to dissolve residue on cured painted surfaces without abrasives.
- Soft microfiber cloths and paper towels: several, because dirty cloths smear glue instead of lifting it.
- Masking tape and paper: to shield decals you are keeping, cable housing, grips and saddle.
- Protection for you: nitrile gloves, eye protection and a ventilated space.
Leave acetone and any unlabeled solvent out of the kit. Both are common ways to turn a decal job into a repaint. If a product’s label does not say it is safe for cured automotive-style paint, it has no business near your frame.
How do you heat and peel a bike decal step by step?
Heat softens the adhesive so the decal comes off in one piece instead of in a hundred crumbs. The method below follows the same logic as the Scotchcal removal guidance: warm one corner, pull back at a low angle and keep heating just ahead of the peel. If you want a second take, our pro heat method for vinyl stickers covers the same idea for other surfaces.
- Position and protect the bike. Put it in a work stand or lean it somewhere stable, indoors or in shade at a comfortable room temperature. Remove small parts that are in the way, then mask nearby decals, cables and any bare or textured areas.
- Spot-test your heat. Warm a hidden patch of the frame briefly and touch it. The surface should feel warm, never hot, and the paint should look unchanged.
- Heat the decal evenly. Hold the hair dryer at a distance and sweep it back and forth across the decal briefly. You want the vinyl pliable and the glue soft, not blistering or shiny.
- Lift one corner. Use a fingernail or the edge of a plastic scraper. If the corner refuses to lift, heat it again rather than prying harder.
- Peel low and slow. Pull the decal back over itself at a shallow angle, nearly flat against the frame, while the dryer follows a few inches ahead of the lifting edge. Steady speed beats strength.
- Reheat when it resists. If you feel the paint tugging or the decal stretching, stop pulling, warm the spot again and continue.
- Work a torn decal in strips. When vinyl rips, reheat the remaining piece, lift a fresh edge and peel in narrow strips. Never dig under it with a metal blade.
Time per decal depends on size and age. A small, newer decal may come off quickly, while a large, sun-baked one may take longer to heat and peel.
Carbon fiber frames and bonded joints deserve extra caution. Some bicycle frames, including carbon and certain aluminum constructions, have heat-sensitive clear coats or bonded joints, and 3M’s graphics removal guidance says excessive heat can damage bonded structures. Use the lowest setting, keep the dryer moving and stay away from joints where tubes are glued together.
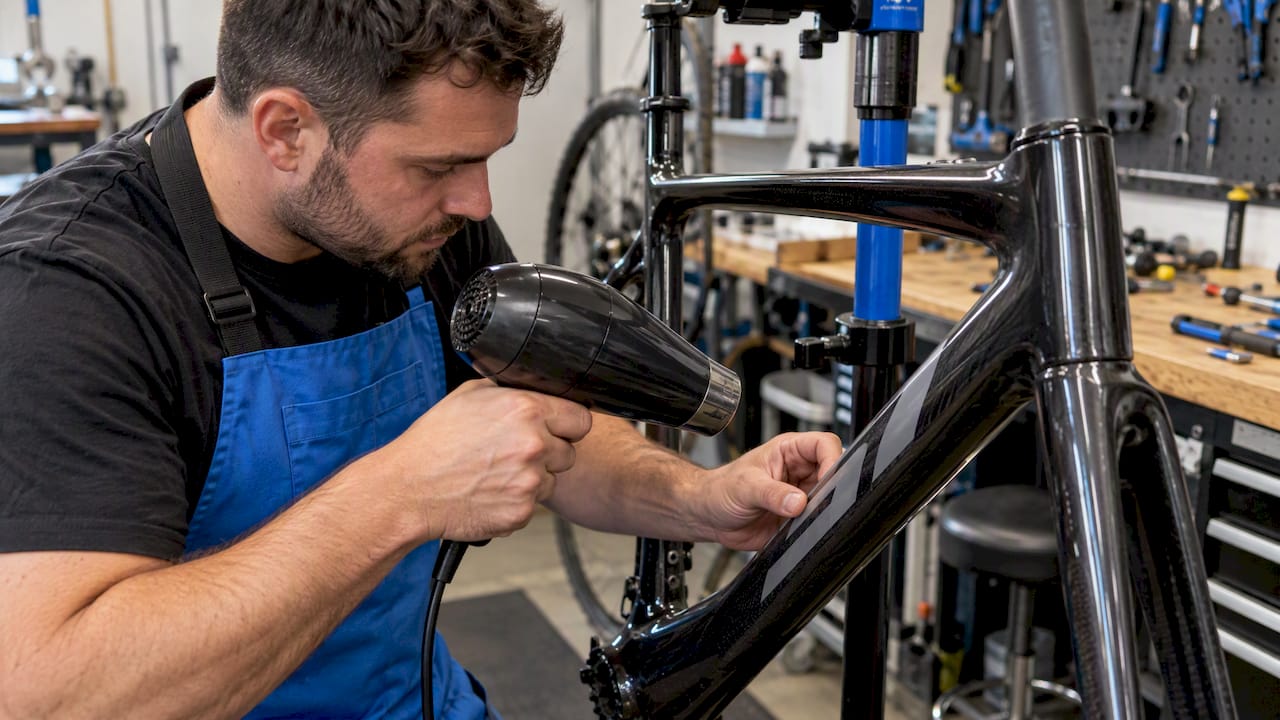
Pro Tip: Peel toward the warm area, not away from it. If the decal cools behind the dryer, the glue re-grips and you lose the clean release.
Which solvent should you use for sticky residue?
Once the decal is off, a ghost of adhesive usually remains. Pick the gentlest option that works, and escalate only when it stops working.
Saturate a cloth, lay it on the residue for a minute so the alcohol can work, wipe, and repeat. Light glue may come off after a few passes.
Move to citrus cleaners for tougher acrylic adhesive. D-limonene products can dissolve glue that alcohol only smears. The trade-off is that they may strip wax or sealants, and they can be hard on some coatings. If your frame has a ceramic coat, a matte finish or a fresh sealant, skip citrus or test it repeatedly on a hidden spot.
Step up to a professional remover for aged residue. For baked-on glue, 3M’s adhesive remover documentation recommends professional-grade removers because they dissolve the adhesive without abrasive scraping.
Per 3M, 3M Adhesive Remover is a petroleum-solvent blend designed to remove adhesive residue from cured automotive paint without abrasives, in a wipe-on, wipe-off formula. That wipe-only action is exactly why we reach for it before any scraper.
Here is the sequence we suggest for stubborn glue, based on 3M’s removal instructions:
- Mask the surrounding area so the remover only touches the glue.
- Wet a towel with the remover instead of pouring it on the frame.
- Cover the towel with plastic wrap or a second layer to slow evaporation.
- Wait the dwell time listed on the product label. Short dwell times are common, so set a timer instead of guessing.
- Wipe off the softened film, then use a plastic scraper on anything left.
- Wash with mild detergent and water, rinse and dry fully so no solvent stays on the paint.
Ordinary household shortcuts deserve skepticism. IKEA’s label-residue guidance mentions WD-40, rubbing alcohol, vinegar and oils for sticker glue, but it also warns that WD-40 and acetone can damage surface finishes and that you should use the least aggressive method first. That is sensible advice for a bike frame too. Oils and WD-40 can leave a film that makes later wax or new decals harder to apply.
Whatever you choose, read the product’s safety data sheet, wear gloves and keep the room ventilated. Strong removers produce fumes you should not breathe in a closed garage.
How do you scrape residue without scratching the paint?
Scraping is where most frame damage happens, so treat it as a last mechanical step and not a first move. Keep the tool plastic, the angle shallow and the pressure light.
- Hold the scraper nearly flat. A steep angle digs an edge into the clear coat. A flat angle shears the softened glue off the surface.
- Let the solvent do the work. If you have to push hard, the adhesive is not soft enough yet. Add solvent or heat and wait.
- Wipe the scraper constantly. 3M’s guidance stresses keeping scraping tools clean, because dragging a loaded blade grinds residue and grit into the finish like sandpaper.
- Use small, short strokes. Long strokes build pressure and load the blade quickly.
- Avoid metal blades. The rare exception is a stubborn fleck on a fully cured, hard finish, and even then only with a fresh blade, almost no pressure and total confidence in what is underneath. On a bike frame, we advise skipping this entirely.
- Switch methods when it stops working. If the paint starts to scuff, go back to solvent or stop and get advice.
Pro Tip: Wrap a microfiber cloth around your fingertip and roll the glue off in tiny balls. This often works better than a scraper and carries almost no scratch risk.
How do you check the finish and protect it afterward?
Finish the job by inspecting what you uncovered, because the decal may have hidden fading, chips or soft paint that you need to know about before you ride.
- Look for paint lift. Raised edges, flakes or bare spots mean the paint was not bonded well or was not fully cured. Do not scrub the area.
- Check for dulling or haze. A cloudy patch often means a solvent lingered too long or a rubbing step was too aggressive. It can sometimes be improved with gentle cleaning, but not by heavy polishing.
- Feel for soft or tacky spots. If the paint stays tacky after the solvent is gone, the finish is compromised. Stop and consult a frame builder or body shop.
- Expect a “ghost” outline. Decals protect the paint beneath them from sun and dirt, so a faint shadow of the old design can remain on older frames. That is normal and not damage.
- Wash off every trace of solvent. Use mild dish soap and water, rinse well and dry completely, because leftover solvent keeps working on the paint.
- Wax or polish only if the clear coat is intact. A light wax evens the look and restores protection on healthy paint. On a damaged or soft finish, leave it alone.
If you plan to put new graphics on, the surface should be clean and dry first. Railroad-industry decal guidance, from the University of Illinois decal overview, recommends isopropyl alcohol to remove remaining residue before application, which is the same product you used for cleanup.
What if the adhesive is stubborn or the finish is delicate?
Some jobs fight back. Old, sun-baked decals and sensitive finishes need a slower, more careful approach.
- Baked or aged adhesive: use longer solvent dwell cycles instead of harder scraping. Soak, wait, wipe, then repeat several times. A professional remover may be needed where alcohol only smears the glue.
- Matte finishes: matte paint is easy to burnish into a shiny patch. Skip citrus cleaners, avoid rubbing in circles and stay with low heat and gentle isopropyl alcohol, testing repeatedly on a hidden spot.
- Ceramic-coated frames: strong solvents can degrade the coating. If you are unsure what protects your frame, this advice on removing ceramic coating without stripping the clear coat explains how those layers behave, and it is a good read before you pick a solvent.
- Carbon fiber: keep the heat low and moving, stay clear of joints and prefer alcohol over aggressive chemicals.
- Old, cracked vinyl: it comes off in confetti. Heat gently and peel in tiny strips, then treat the leftover glue as an aged residue.
- When to stop: if paint peels, the finish softens or the clear coat clouds badly, stop immediately. More effort will not fix it, and a frame builder or body shop can assess whether it needs a touch-up or refinish.
Our guide on whether you can remove car decals without damaging paint covers a similar decision process on automotive finishes, and the same principles of testing first and stopping early apply to a bike.
What does the manufacturer-backed checklist look like?
Decal and adhesive manufacturers publish removal procedures for a reason: the same steps reduce risk across almost every painted surface. Distilled from 3M’s instruction bulletin and the guidance above, this is the order we follow:
- Test first on a hidden spot with both heat and solvent.
- Mask the area around the decal before any chemical removal.
- Heat and peel at a low angle, reheating as needed.
- Apply remover to towels, cover them to slow evaporation and allow the stated dwell time.
- Scrape gently with plastic only, wiping the tool clean often.
- Wipe with solvent, then wash with detergent and water and dry fully.
- Read the safety data sheet and use gloves and ventilation with strong removers.
Why does removal feel so different from one bike to another? 3M’s removal bulletin explains that substrate condition matters: slightly oxidized paint can grip an adhesive harder, and a decal applied over uncured paint can pull the paint off when removed. That is why an older frame, a freshly painted frame and a factory clear coat can each behave differently under identical treatment.
| Situation | Safer approach | What to avoid |
|---|---|---|
| Fresh decal, cured paint | Hair dryer, slow low-angle peel, alcohol wipe | Metal blades |
| Aged or baked adhesive | Repeated solvent dwell cycles, plastic scraper | Forcing it off dry |
| Carbon or bonded joints | Low, moving heat; alcohol only | Concentrated heat gun use |
| Matte or ceramic finish | Gentle alcohol, repeated spot-tests | Citrus cleaners, rubbing hard |
| Possibly uncured or repainted frame | Test first, consider a professional | Aggressive peeling |
My quick pro checklist, and when paid help is worth it
Keep the order simple: spot-test, heat and peel, run solvent cycles, inspect, and stop the moment paint peels. Most decals on a healthy factory finish come off with patience and a hair dryer, and rushing is the only real way to ruin the job. Bring in a professional when the finish is delicate, you can already see paint lifting, or you are not sure how your frame was built. A repaint costs far more than a service call, and a pause costs nothing. Anything you cannot undo deserves a second opinion.
— Yossi
Want a pro to handle bike decals and rebranding?
Not everyone wants to spend an afternoon with a hair dryer next to a frame they care about. If you would rather hand it off, we can take care of the graphics side of the job. At Customsignstoday we make custom vinyl graphics, and we can handle clean re-application or full replacement, so the new look goes on a properly prepared surface. Here is what we offer that fits this job:
- Vehicle lettering for crisp, durable names and logos.
- Custom vinyl decals sized and designed to your spec.
- Wraps and vinyl printing for a full refresh.
[CTA_IMAGE_PLACEHOLDER]
Tell us what you have and what you want it to look like, and we will put together a quote for professional installation.
FAQ
Does WD-40 remove decals?
WD-40 can loosen some sticker residue, but it is not the gentlest choice for a bike. IKEA’s guidance warns that WD-40 and acetone can damage surface finishes, so start with isopropyl alcohol and always test a hidden spot first.
Can rubbing alcohol remove decals?
Rubbing alcohol helps with the glue left behind more than with the decal itself. 3M’s product guidance notes that isopropyl alcohol at 90% or higher works well on fresh residue. Heat and peel the decal first, then use alcohol for the sticky film.
What is the best solvent for removing decals?
For aged adhesive on cured paint, a purpose-made product like 3M Adhesive Remover is the stronger option. Avoid acetone and always spot-test.
How long does it take to remove a bike decal?
A small, newer decal may come off quickly, while an old, large one may take longer to heat and peel, plus extra time for residue. Working slowly protects the paint, so budget extra time for sensitive finishes.