
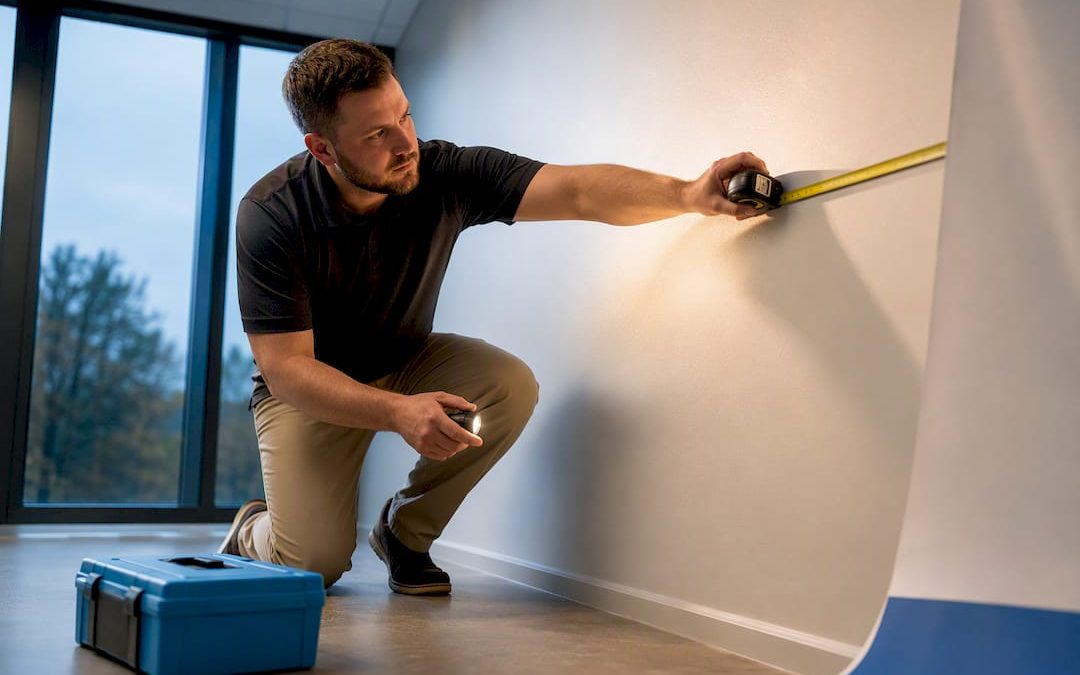
Commercial wall decals should go up under experienced sign installers who run a site survey and adhesion test before anything gets cut. That step, paired with the right material and adhesive for the wall in front of them, is what separates a decal that lasts five years from one that bubbles and peels within a season. Skip it, and you risk stripped paint, voided warranties, and a redo bill nobody budgeted for.
TL;DR:
- A thorough site survey, including paint curing and surface testing, is crucial to avoid decal failure and ensure long-lasting adhesion.
- Using the right tools, materials, and adhesive types, such as cast vinyl and proper post-heat, significantly extends decal lifespan and reduces callbacks.
- Proper installation techniques, including hinge methods and surface conforming for textured walls, are essential for accurate placement and durability.
- Post-heat and edge sealing are vital finishing steps that prevent curling, bubbling, and edge lifting over time on high-traffic or textured surfaces.
- Skipping the site survey or rushing the prep stage increases the risk of failures, callbacks, and warranty issues, especially across multiple locations or complex surfaces.
Table of Contents
- What tools and materials do professional installers use for wall decals?
- How do professionals survey and prep a wall before installing decals?
- What installation methods do professionals use for wall decals?
- What finishing steps make wall decals last longer?
- How do you diagnose and fix common wall decal failures?
- What do professional installers actually prioritize on a job?
- Ready to get your wall decals installed the right way?
- Sources
What tools and materials do professional installers use for wall decals?
A crew showing up without the right kit is a warning sign. Professional installations run on a specific toolset, and knowing what belongs in that kit helps you evaluate a vendor’s quote before you sign it.
- Laser level or plumb line for straight, true panel alignment
- Felt-edge squeegees and a rivet brush for detail work around corners and outlets
- Foam rollers and a heat gun for texture conforming and post-application heating
- Infrared thermometer to confirm surface temperature before and during application
- Utility knives, weeding tools, and full PPE (gloves, eye protection, respirator for solvent work)
Material choice matters as much as tooling. Cast vinyl is the standard for long-term environmental graphics because it holds its shape and conforms to irregular surfaces, while calendered vinyl works fine for short-term promotions on flat walls but shouldn’t be specified for anything meant to last years. Fabric wallcoverings and rigid panels round out the options for premium interiors or unstable substrates.
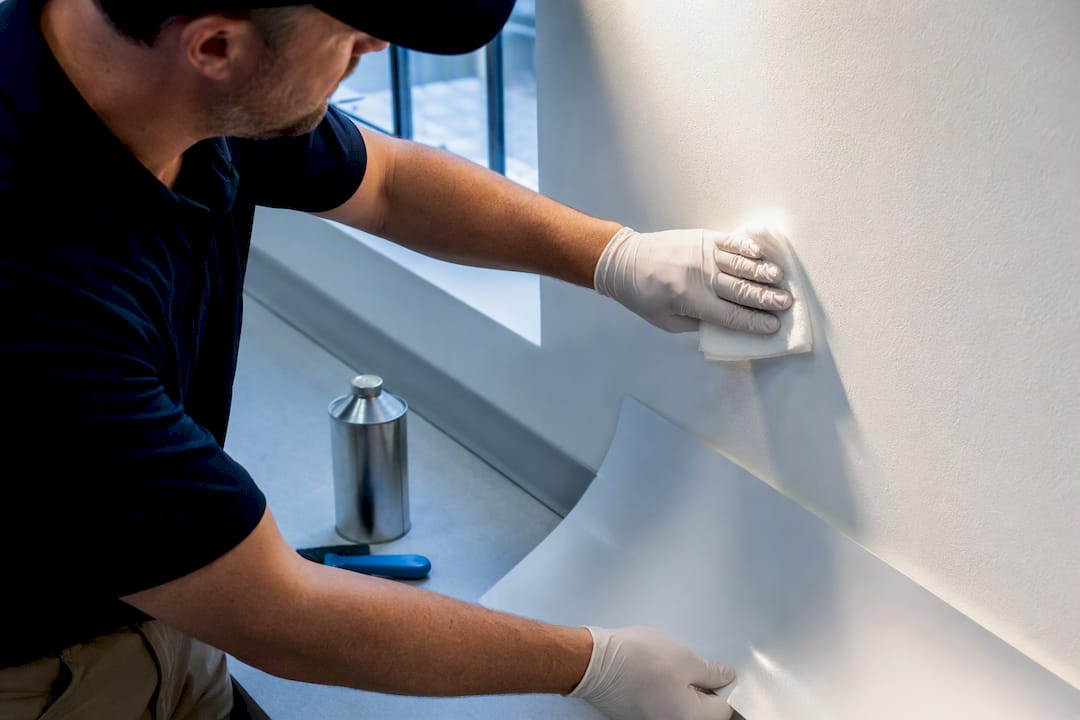
Adhesive technology is the other half of the equation: permanent, removable, high-tack for low-surface-energy (LSE) paints, and air-release films that vent trapped air during application. Every install should end with a final wipe using 70% isopropyl alcohol, which removes residual contamination that causes adhesion loss down the line.
How do professionals survey and prep a wall before installing decals?
Most decal failures trace back to something that happened before the vinyl ever touched the wall. A proper site survey and surface engineering pass catches the problems that artwork approval never will.
- Measure the wall and map any texture variation, seams, or trim obstructions.
- Check lighting conditions, including direct UV exposure that accelerates adhesive breakdown.
- Log HVAC patterns and take moisture readings at multiple points on the wall.
- Run a tape test to confirm paint adhesion and identify low-surface-energy coatings.
- Confirm paint cure time. Fresh paint needs weeks, not days, before vinyl goes over it.
Pro Tip: If a wall tests wet or the paint was applied inside the past two to three weeks, push the install back rather than force it. A rushed application on uncured paint almost always fails at the edges first.
When a wall fails these checks, the fix isn’t always more adhesive. Sometimes it’s priming the surface, sometimes it’s specifying a different film chemistry, and sometimes the better call is mounting the graphic on a rigid panel like Dibond or acrylic instead of applying film directly to unstable drywall. For facility managers coordinating multi-site rollouts, building the survey into the scheduling calendar, before production even starts, avoids the scramble of discovering a bad wall on install day three states away.
What installation methods do professionals use for wall decals?
Execution technique is where a trained crew earns its rate. The method depends on the decal’s size, the wall’s finish, and whether you’re hanging a single panel or a twelve-panel mural.
Hinge methods set the foundation for accurate placement:
- Position the decal and tape a hinge line, top hinge for most wall work, center hinge for very large or awkward panels.
- Fold back one side, peel the liner in sections, and squeegee from the hinge outward.
- Release the second side and repeat, working out trapped air as you go.
Dry application is the default for wall murals because painted drywall doesn’t drain moisture the way glass does. Wet application gets reserved for glass surfaces or repositionable work, and even then it demands tight control over fluid amount and drying time since excess moisture trapped behind vinyl on a porous wall can cause bubbling weeks later.
Multi-panel installs need planning before the first liner comes off:
- Confirm bleed and overlap in the artwork file, typically half an inch to one inch depending on the product specification.
- Use a laser or plumb line to set the first panel dead level, since every following panel inherits that error.
- Remove liner progressively rather than all at once to keep the panel from folding on itself.
- Squeegee from the center out to push air toward the edges, not trap it in the middle.
Textured surfaces are their own challenge. Heat combined with a textured-roller tool conforms film into stucco or orange-peel finishes that a standard squeegee can’t reach. Deep grout lines on tile or brick call for a mosaic technique, cutting the film into smaller sections and using a rivet brush to press vinyl into each recess individually.
What finishing steps make wall decals last longer?
The install isn’t done when the liner comes off. Post-heat, applying a heat gun across the finished surface to “set” the vinyl’s memory, is what stops edges from curling back six months later. Skip it, and you’re gambling on the adhesive alone to hold a shape the film wants to return to.
Finishing choices that affect lifespan:
- Edge sealing on high-traffic walls, using a clear sealant bead along every cut edge
- Anti-graffiti overlaminate for lobbies, stairwells, or anywhere the wall gets touched constantly
- Matte laminate for boardrooms and offices where glare is a problem; gloss for retail displays that need punch
- A wipe-down maintenance schedule matched to the laminate, most cleanable films tolerate mild soap and water monthly
Cast vinyl with a quality laminate and proper post-heat regularly outlasts calendered film installed without either step, which matters when you’re setting client expectations around warranty length. A wall graphic installed correctly with post-heat and edge sealing is far less likely to need a callback in year one, the single biggest cost driver in commercial signage service contracts.
How do you diagnose and fix common wall decal failures?
Bubbling, blistering, and edge lifting look similar but come from different causes, and treating the wrong one wastes a service call.
- Bubbling right after install usually means trapped air from an incomplete squeegee pass, not a bad film.
- Blistering that appears days later often points to outgassing from fresh paint or a contaminated surface that wasn’t wiped with isopropyl alcohol.
- Edge lifting is the classic sign of a cold application, low-surface-energy paint that needed high-tack adhesive, or skipped post-heat.
For small bubbles, puncture with a pin and re-squeegee toward the hole. Localized heat from a heat gun can re-set a lifting edge if caught early, followed by an edge seal to lock it down. But if the vinyl is pulling paint off with it, stop. That’s a substrate problem, not a technique problem, and removing it further without the right approach risks stripping the wall down to drywall paper.
Pro Tip: Never assume an old decal will come off clean. Heat soften it first, peel slowly at a low angle, then use an adhesive residue solvent, never a scraper, on anything painted within the past year.
What do professional installers actually prioritize on a job?
Most guides on this topic focus on the visible steps: peel, position, smooth. What actually determines whether a wall decal survives its warranty period happens before that, in the site survey most vendors treat as an afterthought.
I’d argue the industry undersells this part. A crew that shows up, measures the wall, checks the paint cure date, and tests adhesion with tape before quoting a final price is doing more for your outcome than any amount of skill with a squeegee later. The reverse is also true: no amount of post-heat or edge sealing fixes a job that started on a wall that was never tested for moisture or cure time.
For facility managers juggling wall and floor vinyl graphics across multiple properties, or real estate agents ordering premium interior branding through custom vinyl wallpapers, the lead time on a proper quote should include survey time, not just print and install. A rushed quote that skips the wall check is the one most likely to generate a callback. Ask your vendor for examples of similar completed installs before you commit. It tells you more about their process than any brochure will.
— Yossi
Ready to get your wall decals installed the right way?
A reliable signage provider handles the part most vendors rush past: the site survey, the material match, and the adhesive selection that decide whether your decal is still flat and clean in three years or peeling at the edges in three months.

For business owners managing a single storefront, an in-house team with a squeegee might handle a small flat-wall decal fine. But once you’re dealing with textured surfaces, multi-panel murals, low-surface-energy paint, or coordinating installs across several locations, that’s exactly the complexity a trained crew is built for. Customsignstoday’s custom vinyl decals service covers the survey, the material call, and the finishing work, post-heat and edge sealing included, so you’re not left guessing why an install failed six months in.
If you’re weighing finish choices near doorways or trim as part of a larger interior refresh, it’s worth reviewing interior door and finish options alongside your wall graphics plan so the whole space reads as one job, not two mismatched projects.

Request a free quote today, tell Customsignstoday about your wall, its paint history, and your timeline, and get a survey-based estimate before you commit to a material or a date.
Sources
- Large Format Graphics Installation Guide 2026 | Linemark
- Decal film printing: From design to application (2026)
- Avery Dennison instructional bulletin (wall graphics)
- 3M guide to wall applications (tooling and textured surface techniques)
- GF Vinyl Application guide

