
Over half of American small businesses say their signage directly impacts how customers perceive their brand. If you want to stand out in a crowded market while working within budget limits, your signs need more than good looks—they must capture your brand’s true spirit. This guide reveals practical ways to assess your branding needs, set signage goals, and make informed choices that help your business connect with customers and leave a lasting impression.
Table of Contents
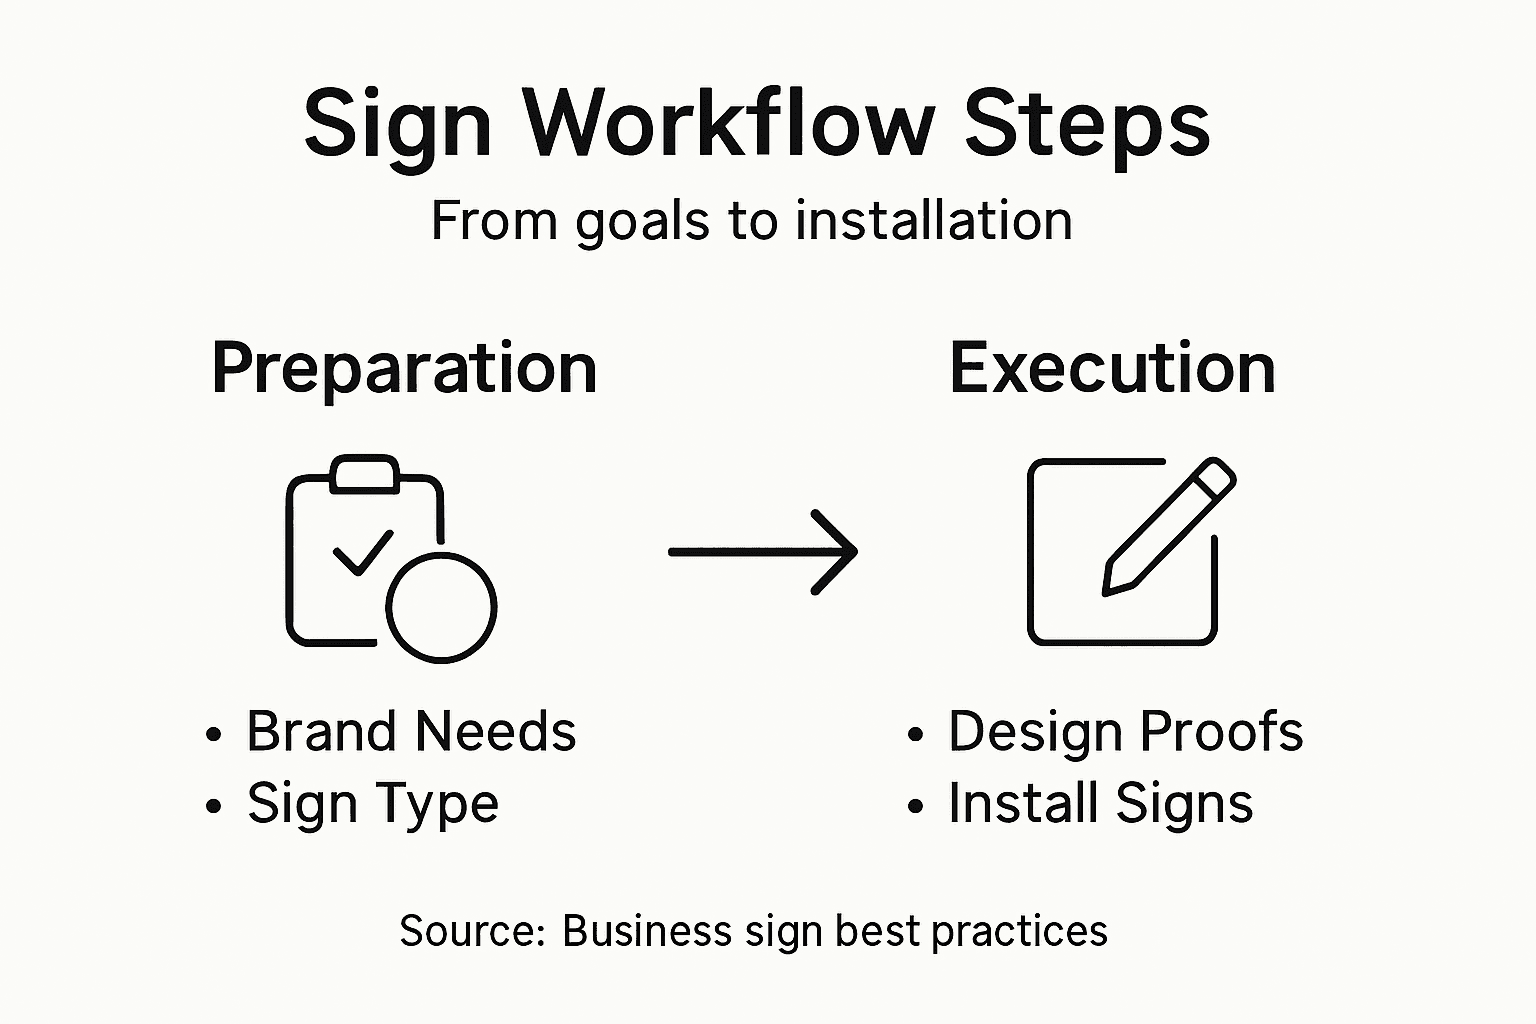
- Step 1: Assess Branding Needs And Signage Goals
- Step 2: Select Suitable Sign Types And Materials
- Step 3: Design Custom Graphics And Messaging
- Step 4: Submit Proofs And Review For Approval
- Step 5: Confirm Production And Coordinate Installation
Quick Summary
| Key Point | Explanation |
|---|---|
| 1. Assess Branding Needs | Analyze current branding elements to identify gaps in visual communication and align signage with brand identity. |
| 2. Choose Sign Types Wisely | Select signage types and materials based on durability, visibility, and intended messaging to ensure effective communication. |
| 3. Design Impactful Graphics | Create custom graphics that reflect your brand identity, ensuring clarity and emotional resonance with your target audience. |
| 4. Submit Thorough Proofs | Prepare detailed proof packages for review, focusing on brand compliance and clarity to facilitate necessary revisions. |
| 5. Coordinate Installation Effectively | Confirm production details and strategically plan installation to ensure compliance with regulations and optimal visibility. |
Step 1: Assess branding needs and signage goals
Successful business signage starts with a strategic understanding of your brand’s visual communication requirements. Your goal is to create signage that not only captures attention but communicates your brand’s core identity and values.
To effectively assess your branding needs, begin by analyzing your current brand perception and messaging strategy. This involves examining your existing visual elements such as logo, color palette, typography, and overall design language. Consider how your current branding resonates with your target audience and where potential gaps might exist in your visual communication. Understanding that branding encompasses more than just a logo means recognizing that your signage should reflect the emotions, experiences, and perceptions associated with your business.
Next, outline specific signage goals that align with your broader marketing objectives. Are you looking to increase brand visibility, direct customer traffic, communicate key information, or create a memorable first impression? Each goal will influence the design, placement, and style of your custom signs. Credible messaging through consistent signage can strengthen brand awareness and help clarify your organizational positioning.
Pro Tip: Conduct a brief customer survey or gather informal feedback to understand how your current signage is perceived and what improvements might make your brand more memorable.
Step 2: Select suitable sign types and materials
Choosing the right sign types and materials is crucial for creating effective visual communication that represents your business professionally and withstands environmental challenges. Your signage selection will directly impact how potential customers perceive and interact with your brand.
Begin by evaluating your specific business needs and environment. Consider factors such as location, exposure to weather conditions, and intended message. Different materials offer unique advantages based on signage standards and functionality. For outdoor signs, you will want durable materials like aluminum, acrylic, or weather resistant composites that can handle sunlight, rain, and temperature fluctuations. Interior signs might prioritize aesthetic qualities and can utilize materials like wood, glass, or high quality printed vinyl that complement your interior design.
When selecting sign types, think about visibility, readability, and alignment with your brand identity. Choosing signage with clear communication principles ensures your message reaches your target audience effectively. Common business sign types include channel letters, monument signs, window graphics, directional signs, and illuminated signs. Match your sign type to your specific communication goal whether that is brand awareness, wayfinding, promotional messaging, or creating a memorable visual impact.
Pro Tip: Request material samples and outdoor durability tests before making a final sign material commitment to ensure long term performance and visual quality.
Here is a quick comparison of common business sign types and their key benefits:
| Sign Type | Best Use Case | Visibility Level | Durability |
|---|---|---|---|
| Channel Letters | Storefront branding | High | Weatherproof |
| Monument Signs | Entrance or campus signage | Moderate | High |
| Window Graphics | Promotions, info on windows | Moderate | Medium |
| Directional Signs | Wayfinding inside/outside | Low to moderate | Varies |
| Illuminated Signs | Nighttime visibility | Very high | Weatherproof |
Step 3: Design custom graphics and messaging
Creating compelling custom graphics and messaging is your opportunity to transform your signage from mere information into a powerful brand communication tool. Your design will serve as a visual ambassador that communicates your business identity and attracts potential customers.
Start by developing graphics that support your brand’s visual identity. This means carefully selecting color palettes that match your existing brand colors, choosing fonts that reflect your company’s personality, and creating graphics that tell your unique story. Consider the emotional response you want to evoke. Are you aiming for professional sophistication, playful creativity, or trustworthy reliability? Every visual element from your logo placement to image selection should reinforce this core brand message.

When crafting your messaging, focus on clarity and brevity. Effective signage design requires succinct communication that can be understood quickly by viewers. Use strong action words, create concise headlines, and ensure your key message is readable from a distance. Think about your target audience and what language will resonate with them. Avoid cluttering your design with too much text or complex graphics that might confuse or overwhelm potential customers.
Pro Tip: Create a simple mockup of your sign design and view it from different distances and angles to ensure readability and visual impact before final production.
Step 4: Submit proofs and review for approval
Submitting sign proofs represents a critical checkpoint in your custom signage workflow where your design transitions from concept to potential reality. This stage ensures your visual communication meets professional standards and accurately represents your brand.
Prepare your proof package comprehensively, including high resolution design files, color specifications, and mockup renderings. Signage approval requires detailed brand compliance review that examines every visual element meticulously. Expect your submission to be evaluated for graphic consistency, message clarity, color accuracy, and alignment with your established brand guidelines. Include a brief explanation of your design rationale to help reviewers understand your creative choices and strategic thinking.
Anticipate potential feedback and be prepared for iterative revisions. The review process might involve multiple stakeholders including graphic designers, brand managers, and potentially senior leadership depending on your organization’s complexity. Maintain open communication channels and respond promptly to any requested modifications. Brand guidelines inform comprehensive signage reviews that protect your company’s visual identity and ensure professional representation.
Pro Tip: Create a digital folder with all design iterations and communication records to streamline the approval process and maintain a clear documentation trail.
Step 5: Confirm production and coordinate installation
With your sign design approved, you are now entering the critical execution phase where your vision transforms into physical signage. This stage requires meticulous attention to detail and proactive communication to ensure a smooth transition from design to final installation.
Begin by confirming detailed production specifications with your sign manufacturer. Verify every technical specification including exact dimensions, material quality, color matching, and printing resolution. Request a final digital proof or physical sample to confirm the production meets your exact standards. Schedule a comprehensive review meeting with your production team to discuss timeline expectations, potential challenges, and confirm all design elements match your original approved concept.
Signage installation requires strategic planning that goes beyond simply placing a sign in a location. Coordinate with facilities management or property owners to determine precise mounting locations, assess structural requirements, and ensure compliance with local regulations. Consider factors like visibility, accessibility, lighting conditions, and potential obstructions. Develop a detailed installation schedule that accounts for potential logistical challenges such as site preparation, necessary permits, and coordinating with multiple stakeholders.
Pro Tip: Create a comprehensive installation checklist that includes backup plans for potential site complications to minimize last minute surprises.
This table summarizes key steps in the custom business signage workflow:
| Workflow Step | Main Objective | Who Involved | Key Consideration |
|---|---|---|---|
| Assess Branding | Align signage with brand identity | Owners, marketers | Audience perception |
| Choose Materials | Select type and durability | Designer, fabricator | Environmental factors |
| Design Graphics | Create impactful visuals/messages | Graphic designer | Branding consistency |
| Proof & Review | Ensure brand compliance | Managers, reviewers | Color and design accuracy |
| Production & Install | Execute sign creation and placement | Installers, facility | Location and regulations |
Streamline Your Custom Sign Workflow with Expert Solutions
Navigating the complex steps of custom business signage can feel overwhelming. From pinpointing your branding goals to choosing materials and approving proofs every decision impacts how your brand is perceived. If you are looking for a trusted partner who understands the importance of durable materials, precise design, and seamless installation, our expert team is ready to help.
Discover how Uncategorized – custom signage solutions can simplify your process with personalized service tailored to your brand identity. Visit https://customsignstoday.us today to request a free quote and take the first step toward signage that truly reflects your business vision while standing the test of time.
Frequently Asked Questions
What are the first steps in the custom sign workflow for businesses?
To start the custom sign workflow, assess your branding needs and signage goals. Analyze your current brand perception and outline specific signage goals that align with your marketing objectives.
How do I choose the right materials for my custom signs?
Select materials based on your business needs and environmental factors. Consider durability for outdoor signs and aesthetics for interior signs; aim to match materials to your brand identity and message.
What should I keep in mind while designing custom graphics and messaging?
When designing graphics, focus on reinforcing your brand’s identity and evoking the desired emotional response. Ensure your messaging is clear and concise for easy understanding; use strong action words and limit clutter to enhance readability.
What steps should I take for the proof and review process?
Prepare a comprehensive proof package with high-resolution files and color specifications. Include design rationale to facilitate the review and ensure the submission adheres to brand guidelines, allowing for a smooth approval process.
How do I coordinate the production and installation of my custom signs?
Confirm production specifications with your sign manufacturer, including dimensions and material quality. Develop a detailed installation plan that accounts for mounting locations and local regulations; aim to finalize these details prior to the production phase for smooth execution.