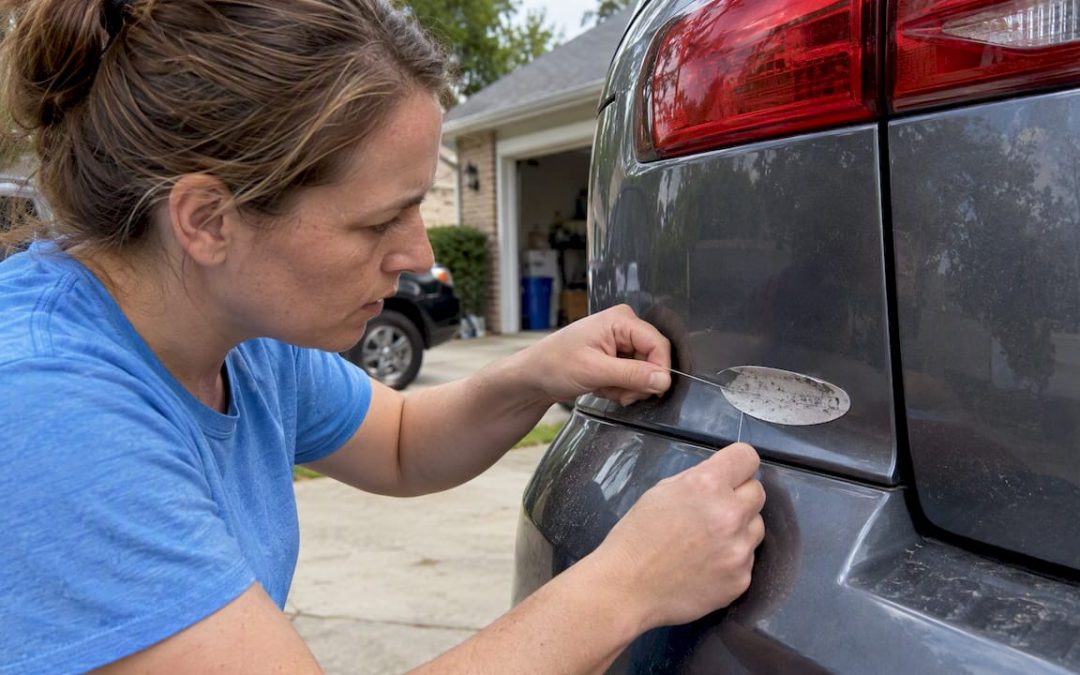
The safest way to take off a dealership decal is to warm it gently with a hair dryer, lift one edge with a fingernail or plastic scraper, then slide fishing line or dental floss behind the decal while reapplying light heat. Finish any leftover adhesive with a vehicle-safe adhesive remover, then wipe the area with isopropyl alcohol. Skip metal razor blades, avoid excessive heat, and always test your method on a small hidden spot first.
TL;DR:
- 3M guidance says warming film to about 160°F to 200°F can ease removal, while constant movement helps prevent paint damage.
- For tinted windows or sensitive finishes, leave a towel soaked in adhesive remover for 3 to 5 minutes, then scrape gently with a plastic tool.
- Test every solvent and heat method on a hidden spot first; matte or satin paint may not tolerate standard cleaners, so follow product compatibility labels.
- Call a detailer when decals cover paint protection film or ceramic coatings, tear into fragments, or leave thick residue; mistakes can require costly repairs.
Table of Contents
- What to have on hand before you start
- Step-by-step: remove the decal with minimal risk
- Low-heat or no-heat options when heat isn’t safe
- Choosing solvents, test-patch rules, dwell times, and polishing to remove ghosting
- Key risks and a simple test protocol to avoid paint or tint damage
- Installer-tested perspective and when to call a professional
- What actually matters most in decal removal
- Professional decal removal and vehicle decal services from Custom Signs Today
- FAQ
- Sources
- Most useful product and manufacturer resources
What to have on hand before you start
A few basic tools make the difference between a clean removal and a scratched hood. Before you touch the decal, gather everything so you are not interrupting the process halfway through to search for supplies.
Heat is your main ally, but it only works at the right level. A hair dryer on medium heat or a heat gun on its lowest setting will soften most adhesives without stressing the clear coat. 3M’s removal guidance notes that warming film to about 160°F to 200°F (72°C to 93°C) can ease removal, though not every decal needs heat at all.
For the mechanical part of the job, fishing line or dental floss does the cutting, while a plastic scraper or your fingernail handles the initial lift. Microfiber towels and disposable paper towels keep the area clean as you work.
- A hair dryer or a heat gun on its lowest setting, kept moving to avoid hot spots
- Fishing line or unwaxed dental floss, plus a plastic trim scraper (never a metal blade)
- A vehicle-safe adhesive remover and an isopropyl alcohol or naphtha-based cleaner for the final wipe
- Microfiber towels, disposable paper towels, nitrile gloves, and eye protection
- Masking tape to protect nearby trim, badges, or paint edges
A mild polishing compound is worth keeping nearby too, in case light ghosting remains on the paint once the decal and adhesive are gone.
Step-by-step: remove the decal with minimal risk
This sequence moves from the gentlest possible approach to slightly more assertive steps, so you never apply more force or heat than the decal actually needs.
- Prep and test. Wash the area with soap and water, dry it completely, then test your chosen solvent and heat approach on a hidden spot, such as the inside of a door jamb or under a fender lip.
- Heat safely. Warm the decal evenly in slow, sweeping passes rather than holding the dryer in one place. Overheating is one of the main causes of paint damage during decal removal, so move constantly and check the surface temperature with your hand every few passes.
- Lift an edge. Once the vinyl feels warm and slightly pliable, work a fingernail or plastic scraper under one corner. If an edge refuses to lift, add another round of gentle heat rather than forcing it.
- Use fishing line or dental floss. Hold the line taut with both hands and saw it gently behind the decal at a shallow angle, letting the line cut through the adhesive layer instead of tearing the vinyl.
- Remove the main film slowly. Pull the decal back on itself at a low angle, reheating any section that resists. Avoid yanking the material off in one motion, since sudden force is what tends to pull paint or clear coat along with it.
- Treat the residue using proven methods described in sticky residue removal techniques for stubborn adhesive, then wipe with a clean, lint-free towel. Apply a 3M-style adhesive remover to the leftover adhesive according to the product instructions, then wipe with a clean, lint-free towel. Repeat as needed until the surface feels smooth.
- Final clean and evaluate. Wipe the area with isopropyl alcohol to remove any remaining film or solvent residue, a step 3M’s surface preparation bulletin recommends for a clean, adhesion-ready surface. If faint ghosting remains, a clear-coat-safe rubbing compound applied carefully can restore the finish.
For a closer look at the exact heat window that works best on vinyl before you start cutting, our pro heat method for removing vinyl stickers walks through timing in more detail.
Pro Tip: Keep the fishing line moving in short back-and-forth strokes instead of one long pull. It cuts the adhesive more evenly and puts far less strain on the paint underneath.
Low-heat or no-heat options when heat isn’t safe
Tinted windows, vinyl wraps, and some older paint finishes don’t tolerate heat well, so a cooler approach is often the better call. Fishing line and dental floss work almost as effectively without any heat at all, especially on smaller decals.
Position yourself so you can see the angle of the cut, holding the line close to the paint surface and sawing in short strokes rather than long pulls. This keeps the line from skipping up and scratching the surface.
- Soak a paper towel in adhesive remover, lay it over the decal, and let it sit for 3 to 5 minutes per 3M’s product guidance before scraping gently with a plastic tool
- Some newer decal films release at room temperature with chemical softening alone, which avoids any heat risk to tint or sensitive clear coats
- Stop and consider a professional if the film tears into small pieces, leaves a thick residue layer, or if the vehicle has paint protection film or a ceramic coating underneath
Our guide on removing decals from car windows covers the tint-specific precautions in more depth if that’s the surface you’re working on.
Choosing solvents, test-patch rules, dwell times, and polishing to remove ghosting
Chemical adhesive removers do more of the work than people expect, and they do it with far less risk than scraping. 3M’s own product information points out that dissolving the adhesive bond chemically reduces the force needed to lift it, which means fewer scratches from scraping tools.
One rule matters more than any other here: test first, every time. 3M’s general purpose adhesive cleaner documentation specifically calls for testing any cleaner in an inconspicuous area first, since not every solvent is compatible with matte or satin paint finishes.
- Saturate a towel with remover and let it sit briefly on the residue before wiping, rather than scrubbing it in immediately
- Favor several light applications of solvent over one aggressive scraping pass
- Skip strong solvents entirely on matte or satin paint unless the product label confirms compatibility
If light swirl marks or a faint outline remain after the adhesive is gone, a mild polishing compound such as Meguiar’s ScratchX can smooth the finish using super-micro abrasives, followed by a coat of wax or sealant to protect the refreshed surface.
Key risks and a simple test protocol to avoid paint or tint damage
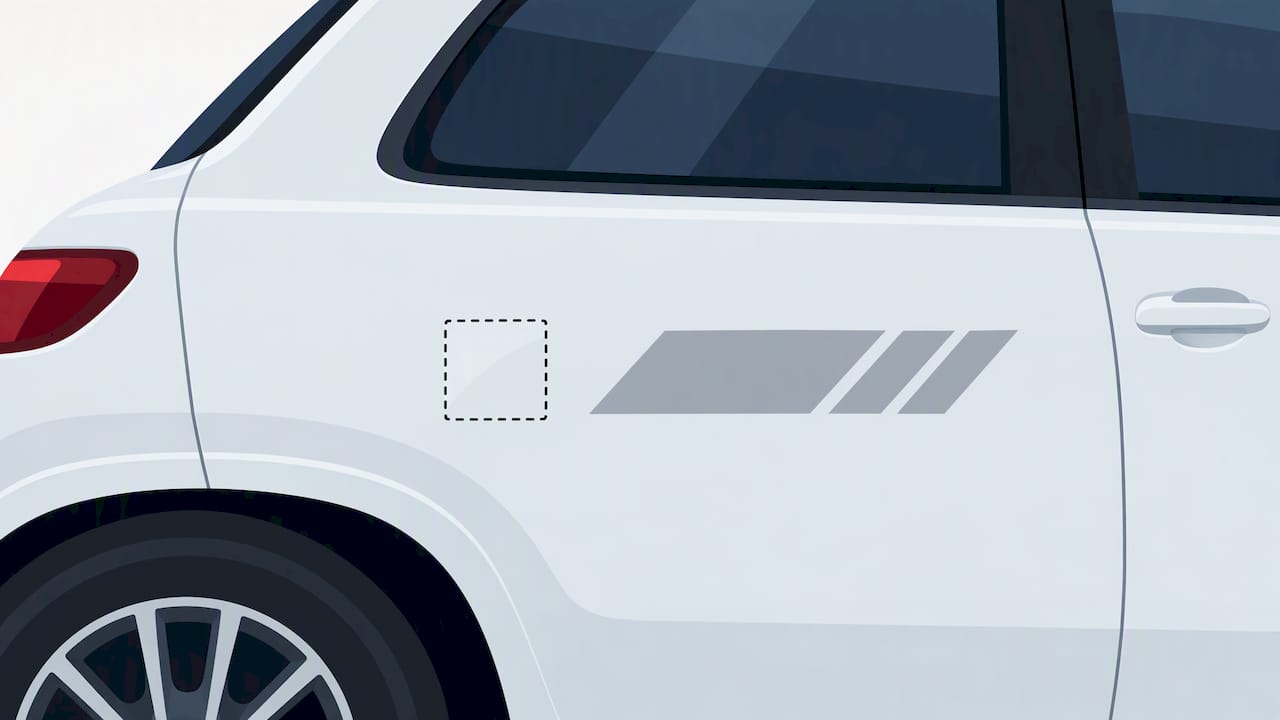
Most decal removal mistakes come down to two things: too much heat or the wrong tool. 3M’s removal bulletin cautions against excessive heat, which can soften paint or make the adhesive harder to lift cleanly rather than easier.
Metal razor blades are the other common culprit. They cut through clear coat almost as easily as they cut through vinyl, so a plastic scraper or an old gift card edge is the safer substitute every time.
- Run a full test patch before working on the visible panel: pick a hidden spot, apply your heat or solvent exactly as planned, wait, then inspect under bright light
- Treat matte, satin, ceramic-coated, or paint-protection-film surfaces as a different job entirely, since standard solvents and scrapers can dull or lift these finishes
- When in doubt about a finish, a quick call to a detailer or installer costs far less than a repaint
Installer-tested perspective and when to call a professional
Slow, even heat paired with a fishing-line cut puts the least stress on paint of any method we’ve seen used in the field. Rushing the heat step, or skipping straight to a scraper, is where most at-home attempts go wrong.
Small decals and novice-friendly vinyl films are reasonable DIY projects for most car owners. Larger emblems, anything bonded to paint protection film, or ceramic-coated panels raise the stakes enough that professional removal is worth the cost, since a mistake there is expensive to fix.
For more on judging whether a given decal is a safe DIY candidate, see our breakdown on removing car decals without damaging paint, and for emblem-specific advice, our guide to removing badges with heat and floss covers a closely related technique.
What actually matters most in decal removal
Most advice on this topic treats heat as the hero of the process, when patience is really the deciding factor. A hair dryer on low, moved constantly, is a more cautious approach than blasting a heat gun at full power, because slow heat never gives the adhesive a reason to grab harder or the paint a reason to blister.
The other overlooked step is the test patch. Most guides mention it in passing, but it’s the single move that tells you whether your solvent, your heat level, and your scraper are all safe for that specific finish before you risk the hood or door panel everyone will actually see.
If you take one thing from this guide, let it be this: remove slowly, test first, and treat any ceramic coating or paint protection film as a sign to stop and call someone who works with it daily.
— Yossi
Professional decal removal and vehicle decal services from Custom Signs Today
If the idea of heat guns and fishing line near your paint makes you nervous, we handle vehicle lettering and decal work for drivers who would rather skip the DIY risk entirely. Our team works with solvents and a test-first approach.

When you request a quote, we discuss what’s involved for your specific vehicle and finish.
- A consultation to assess your decal, paint condition, and any coatings or tint involved
- Removal and reinstallation
- A straightforward quote process with no guesswork on your end
Start with a vehicle lettering and decal quote and let our team take the paint risk off your plate.
FAQ
How do I take off a dealership decal without damaging my paint?
Warm the decal gently with a hair dryer, lift an edge with a plastic scraper, then cut the adhesive behind it with fishing line or dental floss while reheating as needed. Finish with a vehicle-safe adhesive remover and a wipe of isopropyl alcohol, testing your method on a hidden spot first.
What is the best way to remove decal adhesive residue?
A 3M-style adhesive remover applied to a towel and wiped over the residue works better than scraping, since the solvent dissolves the adhesive bond first. Always test the product on an inconspicuous area first to confirm compatibility.
Can I use a razor blade to scrape off a decal?
Metal razor blades can cut through clear coat, so a plastic trim scraper or an old gift card is the safer tool for lifting decal edges and scraping softened adhesive. If a tool feels like it’s biting into the paint rather than sliding over it, stop and add more heat or solvent instead.
How do people remove dealership decals at home, based on what others recommend online?
Common advice shared by car owners favors the same core method covered here: heat the decal, cut the adhesive with fishing line or floss, then clean the residue with an adhesive remover and isopropyl alcohol. Some drivers also mention a soaked-towel method for stubborn spots, letting adhesive remover sit on the area for a few minutes before scraping.
How do I get rid of a stubborn decal that won’t fully peel off?
Reapply gentle heat to the section that’s resisting and work the fishing line through it again rather than pulling harder. If pieces remain bonded, a paper towel soaked in adhesive remover and left in place for a few minutes will usually soften the rest for scraping.
Sources
Most useful product and manufacturer resources
For further reading, 3M’s removal bulletin and product pages cover heat ranges, adhesive removers, and surface prep in detail.