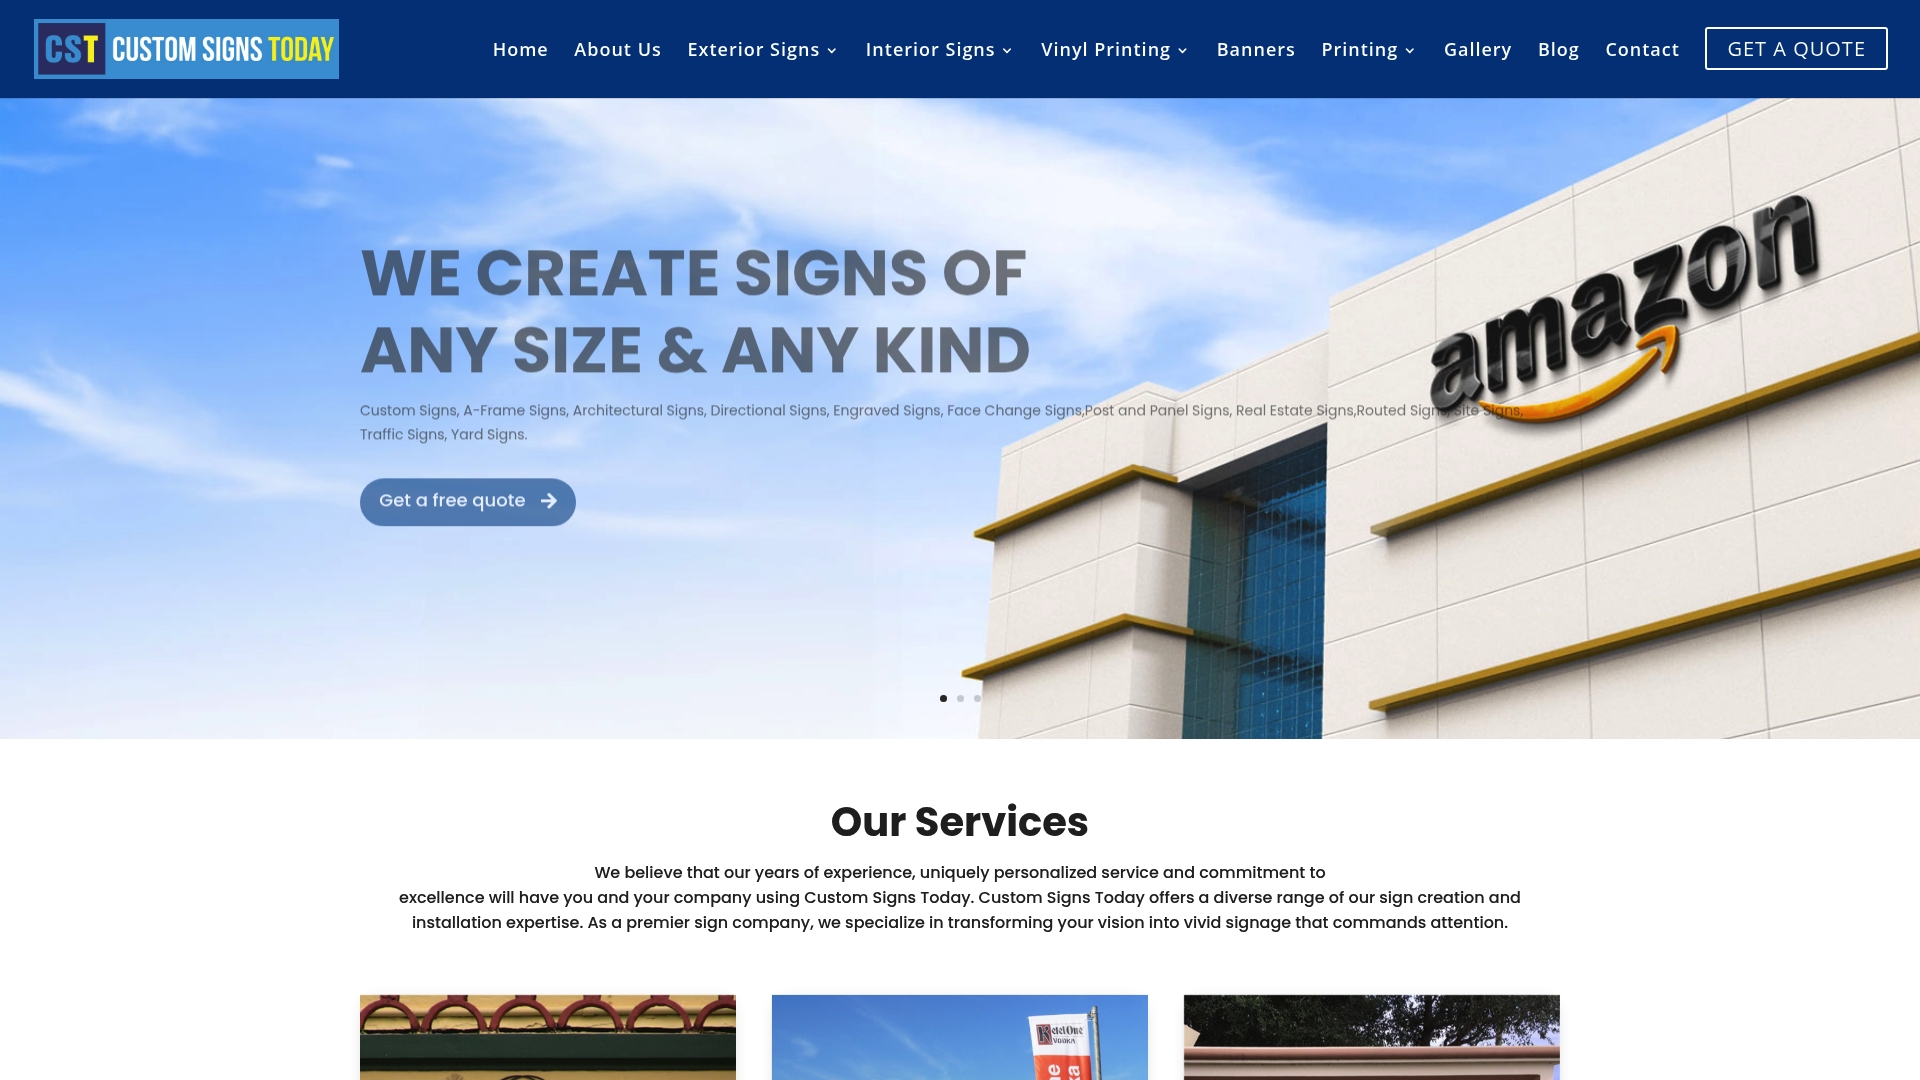
Stepping into a busy corporate event, you want your guests to feel confident about where to go, what to do, and how to make the most of every moment. Poor signage leaves attendees lost, frustrated, or even overwhelmed before the event ever starts. If your signs are unclear or easy to miss, you risk creating confusion and missing the opportunity to showcase your brand’s professionalism right from the entrance.
The right event signage does more than point the way—it shapes first impressions, reduces stress, and keeps your guests informed throughout their experience. From clear welcome banners to attention-grabbing digital displays, each sign is a chance to showcase your event’s organization and commitment to guest satisfaction.
Get ready to discover the specific types of signage that not only improve navigation and safety but also amplify your event’s branding and engagement. These practical strategies will help you create a more inviting, efficient, and memorable event for every guest.
Table of Contents
- 1. Welcome Banners For First Impressions
- 2. Directional Signs For Easy Navigation
- 3. Branded Backdrops For Photo Opportunities
- 4. Informational Panels For Event Details
- 5. Table And Booth Signs For Identification
- 6. Safety And Emergency Signage For Compliance
- 7. Interactive Digital Displays For Engagement
Quick Summary
| Key Message | Explanation |
|---|---|
| 1. Design Eye-Catching Welcome Banners | Well-designed banners set a professional tone and create a sense of belonging for attendees upon arrival. |
| 2. Use Clear Directional Signs | Directional signs streamline navigation and minimize confusion, enhancing guest experience and safety. |
| 3. Create Engaging Branded Backdrops | Branded backdrops encourage social media sharing, turning attendees into brand ambassadors for your event. |
| 4. Include Informational Panels | Informational panels provide essential event details, reducing repeated inquiries and improving attendee autonomy. |
| 5. Implement Safety Signage | Proper safety and emergency signage is critical for compliance and attendee safety during the event. |
1. Welcome Banners for First Impressions
Your welcome banner is the first thing guests see when they arrive at your event. This single visual element sets the tone for their entire experience, making it far more important than many event organizers realize. A well-designed welcome banner instantly communicates professionalism, establishes your event’s brand identity, and makes attendees feel valued the moment they walk through the door.
When attendees approach your venue, they’re forming impressions in seconds. Visually striking welcome banners create a welcoming atmosphere that sets expectations for quality and attention to detail. Your banner should prominently display the event name, date, and your company’s branding elements like logos and colors. This creates an immediate sense of arrival and belonging. Think of it as the doorway to your event’s personality. The banner doesn’t just greet people, it anchors your brand in their minds before they’ve even entered the space.
Practically speaking, your welcome banner needs to work from a distance. Guests should be able to read it clearly from 20 to 30 feet away, which means bold typography, high contrast colors, and minimal text clutter. Many organizers make the mistake of cramming too much information into their welcome banner. Resist that urge. Keep it simple: event name, date, and logo. Save the detailed information for directional signage elsewhere. Your banner’s job is to make a powerful first impression, not to be an information billboard. The materials matter too. Durable outdoor fabrics and high-quality printing ensure your banner looks fresh and professional throughout your entire event, whether you’re hosting an all-day conference or a multi-day corporate gathering.
Pro tip: Mount your welcome banner at eye level or slightly above, positioned where it’s the first thing guests see as they enter. This positioning maximizes impact and ensures your brand message hits home at the exact moment attendees arrive.
2. Directional Signs for Easy Navigation
When hundreds or thousands of guests arrive at your event, they immediately face a critical question: where do I go? Directional signs answer that question before confusion sets in. These signs are your silent guides, reducing navigation stress and keeping your event flowing smoothly from parking areas to registration to session venues. Without them, you risk frustrated attendees, bottlenecks at key locations, and a diminished experience that reflects poorly on your organization.
Directional signage matters because it directly impacts your guest experience and safety. Strategic placement at decision points helps visitors locate registration desks, restrooms, stages, emergency exits, and other critical areas without confusion. Clear, legible signage reduces crowd congestion and improves overall visitor safety. Think about your event layout from a guest’s perspective. Where will they naturally pause to look around? At those exact spots, place directional signs with bold arrows, simple language, and cohesive branding that matches your welcome banners. The sign’s job is not to be beautiful, it’s to be instantly understood. A guest should grasp the direction within two seconds of seeing your sign.
In practice, your directional signs should feature intuitive arrows, clear destination labels, and consistent visual styling throughout your venue. Durable materials matter here, especially for outdoor events where weather can deteriorate cheap signage quickly. Consider using digital wayfinding solutions for larger events, where real-time updates allow you to adjust signage dynamically as the event progresses. You might reroute foot traffic away from congested areas, open new session spaces, or guide attendees to newly available parking. For corporate gatherings, this flexibility transforms the guest experience. Color coding can also help. Assign different colored borders or backgrounds to different zones: green for registration, blue for restrooms, red for emergency exits. This visual system helps even non-native English speakers navigate confidently through your event.
Pro tip: Place directional signs at every fork in the path and intersection within your venue. Also mount one at eye level approximately 6 feet high so it’s visible above crowds, and ensure your font size is large enough to read from 20 feet away.
3. Branded Backdrops for Photo Opportunities
Every attendee at your corporate event has a smartphone, and many will want to capture memories from the experience. A branded backdrop transforms those casual photos into marketing assets that extend your event’s reach far beyond the physical venue. When guests share photos on social media, your brand becomes visible to their entire network. This single element delivers exponential return on investment, turning attendees into brand ambassadors who unknowingly promote your event.
Branded backdrops work because they merge two powerful marketing forces: authentic attendee engagement and organic social media distribution. Your backdrop should prominently feature your company logo, event name, and visually appealing design elements that photograph well. The best backdrops use bold colors, clean layouts, and high contrast so they remain sharp and recognizable even in casual smartphone photos. When you think about it, traditional advertising requires you to interrupt people’s attention. A branded backdrop does the opposite. Guests voluntarily position themselves in front of your branding and willingly share the image. This voluntary participation creates genuine engagement rather than forced messaging. Creating branded backdrops that enhance your corporate identity requires thoughtful design that balances branding elements with visual appeal.
Implementing this practically means positioning your backdrop in a high-traffic area where people naturally gather between sessions, near refreshment stations, or in hallway intersections. Proper lighting matters tremendously. A backdrop in shadow won’t photograph well, so ensure overhead or side lighting illuminates the backdrop evenly. You might also consider adding a hashtag to your backdrop design, encouraging guests to tag their photos with your event hashtag. This creates a searchable collection of user-generated content that builds community around your event. For a 300-person corporate gathering, you could easily generate 50 to 100 photos tagged with your event hashtag, each reaching the photographer’s social network. Some organizers report that branded backdrop photos generate 3 to 5 times more engagement than traditional corporate promotional posts because they feel authentic and peer-shared.
Pro tip: Design your backdrop to work both vertically and horizontally since smartphone photos vary in orientation. Include plenty of white space around your logo so the branding remains visible even when partially obscured by a group of people.
4. Informational Panels for Event Details
Attendees arrive at your event with questions. What time does the keynote start? Where is the networking lunch? What are the parking policies? Informational panels answer these questions before confusion derails the guest experience. These panels communicate essential event details such as schedules, policies, announcements, and location-specific instructions. They function as your event’s reference library, allowing guests to find answers independently without overwhelming your staff with repetitive questions.
Informational panels work because they centralize critical information in places where guests naturally look for answers. Clear and concise messaging combined with high-contrast color schemes ensures that attendees can read your panels quickly and accurately. Your panels should use simple language, uniform fonts, and bullet points rather than dense paragraphs. Think about someone scanning your panel for 10 seconds. They need to extract the essential information without effort. If your panel requires careful reading or interpretation, it has already failed. Proper placement at entry points and central areas maximizes visibility. Consider placing panels near registration desks where guests congregate, at the entrance to main session areas, and in hallway intersections where attendees pause to orient themselves. Multiple panels throughout your venue prevent the bottleneck of everyone crowding around one information station.
Practically, your informational panels should address specific categories. One panel covers the event schedule broken down by time and location. Another addresses policies such as photography restrictions, badge requirements, or dietary accommodations. A third provides emergency and safety information. A fourth announces last minute changes or special announcements that arise during the event. This modular approach allows you to update information without redesigning everything. Your panels should be mounted at eye level (approximately 5 to 6 feet high) so guests notice them without bending or stretching. Use contrasting colors like white text on dark blue or dark text on yellow to ensure readability even from a distance. High quality, durable materials prevent your panels from looking worn or damaged by day two of a multi-day event. For corporate events hosting 200 to 500 attendees, typically three to five strategically placed informational panels provide sufficient coverage. Larger events may require more panels or digital displays that update in real time.
Pro tip: Include a brief “At a Glance” section at the top of each panel summarizing the most critical information. Place this summary in a colored box so it stands out visually and captures attention before the reader scans the detailed information below.
5. Table and Booth Signs for Identification
When your corporate event features vendor booths, sponsor tables, or multiple breakout areas, guests need to instantly identify what each space represents. Table and booth signs serve as quick identifiers that eliminate confusion and help attendees navigate directly to the sessions, vendors, or resources they seek. Without clear identification signage, your event becomes a maze where people waste valuable time searching for specific booths or tables instead of engaging with content and networking.
Table and booth signs work because they create visual anchors in a crowded event space. A guest scanning the room can spot a booth labeled “Finance Solutions” from across the hall without squinting or asking for directions. These signs should be bold, large enough to read from 10 to 15 feet away, and mounted at eye level or slightly above so they remain visible even when crowds gather. Post and panel signs provide excellent visibility for booth identification because they stand independently and command attention. Your table signs should match your overall event branding in color and typography, creating visual consistency that reinforces your professional identity. Consider the background colors of your booth area when selecting sign colors to ensure sufficient contrast. A white sign on a light blue booth backdrop becomes invisible. The same white sign on a deep blue backdrop pops off the wall.
Implementing table and booth signs requires strategic thinking about placement and quantity. For a trade show or vendor expo, each booth needs its own identification sign. Position the sign at the entrance of the booth, visible to passersby. For sponsor tables during meals, place the sign at the center of the table or at the edge nearest the main walkway. For breakout session areas, position signs at the entrance and, for larger rooms, at the back as well so latecomers can confirm they’re in the correct space. The sign should display the booth or table name prominently, and you might include a brief descriptor. “Booth 12: Cloud Technologies” works better than just “Booth 12” because it helps guests understand whether they want to visit. Size matters here. A 12 by 18 inch sign works well for tabletop placement, while larger booth signs might measure 24 by 36 inches or bigger. Material selection impacts durability too. Vinyl signs with laminated finishes withstand handling and repeated setup and teardown better than paper alternatives.
Pro tip: Use consistent numbering or lettering for booths alongside their names, then create a simple map or guide showing which booth letter or number corresponds to which vendor. This reference system helps attendees navigate faster and reduces staff questions about booth locations.
6. Safety and Emergency Signage for Compliance
Safety and emergency signage is not optional. It is a legal requirement that protects your attendees and shields your organization from liability. These signs communicate evacuation routes, identify hazards, mark emergency equipment locations, and ensure your event complies with fire safety codes and regulatory standards. When an emergency occurs, your signage becomes the critical lifeline guiding people to safety. This is the one area of event signage where aesthetics take a back seat to clarity and compliance.
Safety signage works by establishing a visual language that attendees instinctively understand during high stress situations. ANSI Z535.2-2023 standards provide requirements for facility safety signs to ensure consistent visual layouts that convey safety messages effectively. Your emergency exit signs must be illuminated, clearly visible, and unobstructed. Fire extinguisher signs must identify their exact locations. First aid kit signs must be immediately obvious. These are not suggestions, they are legal mandates. OSHA and NFPA regulations specify exact requirements for emergency signage, and violations can result in substantial fines and legal liability. Your event venue should already have permanent emergency signage installed, but as an event organizer, you must verify that all signage is functioning properly, unobstructed, and clearly visible. If your event uses temporary structures, portable emergency signage becomes your responsibility to install and maintain.
Practically, start by understanding your venue’s emergency procedures and existing signage infrastructure. Conduct a thorough walkthrough and identify all emergency exits, fire extinguishers, first aid stations, and assembly points. Verify that all permanent signage is visible and functional. For large events, you may need to add supplementary signage to guide crowds to emergency assembly areas outside the main venue. Work with local fire marshals and safety officials to ensure your temporary signage meets all regulatory requirements. Color coding matters tremendously in emergencies. Green indicates safe passage and first aid stations. Red indicates fire extinguishers and fire alarms. Yellow indicates caution areas. Blue indicates AED locations. Your attendees should understand these conventions instinctively, so never deviate from standard colors. Test your emergency lighting and signage before guests arrive. A sign that looks fine during daylight may become invisible if your venue loses power.
Pro tip: Create a safety signage checklist specific to your venue and event type, then review it with your safety team one week before the event. Photograph all emergency signage locations so your staff can quickly verify nothing has been moved or obstructed during setup.
7. Interactive Digital Displays for Engagement
Interactive digital displays represent the cutting edge of event signage, transforming static information into dynamic, engaging experiences that capture attendee attention and create memorable moments. These displays combine vibrant visuals, real-time updates, and hands-on participation features that static printed signage simply cannot match. When you integrate touchscreens, video walls, and social media feeds into your event, you elevate the entire attendee experience from passive observation to active engagement.
Interactive digital signage works by capturing attention through movement and color, then deepening engagement through functionality. A large video wall displaying sponsor content grabs eyes across a crowded conference hall. A touchscreen product demo allows attendees to explore features at their own pace without staff assistance. Social media walls showing live event feeds with hashtags create real-time community engagement as guests see themselves and their peers on the display. QR code integrations connect physical signage to digital content, allowing guests to access additional resources directly from their phones. These technologies work together to create layers of engagement that keep attendees invested in your event long after they pass the welcome banner. For corporate gatherings, this translates to deeper connections between sponsors and attendees, increased brand visibility, and attendees who leave feeling genuinely engaged rather than passively entertained.
Implementing interactive displays requires thoughtful planning around placement, content, and technical support. Position video walls and social media displays in high-traffic areas where guests naturally pause to look around. Use touchscreen kiosks near registration desks or sponsor areas to provide detailed product information without requiring staff availability. Keep content fresh and relevant by updating announcements and schedules in real time, which requires a dedicated staff member monitoring and adjusting displays throughout the event. Start with one or two interactive elements if you are new to this technology, then expand based on what drives engagement. A single large video wall costs significantly less than multiple displays but delivers substantial impact. Content matters enormously. Poorly designed or outdated digital content looks worse than no digital signage at all. Invest in high-quality graphics, videos, and messaging that align with your event branding. Technical reliability is non-negotiable. Have backup power supplies and technical support staff on site to quickly address any display failures.
Pro tip: Test all interactive displays at least 24 hours before your event starts, including touchscreen responsiveness, video playback, and social media feed integration. Create a simple troubleshooting guide for your staff so minor issues can be resolved quickly without disrupting the attendee experience.
Below is a comprehensive table summarizing the key elements of effective event signage as discussed in the article.
| Signage Type | Purpose | Key Features | Best Practices |
|---|---|---|---|
| Welcome Banners | Create a professional and welcoming first impression. | Bold typography, event name, date, and logo; Visible from 20-30 feet. | Position at eye level, use durable materials, and avoid clutter. |
| Directional Signs | Facilitate navigation and reduce confusion. | Clear arrows, consistent branding, and legibility from a distance. | Place at decision points, use intuitive designs, and color-code regions. |
| Branded Backdrops | Enhance photo opportunities and social media engagement. | Prominent event name and logo, visually appealing and photogenic design. | Position in high-traffic areas with appropriate lighting. |
| Informational Panels | Provide attendees with essential details and guidelines. | Concise language using bullet points, high contrast colors, modular content. | Place at entry points and congregational areas, mount at eye level. |
| Table and Booth Signs | Clearly identify vendor spaces and session areas. | Bold text and logos, visible from 10-15 feet, consistent branding. | Mount at booth entrances, incorporate descriptive labels. |
| Safety Signage | Ensure attendee safety and regulatory compliance. | Clear directions to exits, emergency equipment locations, ANSI/Z535.2 standards. | Verify visibility and functionality; align colors with safety conventions. |
| Interactive Digital Displays | Engage attendees with dynamic and functional content. | Touchscreens, live updates, and integrated social media features. | Test functionality 24 hours prior and provide technical support on-site. |
Elevate Your Event Experience with Custom Signage Solutions
Planning flawless event signage means solving common challenges like creating impactful welcome banners, clear directional signs, branded backdrops, and safety notices that guide guests effortlessly through your venue. This article highlights how essential well-designed visual cues are for seamless navigation, brand reinforcement, and compliance during corporate events. Do not let confusion, low engagement, or safety oversights undermine the success of your gathering.
At Custom Signs Today, we specialize in delivering high-quality, customizable signage tailored exactly to your event needs. Whether you need bold welcome banners, easily readable directional signs, or vibrant branded backdrops, our expert team uses durable materials perfect for both indoor and outdoor venues. Explore our diverse offerings at Uncategorized and see how we turn event signage from a challenge into a powerful branding asset.
Ready to create unforgettable first impressions and keep attendees confident and engaged? Visit Custom Signs Today to request your free quote and discover customized event signage solutions designed to impress and perform. Take action now to ensure your next event communicates professionalism, clarity, and safety at every step.
Frequently Asked Questions
What are welcome banners, and why are they important for events?
Welcome banners are the first visual element attendees see when they arrive at an event. They communicate professionalism and brand identity, making attendees feel valued. To create an effective welcome banner, focus on displaying the event name, date, and logo clearly.
How can directional signs improve navigation at my event?
Directional signs help attendees quickly locate important areas like registration, restrooms, and session venues, reducing confusion. Strategically place these signs at decision points and intersections to guide guests effectively. Aim for signs that are easily readable from 20 feet away to enhance flow and minimize crowd congestion.
What elements should I include on informational panels?
Informational panels should communicate essential details like schedules, policies, and announcements in clear, concise language. Use simple formatting and bullet points for easier reading, and place panels in high-traffic areas to maximize visibility. Consider having at least three to five panels for a corporate event with 200 to 500 attendees.
How do I design effective branded backdrops for photo opportunities?
Effective branded backdrops should prominently feature your logo and event name, using bold colors and clean layouts for maximum visibility in photos. Position these backdrops in high-traffic areas where attendees naturally gather. Also, consider including a hashtag to encourage social media sharing of photos taken in front of the backdrop.
What should I include in safety and emergency signage at my event?
Safety and emergency signage must clearly indicate evacuation routes, hazards, and locations of emergency equipment to comply with legal requirements. Ensure that these signs are visible and unobstructed throughout the venue. Conduct a walkthrough to verify visibility and functionality of existing signs, and consider adding temporary signage where necessary.
Recommended
- Why Signage Matters for Successful Events –
- Why Signage Boosts Event Attendance – Proven Impact –
- How to Design Event Signage for Maximum Impact –
- Guide to Outdoor Event Signage: Create Effective Signs –
- How to Design Event Shirts for Lasting Impact and Style – Custom T-Shirts and Printed Merch in Utah | Pulse Merch