{
“@type”: “Article”,
“image”: {
“url”: “https://csuxjmfbwmkxiegfpljm.supabase.co/storage/v1/object/public/blog-images/organization-6408/1776396772539_image.jpeg”,
“@type”: “ImageObject”,
“caption”: “Sign maker preparing vinyl lettering in home workshop”
},
“author”: {
“url”: “https://customsignstoday.us”,
“name”: “Customsignstoday”,
“@type”: “Organization”
},
“@context”: “https://schema.org”,
“headline”: “How to Apply Sign Lettering: A Step-by-Step Guide”,
“publisher”: {
“url”: “https://customsignstoday.us”,
“name”: “Customsignstoday”,
“@type”: “Organization”
},
“inLanguage”: “en-US”,
“articleBody”: “Learn how to apply sign lettering with professional results. Follow our step-by-step guide covering materials, application, common mistakes, and maintenance tips.”,
“description”: “Learn how to apply sign lettering with professional results. Follow our step-by-step guide covering materials, application, common mistakes, and maintenance tips.”,
“datePublished”: “2026-04-17T03:37:16.123Z”
}
TL;DR:
- Proper surface preparation and high-quality materials ensure long-lasting, professional sign lettering.
- Take your time during installation to prevent crooked, bubbled, or peeling signs.
- Regular inspection and maintenance extend the lifespan and appearance of signage.
Faded, peeling, or crooked sign lettering sends the wrong message before a customer even reads the words. For business owners and event organizers, poorly applied lettering doesn’t just look unprofessional — it actively costs you visibility and credibility. The good news is that great sign lettering isn’t magic. It’s a process. When you follow the right steps, use the right materials, and avoid the most common mistakes, your signage looks sharp for years instead of months. This guide walks you through everything from setup to maintenance so your lettering holds up and stands out exactly when it needs to.
Table of Contents
- What you’ll need for successful sign lettering
- Step-by-step instructions for applying sign lettering
- Common mistakes and how to avoid them
- Verifying your results and maintaining great lettering
- Why skipping steps costs more in the long run
- Get professional results: Your next steps for standout signage
- Frequently asked questions
Key Takeaways
| Point | Details |
|---|---|
| Gather the right materials | Using high-quality, purpose-fit materials is the foundation for durable sign lettering. |
| Follow each application step | Careful, step-by-step installation avoids misalignment and premature letter failure. |
| Avoid common mistakes | Mistakes like skipping surface prep or rushing alignment are the primary reasons for rework and wasted resources. |
| Maintain signage regularly | Routine inspection and maintenance keep your lettering crisp, bright, and effective for longer. |
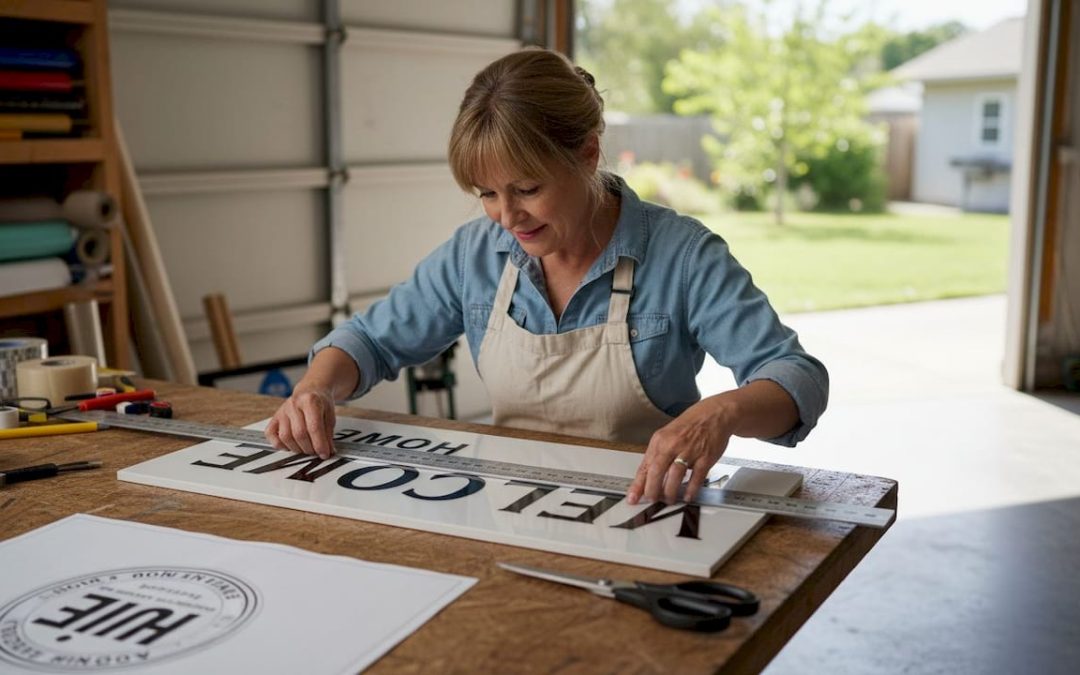
What you’ll need for successful sign lettering
Before you touch a surface, you need to gather the right materials and information. Skipping this stage is one of the most common reasons lettering fails early. Think of it like cooking: missing one ingredient can ruin the entire result.
Here’s what you’ll need before you start:
- Vinyl letters or die-cut lettering (pre-spaced or individual)
- Application tape (also called transfer tape) to transfer letter placement
- A squeegee or credit card to smooth out air and adhesion
- Measuring tape and level for straight, centered placement
- Masking tape for holding position markers
- Isopropyl alcohol and a clean cloth for surface prep
- A pin or needle to pop any air bubbles after application
Beyond tools, you’ll need three pieces of information before ordering: the exact surface dimensions, your preferred font style, and the letter color that contrasts best with your background. Getting designing property signage right at the planning stage saves time and money later.
Choosing materials isn’t one-size-fits-all. Outdoor locations need UV-resistant, weatherproof vinyl that can handle rain, sun, and temperature swings. Indoor applications can use lighter-weight materials with standard adhesive. Sign durability is directly tied to material quality, and proper materials extend the life and impact of sign lettering significantly.
| Tool or material | Purpose |
|---|---|
| Vinyl lettering | The actual sign text |
| Application tape | Transfers and positions letters |
| Squeegee | Removes air and ensures adhesion |
| Measuring tape | Ensures straight, centered placement |
| Isopropyl alcohol | Cleans the surface before application |
| Masking tape | Marks position guides |
| Pin or needle | Pops post-application bubbles |
Pro Tip: For high-traffic or outdoor locations, always choose cast vinyl over calendered vinyl. Cast vinyl is thinner, conforms better to textured surfaces, and lasts significantly longer under UV exposure and weather stress.
Step-by-step instructions for applying sign lettering
With your materials gathered, it’s time to apply your lettering. Rushing this phase is how businesses end up with crooked text and wasted vinyl. Take your time on each step and the results will reflect it.
- Clean the surface thoroughly. Wipe down the entire application area with isopropyl alcohol and a lint-free cloth. Remove all dust, grease, and moisture. Let it dry completely before moving on.
- Measure and mark your layout. Use your measuring tape to find the center of the surface. Mark horizontal and vertical reference lines with masking tape. These guides keep your lettering straight and balanced.
- Position the lettering before applying. Hold the sheet of letters (with application tape attached) against the surface. Step back and look at the placement. Adjust until it’s visually centered and level.
- Tape one edge as a hinge. Run a strip of masking tape along the top edge of your lettering sheet. This creates a hinge so the letters don’t shift while you peel the backing.
- Peel the backing slowly. Fold the backing paper back at a 45-degree angle while pressing the application tape side against the surface.
- Use your squeegee. Working from the center outward, press the squeegee firmly across the letters to eliminate air pockets and bond the adhesive to the surface.
- Remove the application tape carefully. Pull it back at a low angle. If a letter lifts with the tape, press it back down and squeegee again before continuing.
- Inspect the edges. Press down any lifting corners with your fingertip or squeegee.
Warning: Never apply lettering to a damp or recently cleaned surface. Moisture underneath vinyl disrupts the adhesive bond and causes premature peeling within days. Always wait at least 30 minutes after cleaning before you begin application.
For the full context of where sign lettering fits into your broader project, reviewing the full sign workflow helps you plan each phase. If you’re working with ready-to-apply vinyl, the process above applies directly out of the package.
| Method | Pros | Cons | Best use case |
|---|---|---|---|
| Dry application | Precise placement, no mess | Less forgiving of errors | Flat, smooth surfaces |
| Wet application | Repositionable, reduces bubbles | Longer dry time needed | Large or curved surfaces |
Pro Tip: Before committing the lettering to the surface, use masking tape to create a visual mockup of the layout. Take a photo and compare it from a distance. Small adjustments at this stage prevent frustrating do-overs.
Following proper installation steps reduces errors and increases sign longevity substantially.
Common mistakes and how to avoid them
Even experienced applicators run into problems when they cut corners. Understanding where the process breaks down protects your time and budget.
The three biggest mistakes are:
1. Skipping surface preparation. Grease, dust, and moisture are invisible enemies of vinyl adhesion. A surface that looks clean may still have residue from cleaning products or fingerprints. Always use isopropyl alcohol as your final wipe, not just soap and water.
2. Rushing placement. Misalignment is almost always the result of impatience. Skipping the measuring and marking step to save five minutes often leads to crooked lettering that requires full removal and reapplication.
3. Using low-quality materials. Budget vinyl may look identical to premium vinyl in photos, but it separates faster under UV exposure and heat. Improper application is the leading cause of premature letter failure, and the problem compounds when the materials themselves are substandard.
At least 60% of sign reapplications stem from preventable mistakes made in the first 10 minutes of the process. That’s time and money spent twice on work that should have lasted years.
Here’s a quick checklist to avoid the most common problems:
- Wipe surface with isopropyl alcohol and let it fully dry
- Measure twice and mark reference lines before touching the lettering
- Test placement with masking tape before final adhesion
- Choose vinyl rated for your specific environment (indoor vs. outdoor)
- Work slowly from center outward with your squeegee
- Never skip the post-application edge inspection
For ongoing care after application, sign maintenance guidance covers how to handle weather, UV fading, and cleaning without damaging the lettering.
Verifying your results and maintaining great lettering
Once your sign lettering is in place, a quick quality check saves you from discovering problems weeks later when they’re harder to fix.
Run through this checklist immediately after application:
- Are all letters level and evenly spaced?
- Are there any visible air bubbles or raised edges?
- Are the corners and edges firmly bonded to the surface?
- Does the color look consistent with no visible lifting?
If you spot bubbles, use a clean pin to puncture the center of the bubble at a shallow angle, then press the area flat with your squeegee. For lifting edges, apply gentle heat with a hair dryer and press them down firmly.
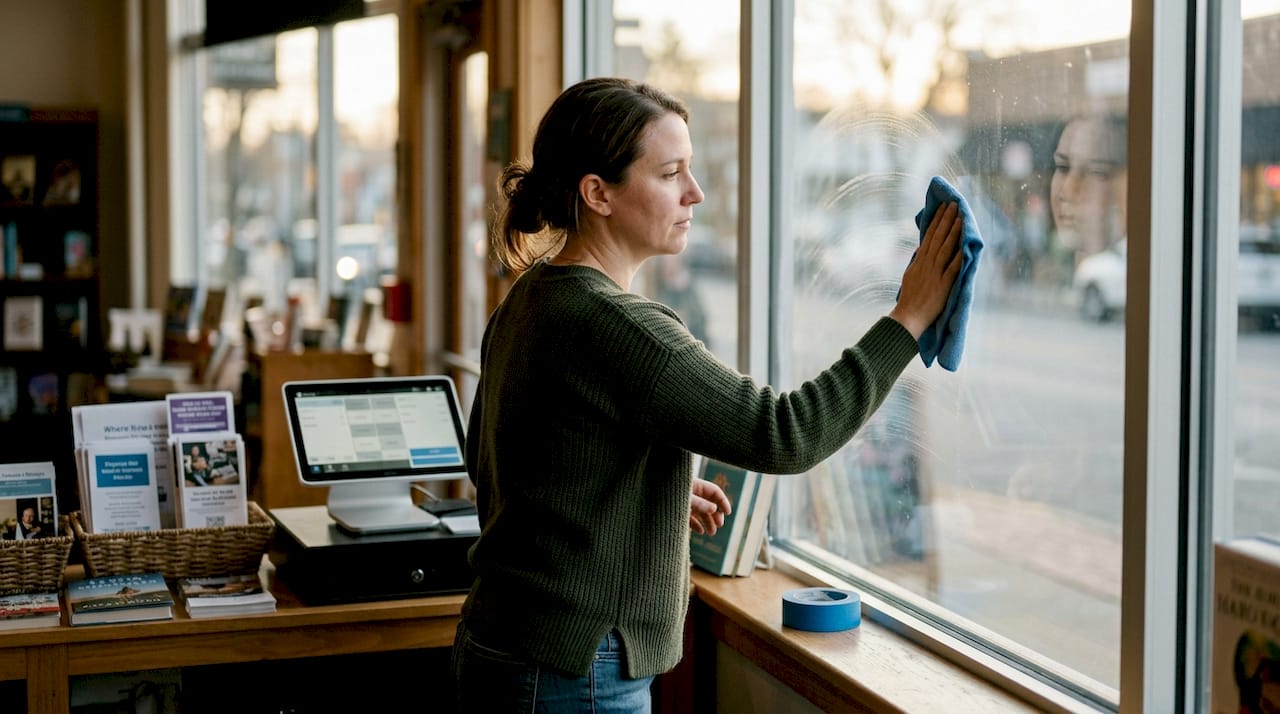
Maintenance is what separates signage that lasts three years from signage that lasts eight. Follow these steps to protect your investment:
- Inspect your lettering every three months for bubbles, peeling, or fading.
- Clean the surface with mild soap and water. Avoid abrasive cleaners or pressure washing directly at the lettering edges.
- Reapply edge pressure with a squeegee if corners begin to lift slightly.
- For outdoor signs, apply a UV-protectant clear coat annually to reduce fading from sun exposure.
- Replace individual letters showing significant fading before the problem spreads.
Regular sign inspection and maintenance can double the effective life of sign lettering, making a small quarterly time investment worth it financially. For a practical breakdown of routine care, resources on how to maintain outdoor signs walk you through season-by-season tasks.

The goal isn’t perfection on day one. It’s consistency over time. Signs that look great after three years reflect a routine, not luck.
Why skipping steps costs more in the long run
We’ve worked with clients who came to us frustrated and confused. Their lettering looked perfect when it went up, then started peeling within six weeks. After reviewing the project, the root cause was almost always the same: the surface wasn’t properly cleaned, or they used calendered vinyl on a south-facing wall with full sun exposure.
Here’s what most people don’t expect. Cheap shortcuts don’t show their damage immediately. They show it three months later when you’re already focused on something else, and suddenly you have unprofessional signage representing your business at its busiest time.
The counterintuitive reality is that following sign installation best practices takes maybe 15 extra minutes compared to rushing. But it buys you years of reliable visibility instead of repeated replacement costs. One client who skipped surface prep spent more on reapplications in 18 months than it would have cost to hire a professional installer from the start. That math isn’t unique. We see it regularly.
Process isn’t just about doing it right. It’s about protecting your investment.
Get professional results: Your next steps for standout signage
Knowing the process is powerful, but execution takes time and confidence that builds with practice. If you want to skip the learning curve entirely and get results that reflect your brand professionally, Custom Signs Today is ready to help.

From face change signs to complete branding packages, we handle every stage with professional-grade materials and experienced installers. Not sure what you need? Our team makes it easy to get started with custom sign quotes that break down cost and options clearly. Explore our full range of custom sign services and let’s build something that stands out and lasts.
Frequently asked questions
What is the best surface for applying sign lettering?
The best surface is smooth, clean, and dry to ensure maximum adhesion and longevity for your lettering. Rough or porous surfaces reduce contact area and weaken the adhesive bond over time, as proper installation steps consistently confirm.
How long does it take to apply sign lettering?
Most applications take 30 to 60 minutes depending on sign size and preparation, but allow extra time for complex designs. Larger signs with multiple lines or intricate fonts naturally require more time for measuring and alignment.
Can sign lettering be applied to textured or rough surfaces?
For best results, lettering should only be applied to smooth, non-porous surfaces, as rough textures significantly reduce adhesion. Proper materials rated for your specific surface type improve results, but texture will always limit bonding strength.
How do I prevent bubbles when applying vinyl lettering?
Use a squeegee and apply slowly from one edge to avoid trapping air, then pierce any remaining bubbles with a pin and flatten them carefully. Working from the center outward in overlapping strokes gives you the most consistent, bubble-free result.
How often should I check my sign lettering for issues?
Inspect your signage every quarter for bubbles, peeling, or fading to catch issues early before they worsen. Regular inspection and maintenance can double the effective service life of your sign lettering.